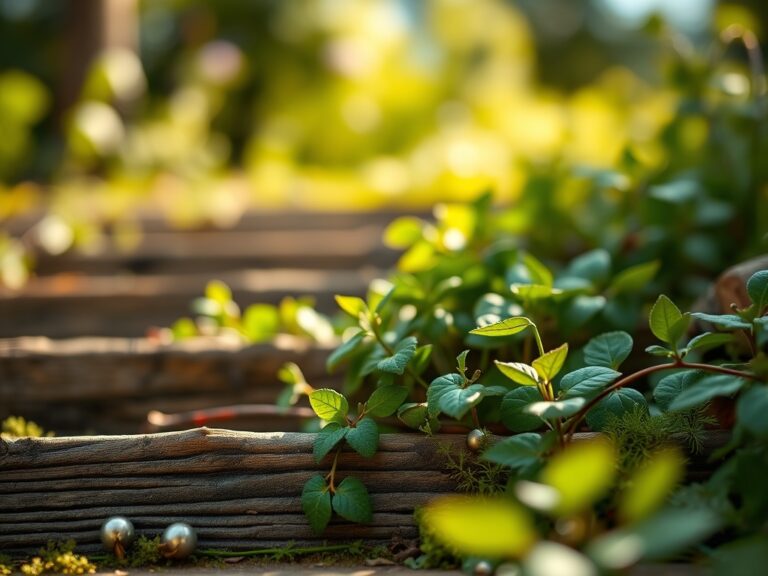
5 Expert Ways How to Choose Cat Safe Plants
Damp earth releases a sharp, metallic scent of geosmin as the trowel cuts through the rhizosphere. A healthy leaf maintains high turgor pressure; it feels firm and resists the thumb with a slight snap rather than a limp fold. Professional indoor gardening requires more than aesthetics. It demands a rigorous understanding of botanical toxicity and physiological compatibility. Learning how to choose cat safe plants involves cross-referencing the ASPCA toxicological database with the specific metabolic needs of the specimen. You must evaluate the presence of calcium oxalate crystals, alkaloids, and glycosides that trigger adverse feline reactions. A true horticulturist selects for safety without compromising on the structural integrity of the plant. This process begins with identifying species that lack defensive chemical compounds while thriving in controlled interior environments. By focusing on the cellular biology of the plant, you ensure a symbiotic relationship between your collection and your pets. Success is measured by the absence of gastric distress in the animal and the steady rate of carbon sequestration in the foliage.
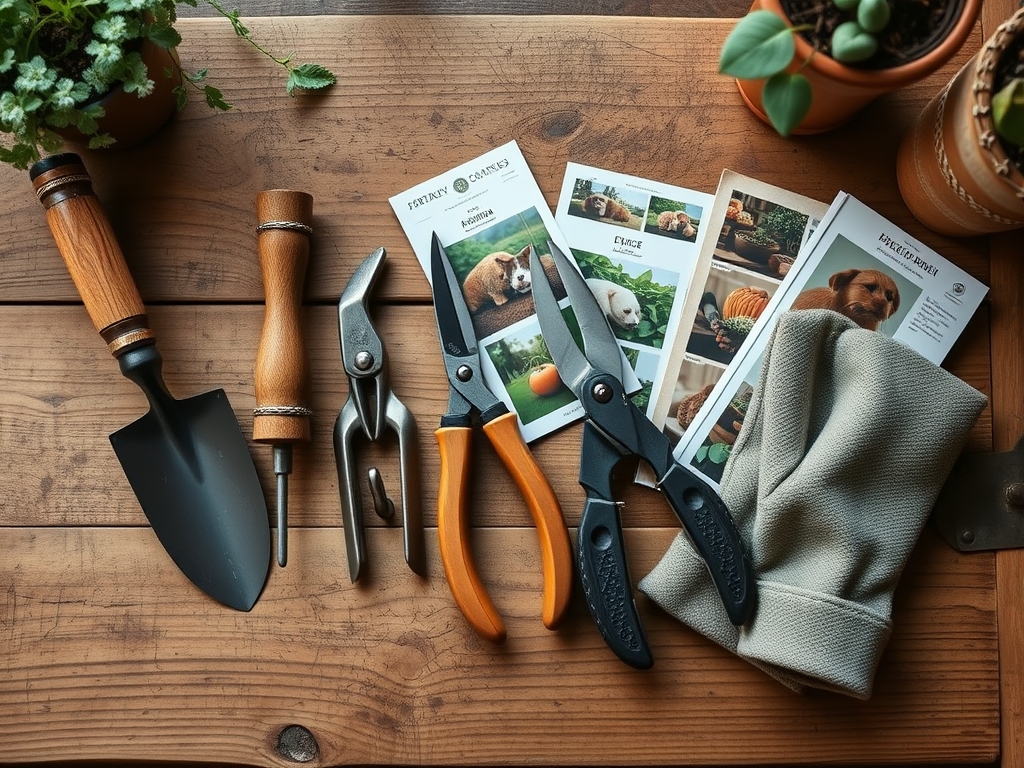
Materials:
The foundation of a safe indoor garden is the substrate. For most non-toxic species like the Chlorophytum comosum (Spider Plant) or Nephrolepis exaltata (Boston Fern), you require a friable loam with a high Cation Exchange Capacity (CEC). This ensures the soil can hold and release essential nutrients like potassium and magnesium.
- Soil pH: Maintain a range between 6.0 and 6.5 to optimize nutrient availability.
- NPK Ratio: Use a balanced 10-10-10 water-soluble fertilizer for vegetative growth. For flowering species like the Schlumbergera, shift to a 5-10-5 ratio to support reproductive development.
- Substrate Composition: A mix of 40% peat moss, 30% perlite, and 30% sterilized compost provides the necessary porosity for oxygen to reach the root zone.
- Watering Tools: A soil moisture meter is mandatory to prevent anaerobic conditions in the root ball.
Timing:
Indoor plants are less tethered to external frost dates, but they remain sensitive to the Biological Clock dictated by the photoperiod. Most cat-safe tropicals originate from equatorial regions and require a 12 to 14-hour light cycle to maintain active photosynthesis. In Hardiness Zones 4 through 7, supplemental LED lighting is necessary during winter months when natural lux levels drop below 1,000 foot-candles.
The transition from the vegetative stage to the reproductive stage is triggered by changes in light duration and temperature. Monitor your indoor ambient temperature; most non-toxic tropicals require a consistent range of 65 to 80 degrees Fahrenheit. If temperatures drop below 55 degrees, the plant may enter a state of induced dormancy or senescence, where metabolic processes slow and the risk of root rot increases due to decreased transpiration rates.
Phases:
Sowing and Propagation
Start seeds in a sterile medium at a depth of 0.25 inches. Maintain a constant soil temperature of 70 degrees Fahrenheit using a heating mat to ensure rapid germination. For spider plants, utilize the "plantlets" produced on stolons.
Pro-Tip: Ensure the propagation medium is kept moist to facilitate auxin suppression in the parent plant, which redirects energy to the developing stolon. This hormonal shift allows the new plantlet to establish its own independent root system through specialized meristematic cells.
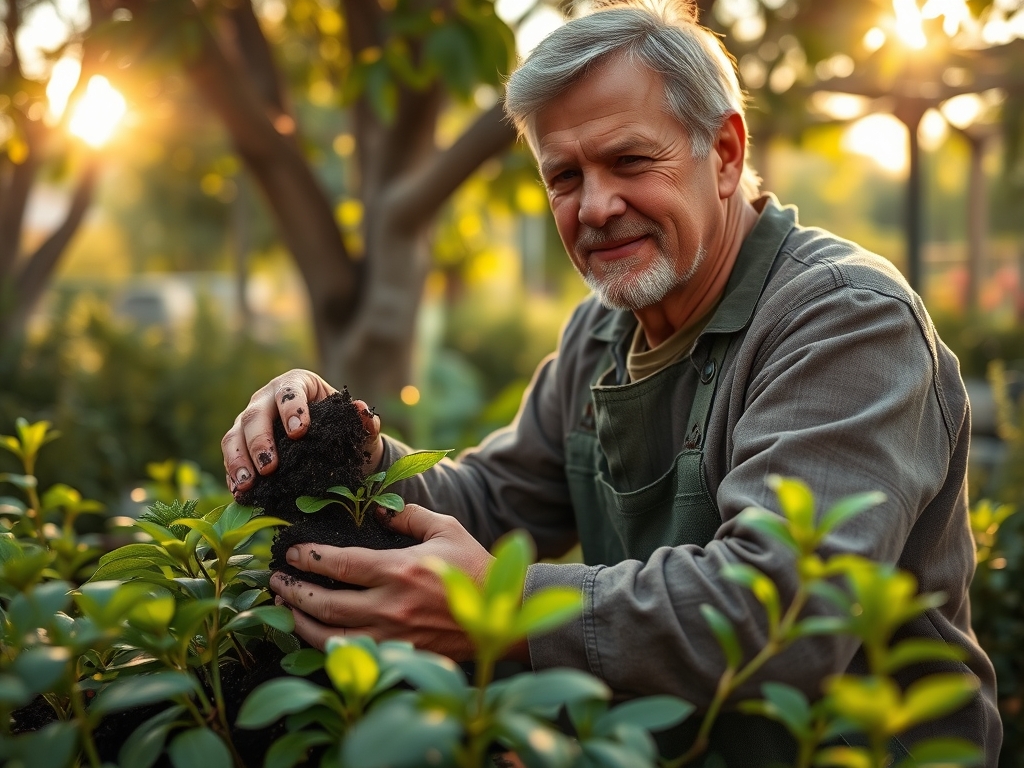
Transplanting
When the root system occupies 75% of the current container, transplant into a pot 2 inches wider in diameter. Use a hori-hori knife to gently loosen any circling roots. This prevents the plant from becoming root-bound, which restricts the uptake of water and minerals.
Pro-Tip: Inoculate the new soil with mycorrhizal fungi. This symbiosis expands the effective root surface area by up to 1,000 times, allowing the plant to scavenge phosphorus more efficiently and increasing its resistance to environmental stress.
Establishing
During the first 21 days post-transplant, the plant is in a critical establishment phase. Avoid heavy fertilization during this window to prevent salt burn on new, delicate root hairs. Focus on maintaining consistent humidity levels between 50% and 60%.
Pro-Tip: Utilize phototropism to your advantage by rotating the pot 90 degrees every week. This prevents the lopsided accumulation of biomass and ensures that all leaves receive sufficient photon flux for uniform carbohydrate production.
The Clinic:
Symptom: Interveinal Chlorosis
Diagnosis: Magnesium deficiency. The older leaves turn yellow between the veins while the veins remain green.
Solution: Apply a solution of 1 tablespoon of Epsom salts per gallon of water. Magnesium is the central atom in the chlorophyll molecule; without it, photosynthesis fails.
Symptom: Leaf Tip Burn
Diagnosis: Fluoride or chlorine toxicity, common in spider plants.
Solution: Switch to distilled water or let tap water sit for 24 hours to allow gases to dissipate. Maintain 1.5 inches of water per week to flush accumulated salts from the substrate.
Symptom: Stem Canker or Basal Rot
Diagnosis: Phytophthora or Pythium fungal infection caused by overwatering.
Solution: Immediate surgical removal of infected tissue using sterilized bypass pruners. Repot in fresh, well-draining substrate and reduce irrigation frequency.
Fix-It: Nitrogen Deficiency
If the entire plant appears pale green and growth is stunted, the nitrogen levels are depleted. Apply a high-nitrogen organic fertilizer (e.g., fish emulsion) to restore the amino acid synthesis necessary for leaf development.
Maintenance:
Precision maintenance is the hallmark of a professional grower. Apply exactly 1.5 inches of water per week at the drip line, ensuring the liquid reaches the bottom of the root zone without saturating the crown. Use a hori-hori knife to weed the surface and aerate the top inch of soil once a month.
Pruning should be performed with bypass pruners to ensure clean cuts that heal quickly. Remove any necrotic tissue or yellowing leaves to prevent the spread of opportunistic pathogens. Monitor the underside of leaves for pests using a 10x jeweler's loupe. If mechanical control is needed, a sharp stream of water or a diluted horticultural soap is sufficient for non-toxic plants.
The Yield:
For cat-safe herbs like Petroselinum crispum (Parsley) or Ocimum basilicum (Basil), harvest timing is critical. Collect foliage in the early morning when essential oil concentration is at its peak and turgor pressure is highest. Never remove more than 30% of the leaf mass at one time to avoid shocking the plant.
Post-harvest, submerge the stems in cool water immediately. This maintains the hydrostatic pressure within the xylem, preventing wilting. For flowers like the African Violet, pinch off spent blooms at the base of the pedicel to redirect energy toward new bud formation rather than seed production.
FAQ:
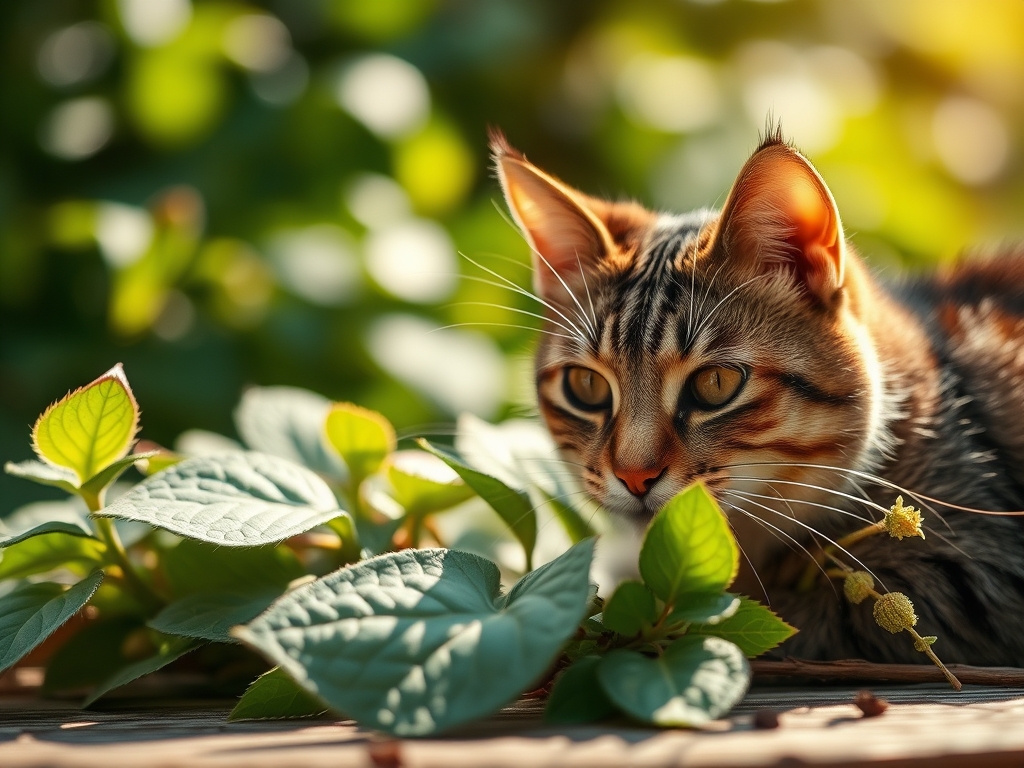
How can I tell if a plant is cat-safe?
Consult the ASPCA toxicological database or the Pet Poison Helpline. Look for plants categorized as non-toxic. Avoid any species containing insoluble calcium oxalates, essential oils, or cardiac glycosides, as these cause immediate physiological distress in felines.
What are the best low-light cat-safe plants?
The Cast Iron Plant (Aspidistra elatior) and the Parlor Palm (Chamaedorea elegans) are superior choices. Both tolerate light levels as low as 50 to 100 foot-candles while remaining completely non-toxic to cats and dogs.
Do cat-safe plants require special fertilizer?
No, but you must ensure the fertilizer is fully incorporated into the soil to prevent pets from ingesting concentrated pellets. Use organic, liquid-based nutrients with a balanced NPK ratio to ensure the safety of the entire household environment.
How do I stop my cat from eating safe plants?
Provide an alternative, such as Cat Grass (Dactylis glomerata). Place highly valued ornamental plants on elevated shelving. Maintaining the plant's health through proper cation exchange and hydration ensures it can recover quickly if minor browsing occurs.