5 Quick Steps to Air Pruning Pots
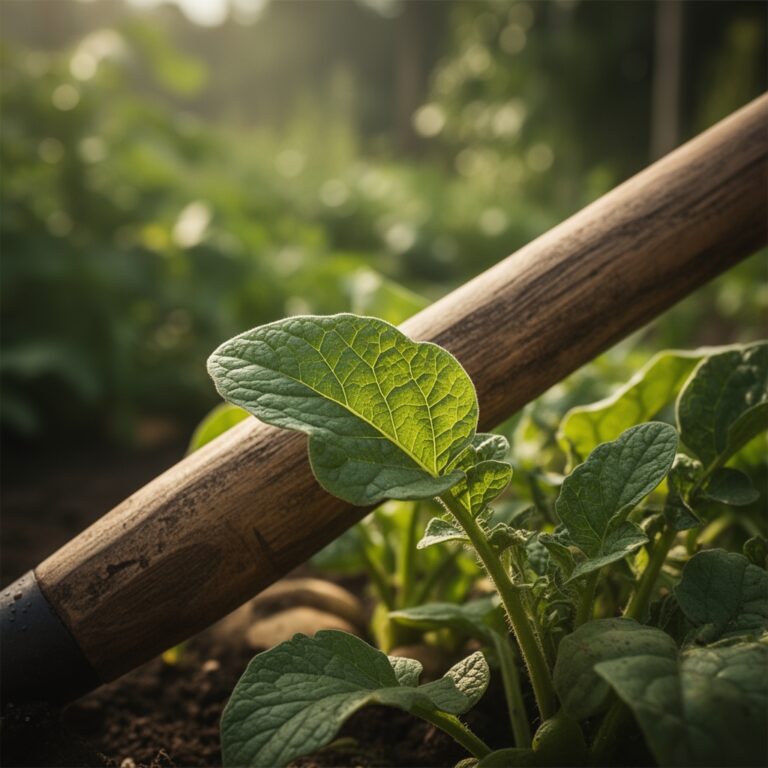
The first time you tip a rootbound plant from a conventional nursery pot, the mass of circling white roots tells a story of confinement and wasted energy. Roots that spiral endlessly around plastic walls cannot perform their primary function: anchoring the plant and mining nutrients from distant soil pockets. The steps to air pruning pots solve this ancient problem by exposing root tips to air, triggering natural pruning responses that redirect auxin distribution toward lateral branching. Instead of circling, roots proliferate into dense, fibrous networks that maximize surface area for water and nutrient uptake.
Materials
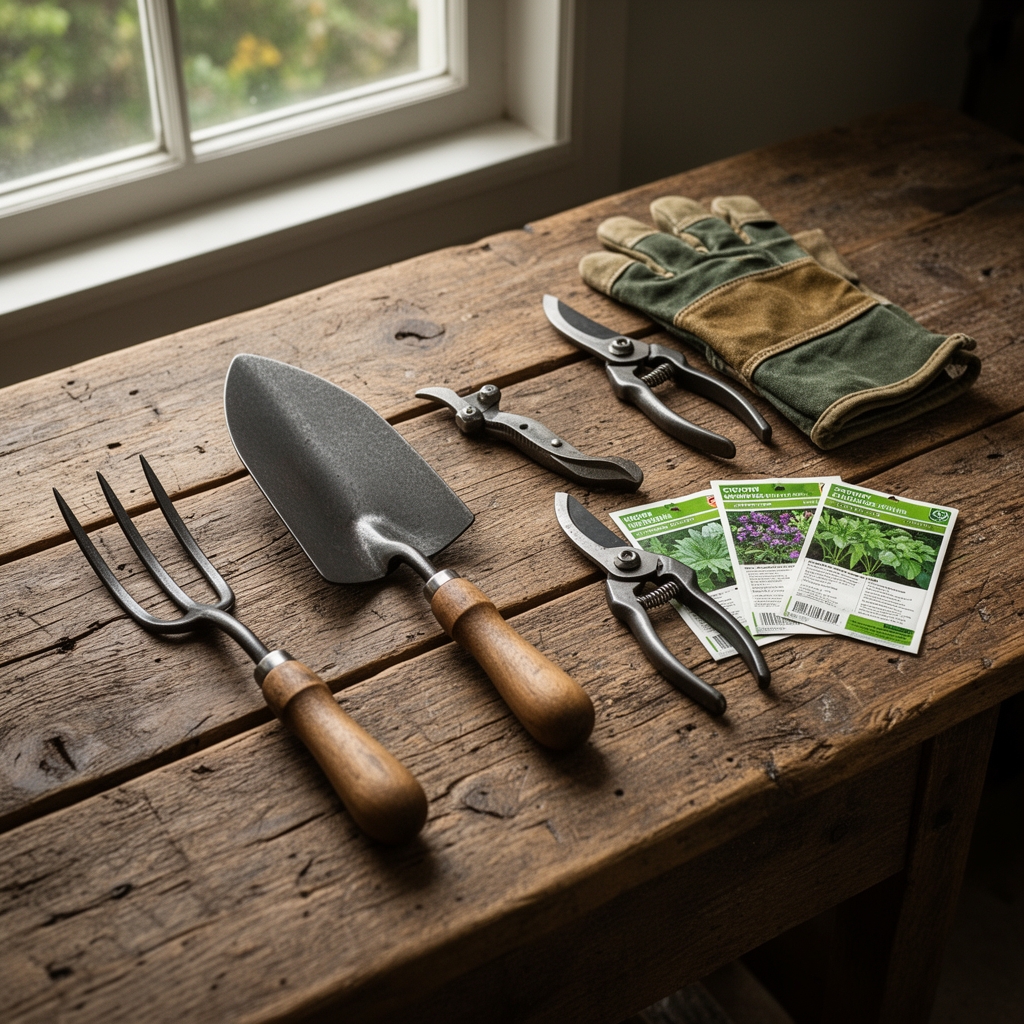
Air pruning containers range from commercial fabric pots to DIY wire-mesh cylinders lined with landscape fabric. Fabric pots in 5-, 10-, and 15-gallon sizes suit most vegetables and shrubs. Wire mesh requires 1/2-inch hardware cloth cut to height and circumference, secured with zip ties or stainless steel wire.
Growing medium must balance drainage and cation exchange capacity. A standard mix combines 40% sphagnum peat moss (pH 3.5-4.5), 30% perlite, 20% compost (pH 6.5-7.0), and 10% worm castings. For acid-loving species, increase peat to 50% and incorporate sulfur to lower pH to 5.0-5.5. For heavy feeders, amend with 4-4-4 organic fertilizer at 2 tablespoons per gallon of medium. Blood meal (12-0-0) supplements nitrogen for leafy crops; bone meal (3-15-0) supports root development and flowering.
Mycorrhizal inoculant powders containing Glomus intraradices or Rhizophagus irregularis colonize roots within two weeks when mixed at 1 teaspoon per gallon during potting. Kelp meal at 1 tablespoon per gallon supplies trace elements and growth hormones.
Timing
Zones 3-5 permit outdoor use of air pruning pots from late May through September, after final frost dates. Zones 6-7 extend the window from mid-April to mid-October. Zones 8-10 support year-round deployment with seasonal medium amendments.
Warm-season annuals (tomatoes, peppers, basil) transplant into air pruning pots when soil temperatures stabilize above 60°F. Cool-season crops (brassicas, lettuce, peas) thrive in spring and fall windows when ambient temperatures range between 45-70°F. Perennial woody plants establish best when moved into air pruning containers during dormancy, between November and March in temperate zones.
Phases
Sowing
Direct seed into air pruning pots only for tap-rooted species intolerant of transplanting. Fill containers to within 2 inches of the rim. Sow seeds at twice their diameter depth. Lettuce and carrots require surface sowing with light peat coverage. Water with a mist setting to prevent seed displacement.
Pro-Tip: Coat large seeds (beans, squash) with Rhizobium or Bacillus subtilis inoculant powder before sowing to establish beneficial bacteria colonies on emerging radicles within 48 hours.
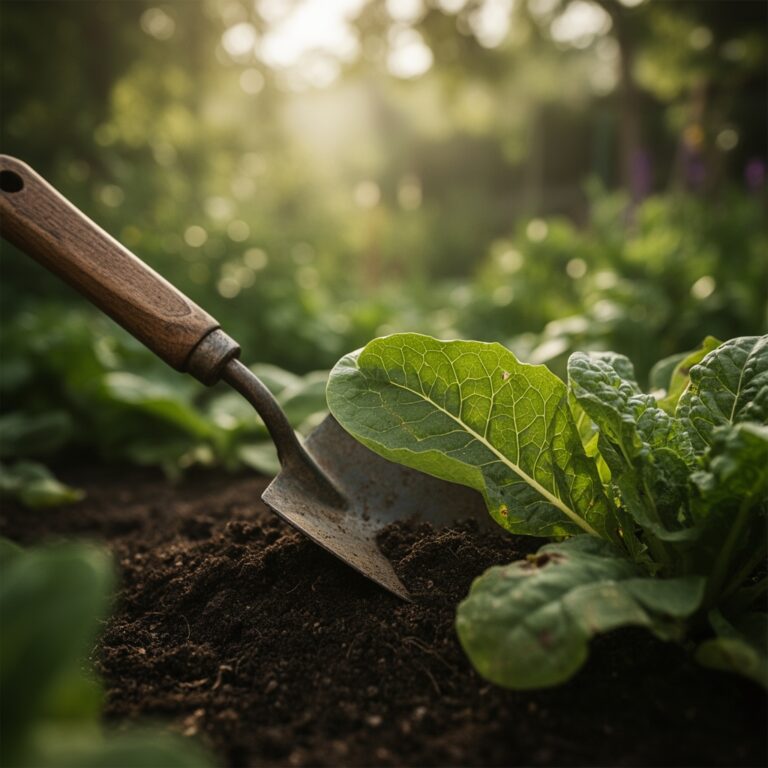
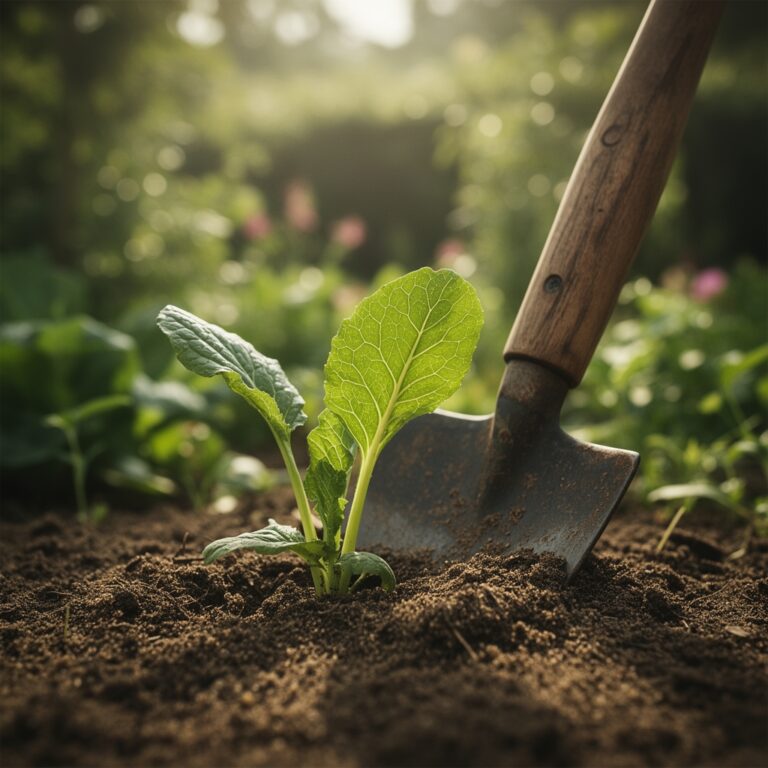
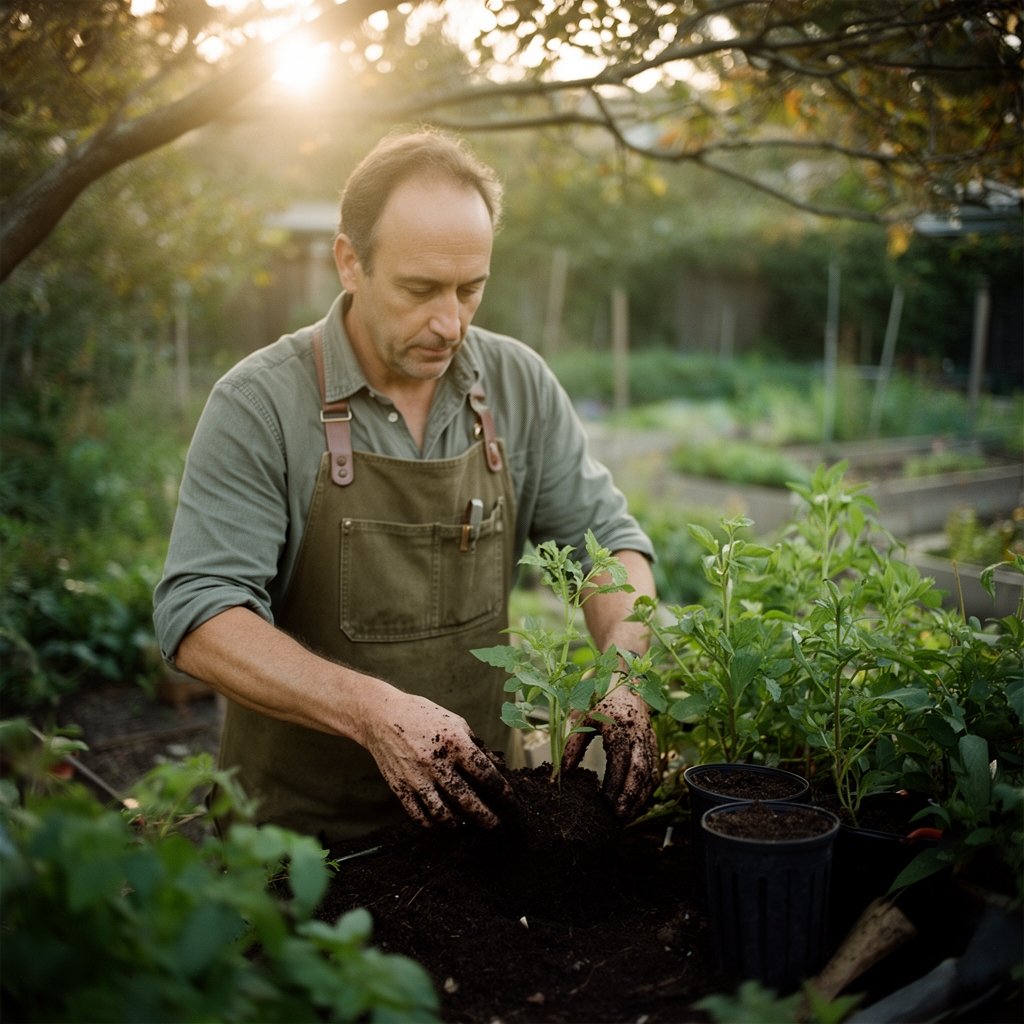
Transplanting
Seedlings move into air pruning pots at the 4-6 true-leaf stage, typically 3-4 weeks after germination. Excavate a planting hole equal to the root ball depth but 1 inch wider. Position the crown at the original growing depth, never burying stems to avoid collar rot. Backfill with prepared medium, tamping gently to eliminate air pockets without compacting.
Tomatoes tolerate deep planting; bury stems up to the first true leaves to encourage adventitious root formation along buried nodes. Water immediately with a 1-2-1 transplant solution diluted to half strength.
Pro-Tip: Dip bare roots in a slurry of 1 part mycorrhizal inoculant to 3 parts water before planting to ensure hyphal contact with root epidermis cells.
Establishing
Root tips reach container edges within 7-10 days. Air exposure desiccates apical meristems, halting elongation and stimulating lateral root primordia 1-2 inches behind the tip. This process repeats through successive branching orders, creating a root system with 300% greater surface area than pot-bound equivalents.
Monitor the top 2 inches of medium daily; air pruning accelerates evapotranspiration by 20-30% compared to solid-wall pots. Roots fully colonize the medium in 3-4 weeks for annuals, 8-12 weeks for woody perennials.
Pro-Tip: Apply liquid kelp at 1 tablespoon per gallon every 14 days during establishment to supply cytokinins that promote lateral root initiation and fine root-hair density.
Troubleshooting
Symptom: Leaf chlorosis beginning at lower nodes, with interveinal yellowing progressing upward.
Solution: Nitrogen deficiency. Drench with fish emulsion (5-1-1) at 2 tablespoons per gallon. Repeat every 7 days until green color returns, typically within 10-14 days.
Symptom: Root tips visible protruding through fabric, turning brown and woody.
Solution: Normal air-pruning response, not pathology. Trim dead tips flush with fabric using sterile shears if aesthetic concerns arise.
Symptom: White, cotton-like fungal growth on medium surface.
Solution: Saprophytic mold feeding on organic matter, non-pathogenic to plants. Scratch surface with a hand cultivator to disrupt mycelium and improve aeration. Reduce watering frequency by 20%.
Symptom: Wilting despite moist medium, accompanied by foul odor at root zone.
Solution: Pythium or Phytophthora root rot from anaerobic conditions. Cease watering. Apply Bacillus amyloliquefaciens drench at label rates. Increase perlite fraction to 40% in replacement medium.
Symptom: Stunted growth with purple-tinged leaf margins.
Solution: Phosphorus immobilization in high-pH medium. Drench with phosphoric acid solution to lower medium pH to 6.0-6.5. Supplement with bone meal top-dress at 1 tablespoon per gallon.
Maintenance
Water when the top 1 inch of medium feels dry to the touch, typically every 1-2 days in summer heat. Deliver 10-15% of pot volume per irrigation; a 10-gallon pot receives 1-1.5 gallons. Water until drainage appears from the base. Avoid standing water in saucers beyond 15 minutes.
Feed every 10-14 days with balanced liquid fertilizer (5-5-5 or 10-10-10) diluted to half-strength, approximately 1 tablespoon per gallon. Heavy feeders (tomatoes, roses) tolerate full-strength applications. Flush medium with clear water every fourth watering to prevent salt accumulation.
Rotate pots 90 degrees weekly to equalize light exposure and prevent phototropic bending. Elevate containers on pot feet or bricks to ensure air circulation beneath the base, critical for complete root-tip air pruning.
FAQ
How long do air pruning pots last?
Fabric pots endure 3-5 growing seasons with proper care. UV degradation and root penetration weaken fibers over time. Wire-mesh frames last indefinitely; replace landscape fabric liners every 2-3 years.
Can air pruning pots prevent root rot?
Enhanced aeration reduces anaerobic conditions that favor Pythium and Phytophthora by 60-70%, but overwatering still causes rot. Maintain proper moisture without saturation.
Do air pruned roots recover after transplanting?
Yes. Lateral roots resume elongation within 3-5 days when moved to open ground or larger containers. The fibrous architecture established during air pruning persists, accelerating establishment by 40%.
What medium depth suits air pruning containers?
Minimum 8 inches for annuals, 12-18 inches for shrubs and small trees. Root systems develop proportionally to vertical space; shallow pots limit air-pruning benefits.
Should fertilizer rates change in air pruning pots?
Increase feeding frequency by 20-30% because accelerated root turnover and higher evapotranspiration deplete nutrients faster than in conventional containers. Monitor leaf color and growth rate to adjust schedules.