5 Quick Steps to Install a Bird Box
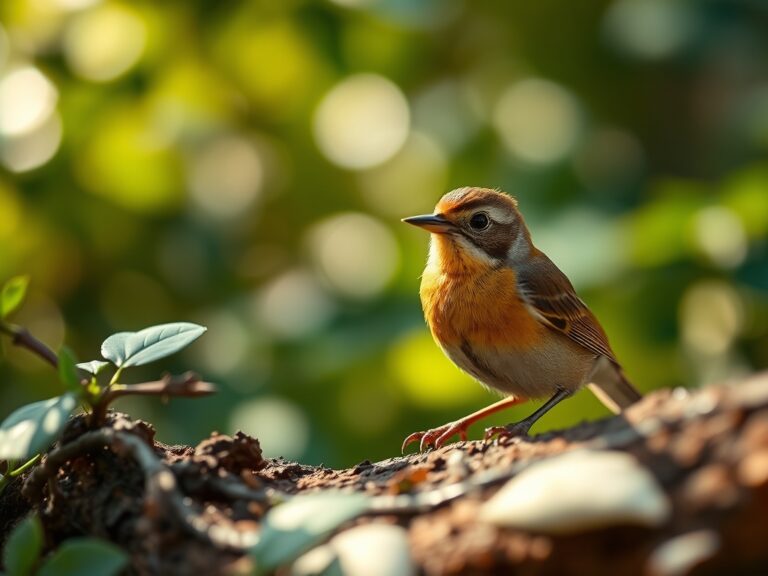
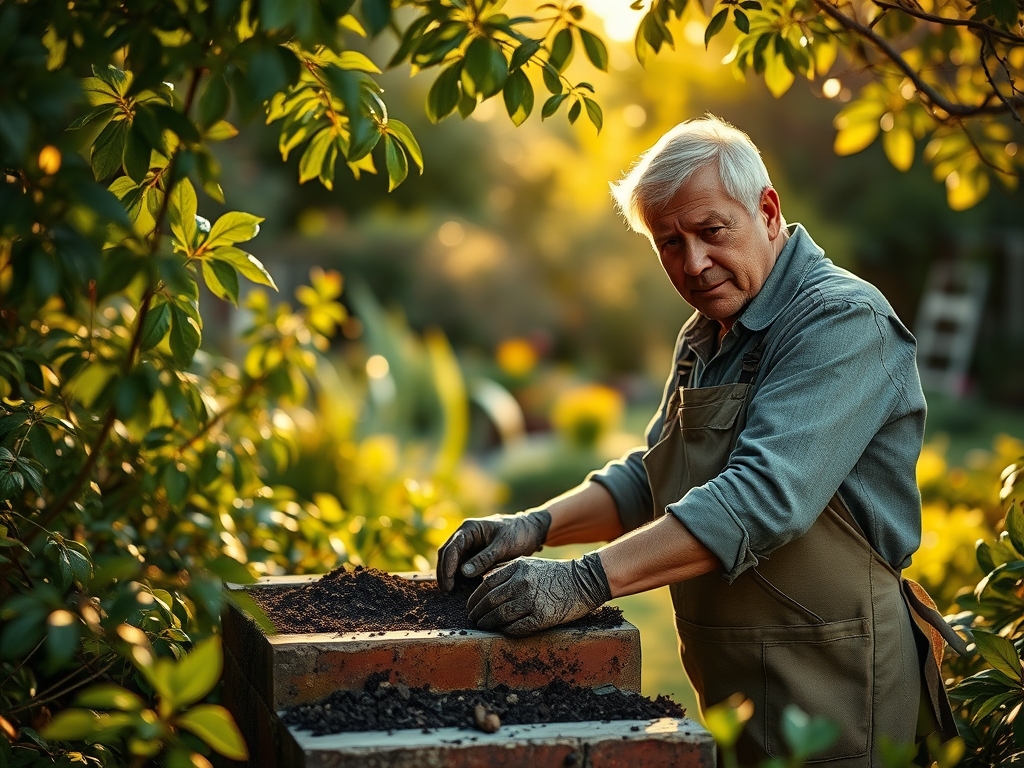
Damp earth releases a sharp, metallic scent of geosmin as the spade cuts through the root zone. The turgor pressure in nearby perennials remains high, their stems rigid and filled with sap. This is the precise environment required to execute the steps to install a bird box. Success depends on understanding the biological intersection of avian nesting cycles and the surrounding botanical architecture. You must integrate the structure into the landscape before the spring flush of growth begins. Proper placement ensures that the box becomes a functional extension of the ecosystem rather than a foreign object. We focus on the structural integrity of the site and the physiological needs of the local species. This process requires technical precision and a deep understanding of the seasonal transition from dormant wood to active meristematic growth.
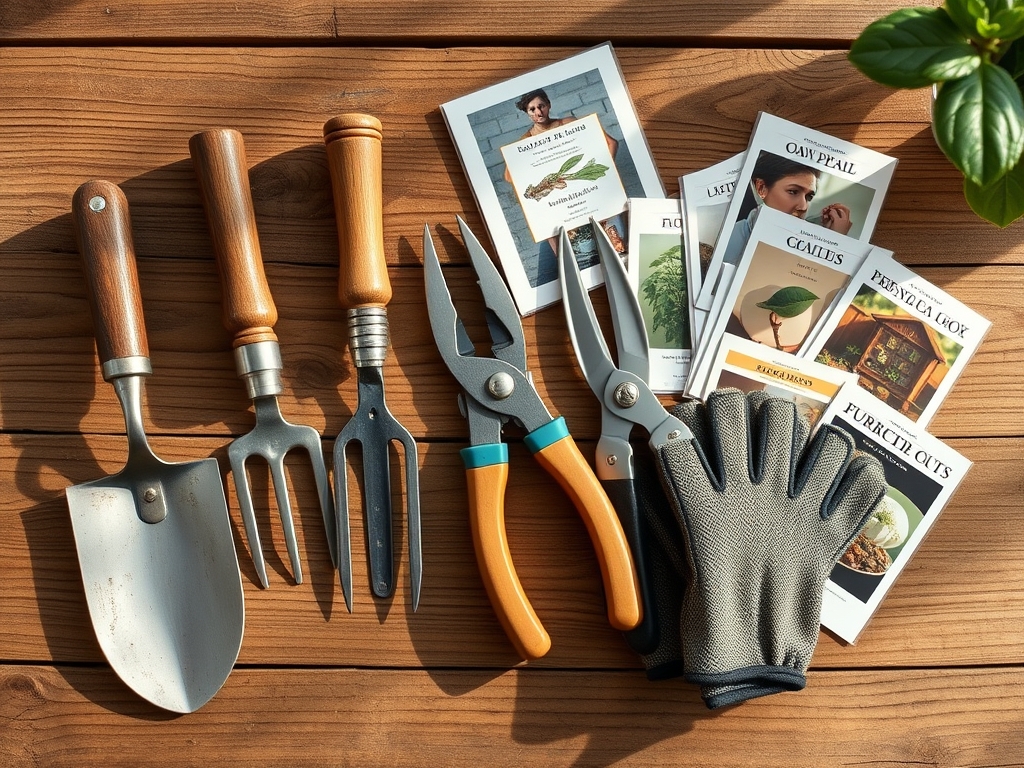
Materials:
Installation success begins with the soil and the substrate beneath the mounting site. If you are planting a support post, the soil must be a **friable loam** with a **pH between 6.0 and 7.0**. High clay content leads to poor drainage and frost heaving, which can tilt the box and disrupt the nesting cavity. Ensure the site has a high **Cation Exchange Capacity (CEC)** of at least **15 to 25 meq/100g** to support the surrounding vegetation that provides cover.
For the surrounding flora that will provide the necessary insect biomass for the birds, apply a slow-release fertilizer with an NPK ratio of 10-10-10. This balanced ratio supports root development (Phosphorus), foliage growth (Nitrogen), and cellular resilience (Potassium). The physical texture of the ground should be crumbly; avoid compacted soils that limit the rhizosphere expansion of nearby protective shrubs.
Timing:
In USDA Hardiness Zones 4 through 7, the ideal window for installation is late winter, specifically between February 15 and March 15. This precedes the "Biological Clock" of most cavity-nesting species, which coincides with the transition from the vegetative stage to the reproductive stage in local flora. You must install the box before the first frost-free date to allow the structure to weather and lose any synthetic scents.
As the photoperiod increases, plants begin senescence of winter dormancy and initiate bud break. This surge in auxin levels in the surrounding trees signals the return of migratory birds. If you wait until the reproductive stage of the local flora (flowering), you have missed the primary nesting window. Monitor the soil temperature; once it consistently hits 50 degrees Fahrenheit, the biological activity in the soil accelerates, and the nesting season is officially underway.
Phases:
Sowing the Site
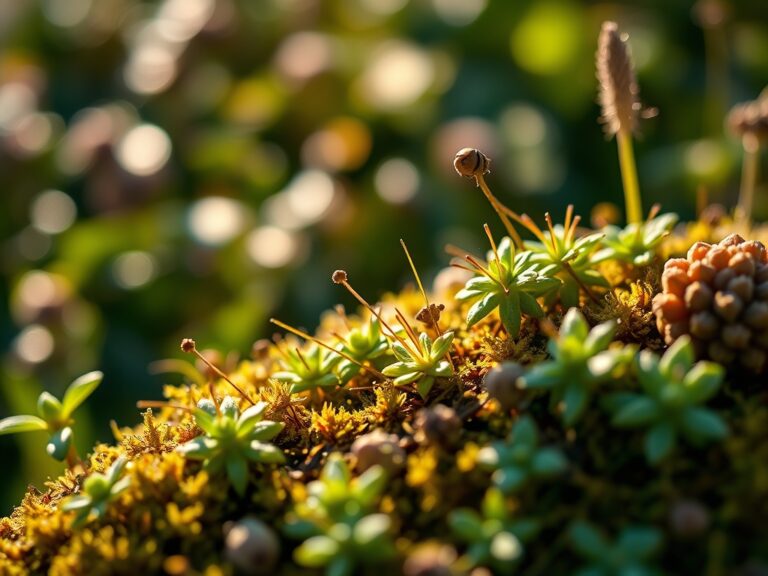
Before mounting, establish a "buffer zone" of native plants. Sow seeds of dense shrubs like Viburnum or Cornus at a depth of 0.5 inches. These plants provide the necessary cover and insect protein for the hatchlings.
Pro-Tip: Utilize mycorrhizal symbiosis by inoculating the soil with fungal spores. This enhances the root system's ability to absorb water and nutrients, ensuring the protective foliage grows dense enough to hide the box from predators.
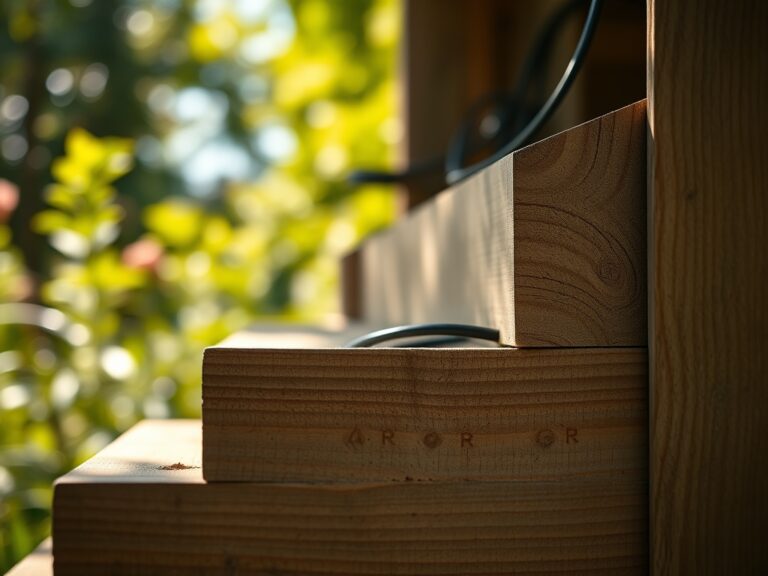
Transplanting the Support
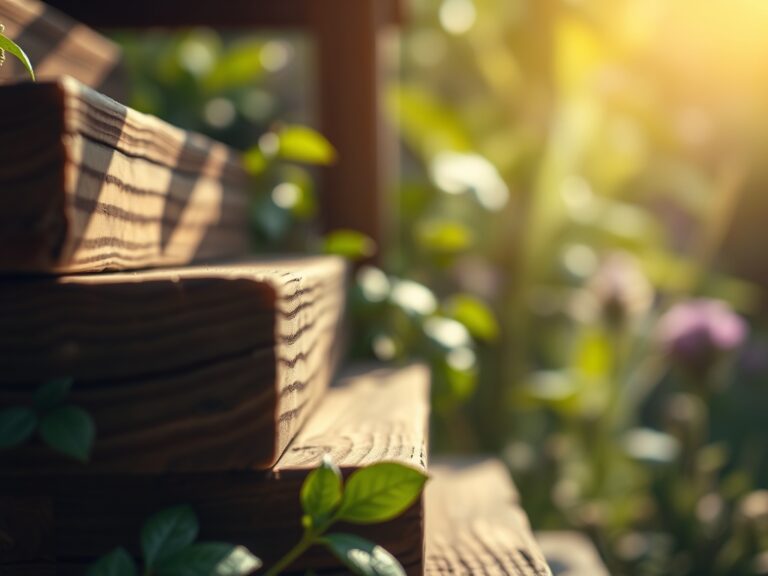
If using a wooden post, treat the base with a non-toxic sealant. Dig a hole 24 inches deep to bypass the frost line. Ensure the post is perfectly vertical using a spirit level.
Pro-Tip: Align the box opening toward the East or Northeast. This utilizes phototropism in reverse; by facing away from the prevailing afternoon sun, you prevent the internal temperature of the box from exceeding 100 degrees Fahrenheit, which causes heat stress in the brood.
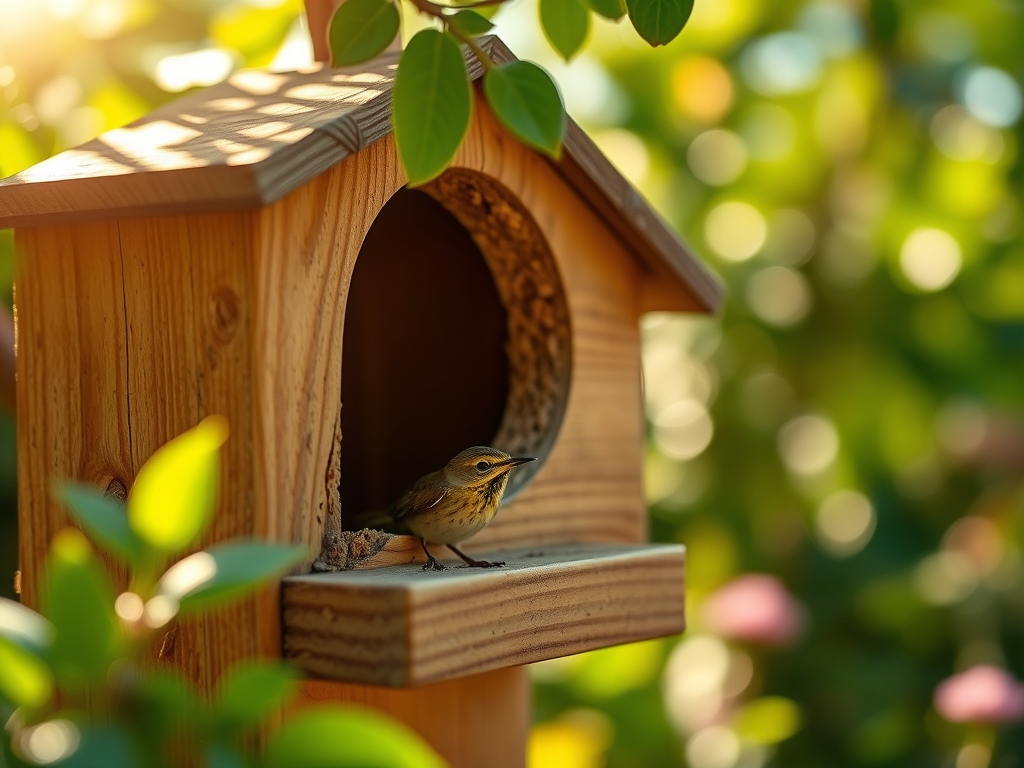
Establishing the Cavity
Secure the box at a height of 5 to 10 feet depending on the target species. Use stainless steel screws to prevent rust streaks that can alter the chemical composition of the bark if mounting on a tree.
Pro-Tip: Avoid auxin suppression by not girdling the tree. If mounting to a living trunk, use a mounting bracket that allows the tree to expand. This prevents the disruption of the phloem, ensuring the tree continues to transport sugars from the leaves to the roots.
The Clinic:
Physiological disorders in the surrounding landscape can impact the success of your bird box. Monitor these symptoms closely.
- Symptom: Nitrogen Chlorosis. Leaves on nearby cover plants turn pale yellow while veins remain green.
- Solution: Apply a high-nitrogen supplement (NPK 20-10-10) to restore chlorophyll production and foliage density.
- Symptom: Leaf Turgor Loss. Drooping leaves despite moist soil.
- Solution: This often indicates root rot or high salinity. Flush the soil with 2 inches of water to leach excess salts and improve oxygenation in the rhizosphere.
- Symptom: Premature Leaf Senescence. Leaves falling off in mid-summer.
- Solution: Check for localized drought stress. Use a soil moisture meter to ensure the root zone maintains a consistent moisture level of 30 to 40 percent.
Fix-It: For Magnesium deficiency (interveinal chlorosis on older leaves), apply Epsom salts at a rate of 1 tablespoon per foot of plant height. This stabilizes the central atom of the chlorophyll molecule.
Maintenance:
Precision maintenance ensures the bird box remains a viable habitat for multiple seasons. Use a soil moisture meter twice weekly to monitor the hydration of the surrounding windbreak. Provide exactly 1.5 inches of water per week at the drip line of nearby trees to maintain high turgor pressure.
In late autumn, use a hori-hori knife to scrape out old nesting material. This prevents the buildup of pathogens and parasites. Inspect the mounting hardware with bypass pruners nearby to clear any encroaching limbs that might provide a pathway for predators. If the wood shows signs of desiccation, apply a light coat of raw linseed oil to maintain the structural integrity of the cellulose fibers.
The Yield:
While a bird box does not produce a caloric yield, the "harvest" is the successful fledging of a brood. To maximize this biological output, ensure the surrounding ecosystem is rich in soft-bodied insects. Do not use chemical pesticides; these disrupt the endocrine systems of the birds and eliminate the primary food source. A healthy, high-CEC soil will naturally produce the biomass required to sustain the birds from hatching to flight.
FAQ:
What is the best height for a bird box?
Mount the box between 5 and 10 feet above the ground. This height provides a balance between predator avoidance and accessibility for maintenance. Ensure the flight path is clear of dense woody vegetation to allow for easy entry.
How do I prevent the box from overheating?
Orient the entrance hole toward the Northeast. This protects the interior from the intense thermal radiation of the afternoon sun. Use thick, 0.75-inch cedar boards to provide natural thermal insulation for the developing chicks.
When should I clean out the nesting box?
Clean the box in late October or November after all broods have fledged. Remove all organic debris to prevent the overwintering of mites and bacteria. Use a stiff brush and a solution of one part vinegar to nine parts water.
Can I mount the box on a living tree?
Yes, but use stainless steel lag bolts and a spacer. This prevents the tree from growing over the box and protects the vascular cambium. Avoid tight wires or bands that cause girdling and disrupt the flow of photosynthates.