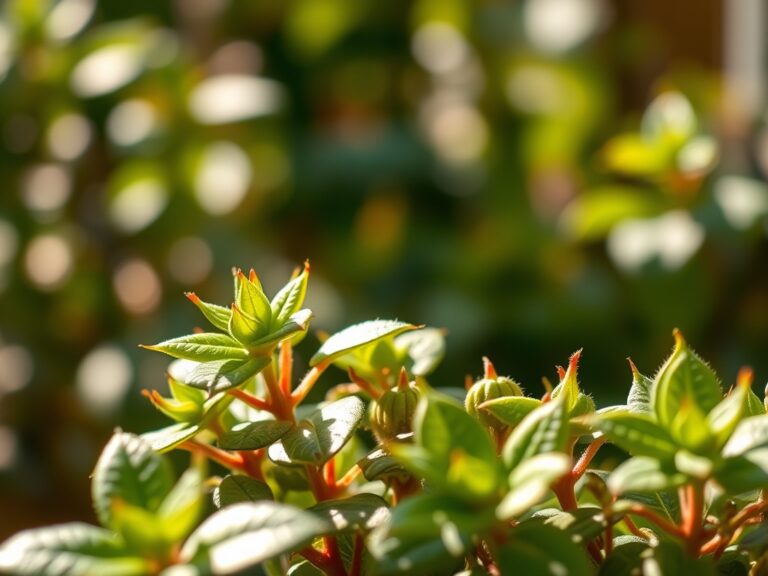
6 Basic Steps to Grow Boston Ferns Indoors
The smell of damp peat moss and the sharp, metallic scent of wet terracotta define the initial stages of successful cultivation. Achieving high turgor pressure in the fronds of Nephrolepis exaltata requires a precise balance of humidity and substrate saturation. When you master the steps to grow boston ferns indoors, the plant transitions from a stagnant state to a lush, arching specimen. Success is measured by the rigidity of the stipe and the absence of necrotic pinnae.
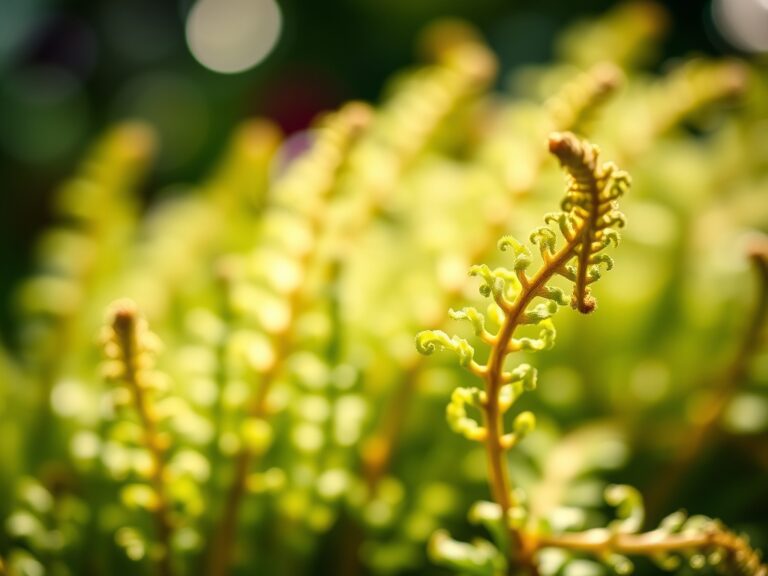
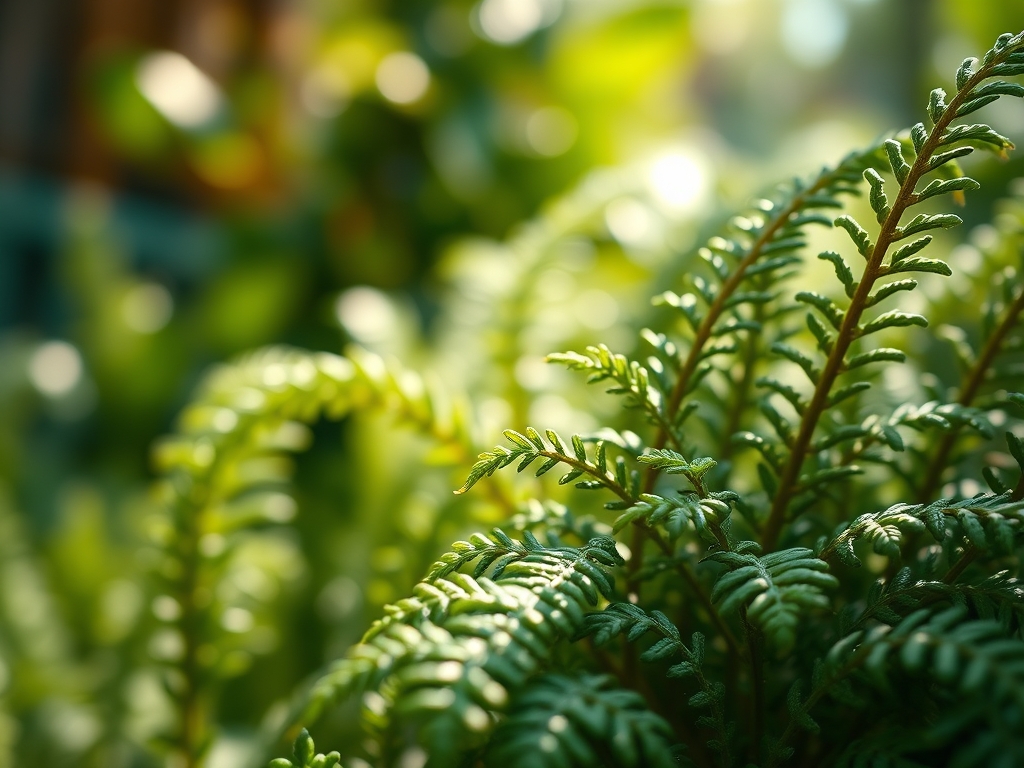
This species is a terrestrial fern that thrives in the filtered light of the forest floor. In an indoor environment, we must replicate the high humidity and stable temperatures of its native tropical habitat. The physiological health of the fern depends on a consistent transpiration rate. If the air is too dry, the stomata close; if the soil is too wet, the rhizosphere becomes anaerobic. Precise environmental control is the only way to maintain a healthy specimen over several seasons.
Materials:

The ideal substrate for Boston ferns is a friable loam with a high organic matter content. Aim for a soil pH between 5.0 and 5.5. This acidity ensures that micronutrients like iron and manganese remain bioavailable. The Cation Exchange Capacity (CEC) should be high to retain nutrients against the leaching effects of frequent watering.
For fertilization, utilize a water-soluble formula with an NPK ratio of 20-10-20. This specific ratio provides the nitrogen necessary for vegetative frond expansion while maintaining enough potassium for cellular wall strength. Avoid heavy phosphorus loads, as these can lead to salt buildup in containerized environments. The physical mix should consist of 50 percent peat moss, 25 percent perlite, and 25 percent pine bark to ensure rapid drainage while maintaining moisture retention.
Timing:
Boston ferns are hardy in USDA Zones 9 through 11. Indoors, the biological clock is governed by the photoperiod and ambient temperature. The vegetative growth phase is most aggressive when day lengths exceed 12 hours and temperatures remain between 65 and 75 degrees Fahrenheit.
During the winter months, the plant enters a period of semi-dormancy or slowed senescence. Growth regulators within the plant shift as light intensity drops. It is critical to reduce fertilizer application during this window to prevent the accumulation of unused salts in the root zone. The transition from vegetative expansion to reproductive spore production on the underside of the pinnae (sori) usually occurs in late summer if the plant has reached sufficient maturity and light levels are optimal.
Phases:
Sowing and Propagation
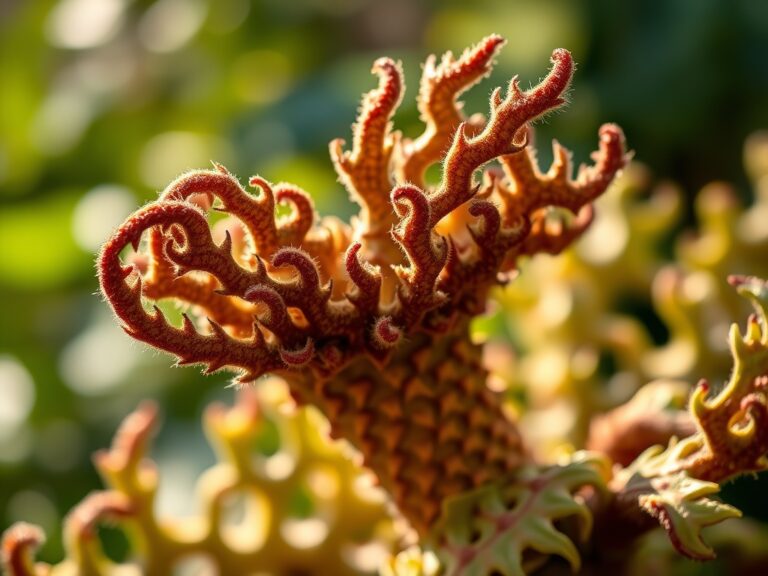
Boston ferns are rarely grown from spores by home enthusiasts due to the slow maturation rate. Instead, propagation is achieved through the division of runners or rhizomes. Locate a healthy runner and pin it to the surface of a separate pot containing moist substrate. Once the runner develops its own root system, sever it from the parent plant using a hori-hori knife.
Pro-Tip: This process relies on auxin suppression. By severing the runner, you remove the apical dominance of the parent plant, triggering the runner to produce its own localized hormones for independent root and frond development.
Transplanting
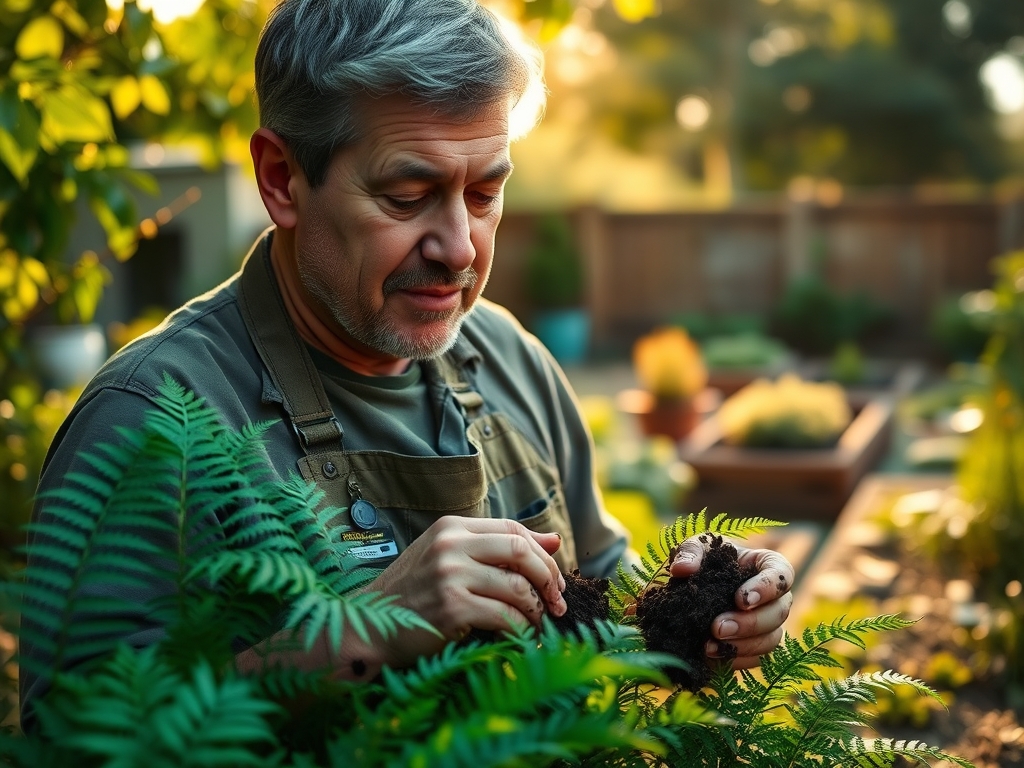
When the root mass begins to circle the interior of the pot, transplanting is required. Select a container only 2 inches wider than the current one. Gently loosen the outer roots to encourage outward growth into the new substrate. Ensure the crown of the fern sits exactly at the soil line; burying the crown leads to rot, while exposing it leads to desiccation.
Pro-Tip: Maintaining mycorrhizal symbiosis during transplanting is vital. Adding a small amount of the old substrate to the new pot inoculates the fresh soil with beneficial fungi that assist in phosphorus uptake and water transport.
Establishing
The first 21 days after transplanting are the establishment phase. During this time, the fern is vulnerable to transplant shock. Maintain a constant humidity level of at least 50 percent. Avoid direct sunlight, which can cause photo-inhibition and scorch the delicate pinnae.
Pro-Tip: Use a soil moisture meter to ensure the root zone stays consistently between a 6 and 8 on a 10-point scale. This prevents the loss of turgor pressure, which is difficult for the plant to recover once the vascular tissue collapses.
The Clinic:
Physiological disorders in Boston ferns are usually a direct result of environmental stressors rather than pathogens.
Symptom: Yellowing of lower fronds (Chlorosis).
Solution: This is often a nitrogen deficiency. Apply a 20-10-20 NPK fertilizer at half strength to restore chlorophyll production.
Symptom: Brown, crispy frond tips.
Solution: Low humidity or high salt index. Increase ambient humidity to 60 percent and flush the soil with distilled water to leach accumulated salts.
Symptom: Rapid leaf drop.
Solution: This is a stress response to sudden temperature fluctuations or extreme desiccation. Ensure the fern is away from HVAC vents and maintain a steady 70-degree environment.
Fix-It for Magnesium Deficiency: If new growth appears pale while veins remain dark, apply 1 teaspoon of Epsom salts per gallon of water once a month to boost magnesium levels, which are central to the chlorophyll molecule.
Maintenance:
Precision maintenance is the difference between a surviving fern and a thriving one. Boston ferns require approximately 1.5 inches of water per week, delivered evenly across the soil surface. Use a soil moisture meter daily to check the top two inches of the substrate.
Pruning should be performed with sterilized bypass pruners. Remove any brown or dead fronds at the base of the plant to improve airflow through the center of the crown. This prevents the buildup of stagnant air which can encourage fungal growth. Every six months, take the fern to a sink and wash the fronds with lukewarm water. This removes dust that blocks the stomata and inhibits gas exchange.
The Yield:
While Boston ferns are not edible, the "yield" is measured in biomass and air filtration capacity. To maintain "day-one" freshness and aesthetic density, rotate the plant 90 degrees every week. This prevents phototropism from causing the plant to lean toward the light source, ensuring an even, 360-degree distribution of fronds. If you are using the fern for floral arrangements, cut the fronds early in the morning when turgor pressure is at its peak and immediately submerge the cut ends in 40-degree Fahrenheit water.
FAQ:
How much light does a Boston fern need?
They require bright, indirect light. Aim for 1,000 to 1,500 foot-candles. Direct afternoon sun will cause cellular damage and necrosis of the pinnae. North or east-facing windows provide the most stable light spectrum for indoor growth.
Why are the leaves on my fern turning brown and falling off?
This is typically caused by a humidity deficit. When ambient humidity drops below 40 percent, the plant sheds foliage to reduce its transpiration surface area. Use a humidifier to maintain a consistent 50 to 60 percent moisture level.
What is the best fertilizer for Boston ferns?
Use a balanced, water-soluble fertilizer with a 20-10-20 NPK ratio. Apply at half-strength every two weeks during the active growing season. Avoid fertilizers with high urea content, as they can burn the sensitive root system.
How often should I repot my Boston fern?
Repotting is generally required every 18 to 24 months. Check for roots emerging from the drainage holes. Always move up only one pot size to prevent the excess soil from holding too much moisture and causing root rot.