7 Best Way to Mount Air Plants
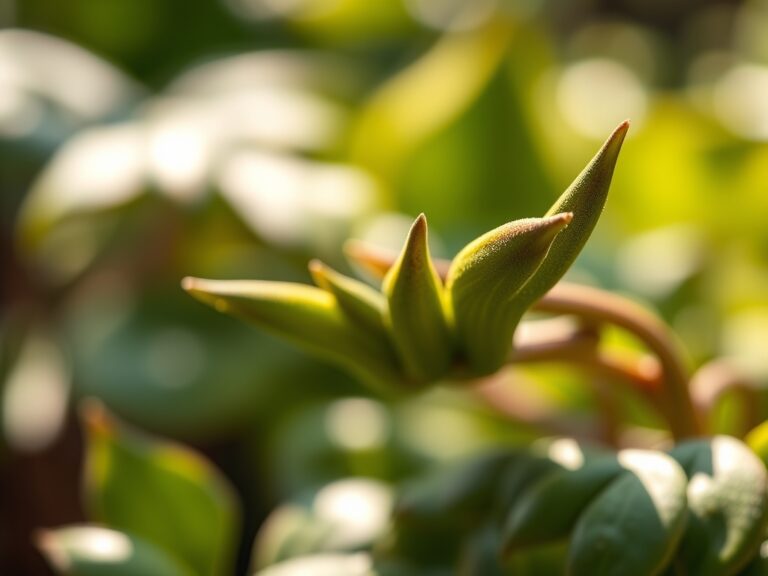
Turgor pressure in a healthy Tillandsia leaf feels like a rigid, hydraulic spring. When the trichomes are saturated, the silvery scales lay flat, allowing the plant to maximize photosynthetic efficiency. Achieving this state requires more than just water; it demands a stable physical foundation. Determining the best way to mount air plants is a technical exercise in replicating the epiphytic conditions of the neotropics. You are not potting a plant; you are engineering a micro-habitat where gas exchange and moisture retention exist in a delicate, calculated equilibrium.
Materials:
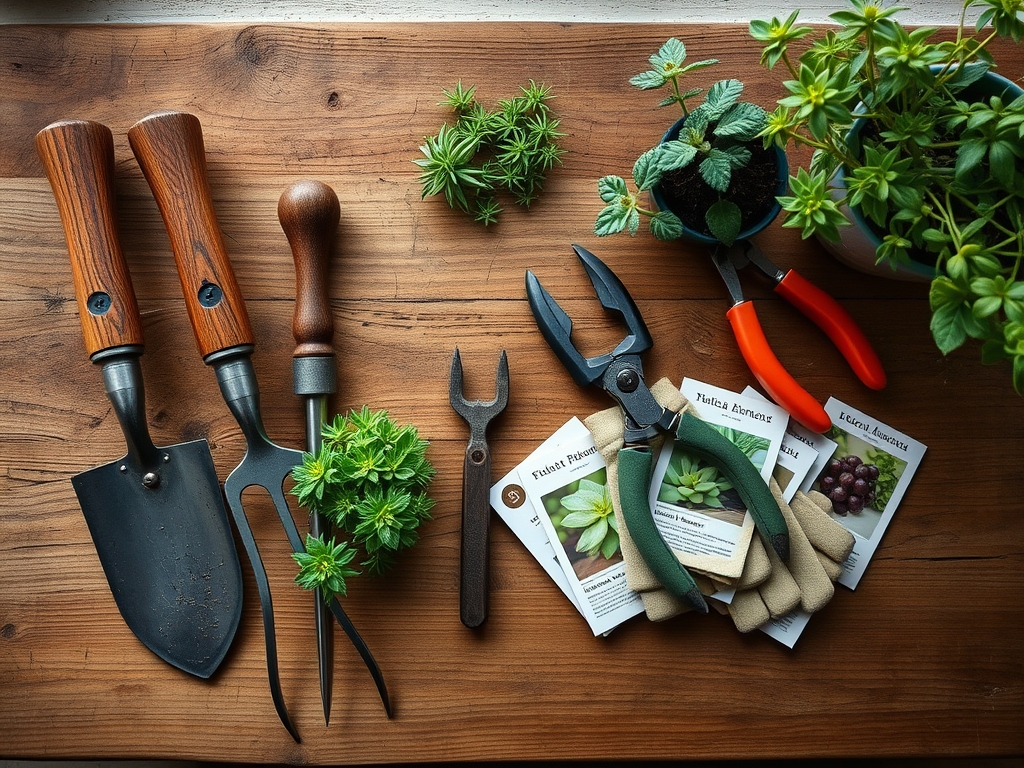
While air plants do not utilize a rhizosphere in the traditional sense, their health depends on the chemical composition of their mounting surface. Avoid pressure-treated lumber; the copper-based fungicides are toxic to bromeliads. Select cork bark or driftwood with a neutral pH between 5.8 and 6.5. If using an adhesive, ensure it is a cyanoacrylate-based gel or a specialized E6000 formulation that does not release acetic acid during the curing process.
For supplemental nutrition, utilize a water-soluble fertilizer with an NPK ratio of 17-8-22. This specific nitrogen-heavy formula compensates for the lack of soil-based nitrogen fixation. The substrate must be physically stable and non-porous to prevent the accumulation of salts, which can lead to localized toxicity. The ideal mounting surface has a low Cation Exchange Capacity (CEC), ensuring that nutrients remain available in the water film surrounding the base rather than being locked into the wood fibers.
Timing:
Mounting should occur during the active vegetative stage, typically when ambient temperatures remain consistently between 65 and 85 degrees Fahrenheit. In Hardiness Zones 9 through 11, this can be done year-round. In cooler zones, timing must align with the increase in photoperiod during spring. This aligns with the biological clock of the plant; as light levels increase, the production of auxins at the apical meristem triggers new leaf development and root adhesion. Avoid mounting during the senescence phase or when the plant is in full anthesis (flowering), as the metabolic energy is diverted away from structural integration.
Phases:
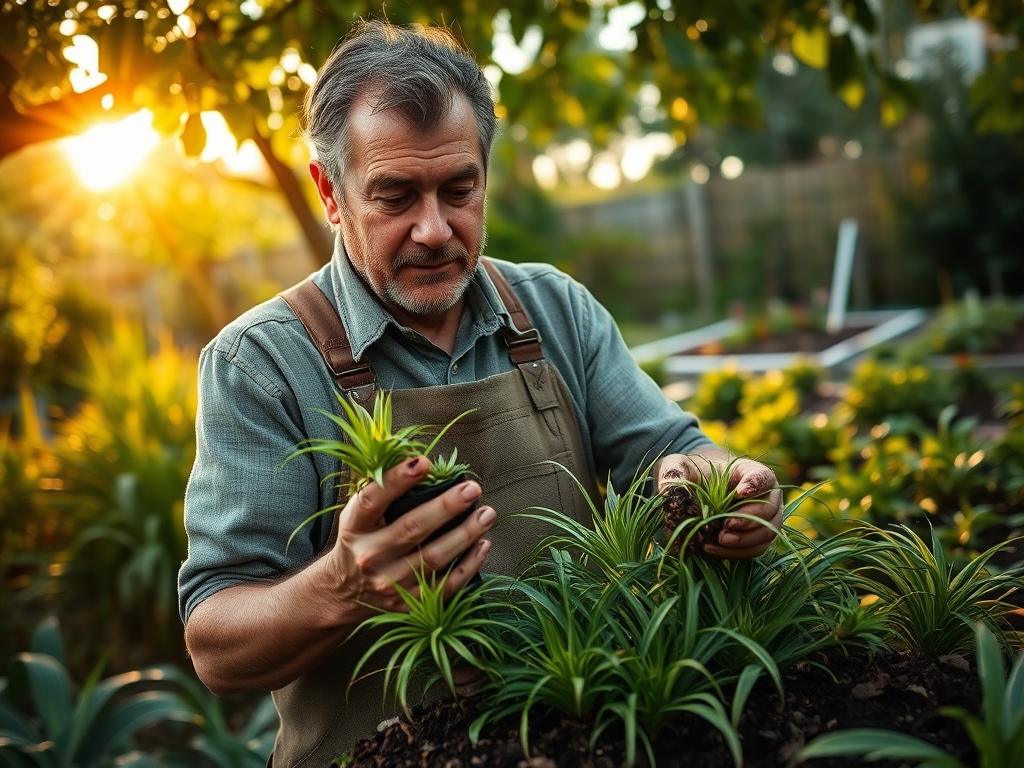
Sowing the Foundation
Position the plant so the base makes direct contact with the substrate. Use galvanized wire or clear monofilament to secure the plant. Ensure the wire is tight enough to prevent movement but loose enough to avoid crushing the outer leaves. The goal is to provide enough stability for the plant to eventually produce "holdfast" roots that will chemically and physically bond to the surface.
Pro-Tip: Stability is the primary trigger for root initiation. If the plant moves even a millimeter, the developing root tips will abort. This is due to thigmomorphogenesis; the plant perceives mechanical stress as an unstable environment and halts root elongation to conserve energy.
Transplanting to the Mount
If moving a pup (offset) from a mother plant, wait until the pup is at least one-third the size of the parent. Use a sharp, sterilized bypass pruner to make a clean cut. Apply a small amount of cinnamon or a specialized fungicide to the wound to prevent fungal pathogens from entering the vascular system. Place the offset in a location with high air circulation to allow the wound to callous for 24 hours before mounting.
Pro-Tip: Callousing prevents the "wicking" of pathogens into the parenchyma cells. By allowing the wound to dry, you facilitate the formation of a suberin layer, which acts as a biological barrier against rot.
Establishing the Micro-Climate
Once mounted, the plant requires a strict hydration schedule to compensate for the lack of a moisture-retaining substrate. Mist the plant three times weekly and perform a full submersion soak for 30 minutes once every ten days. Use a soil moisture meter or a hygrometer to ensure the ambient humidity stays above 50 percent. Observe the trichomes; if they appear white and "fuzzy," the plant is attempting to trap more moisture from the air.
Pro-Tip: Submersion hydration utilizes the principle of osmosis. By saturating the trichomes, you create a pressure gradient that forces water into the internal storage cells, maintaining the turgor necessary for structural integrity.
The Clinic:
Monitoring physiological disorders is critical for long-term survival.
-
Symptom: Soft, brown tissue at the base.
Solution: This indicates crown rot caused by trapped water. Increase air circulation and ensure the plant is mounted at an angle where water cannot pool in the leaf axils. -
Symptom: Leaf tips turning brown and brittle.
Solution: This is a sign of low humidity or high mineral salts in the water. Switch to rainwater or distilled water and increase misting frequency. -
Symptom: Pale, yellowing leaves (Chlorosis).
Solution: Nitrogen deficiency. Apply a 17-8-22 NPK foliar spray at half-strength once a month during the growing season. -
Symptom: Stunted growth and lack of color.
Solution: Insufficient light. Tillandsia require at least 1,000 to 2,000 foot-candles of light to maintain metabolic rates.
Fix-It: If you notice Nitrogen chlorosis, do not over-fertilize. Excessive nitrogen can cause "soft growth," making the plant susceptible to pests. Apply a balanced micronutrient solution containing chelated iron and magnesium to restore chlorophyll production.
Maintenance:
Precision is the hallmark of a master horticulturist. Air plants require a specific volume of water; aim for the equivalent of 1.5 inches of rain per week if kept outdoors. For indoor specimens, use a hori-hori knife to scrape away any algae or lichen growth on the mount that might compete for nutrients. Every six months, inspect the mounting wire. If the plant has grown significantly, the wire may begin to constrict the vascular tissue. Use bypass pruners to snip old wires once the plant's own roots have taken hold. Maintain a strict photoperiod of 12 to 14 hours of bright, indirect light for optimal growth.
The Yield:
While air plants are not edible, their "yield" is the production of offsets, or pups. A healthy mount will produce 2 to 4 pups after each bloom cycle. To harvest these, wait until they reach 50 percent of the parent's size. This ensures they have sufficient nutrient reserves to survive the transition. Handle the pups by the base only to avoid damaging the delicate trichome layer. Once removed, they can be mounted onto new substrates following the same technical protocols.
FAQ:
What is the best adhesive for mounting?
Use cyanoacrylate gel or E6000. These are chemically inert once cured. Avoid hot glue, as the thermal shock can damage the plant's basal tissue and disrupt the movement of water through the specialized cells at the base.
Can I use copper wire to secure my plants?
No. Copper is highly toxic to all bromeliads. It interferes with the plant's enzymatic processes and will eventually cause systemic failure. Use stainless steel, galvanized wire, or plastic-coated floral wire to ensure the plant remains healthy.
How do I know if my mount is too dry?
Observe the leaf curvature. When dehydrated, the leaves will curl inward or roll into a tighter "U" shape to reduce surface area and limit transpiration. This is a survival mechanism to maintain internal water potential during drought.
Does the type of wood matter for the mount?
Yes. Use rot-resistant woods like cedar, cypress, or cork bark. These materials have a low Cation Exchange Capacity and a neutral pH, preventing nutrient lock-out and ensuring that the plant receives the full benefit of foliar fertilization.