7 Easy Ways How to Can Vegetable Jars
Learning how to can vegetable jars transforms summer's peak harvest into shelf-stable nutrition that lasts through winter. The process preserves beans, carrots, beets, and corn at their maximum nutrient density while maintaining texture and flavor. Proper canning technique requires precise temperature control, acidity management, and sterile processing to prevent botulism spores from germinating. Each jar becomes a compact ecosystem where heat penetration, headspace, and seal integrity determine safety and longevity.
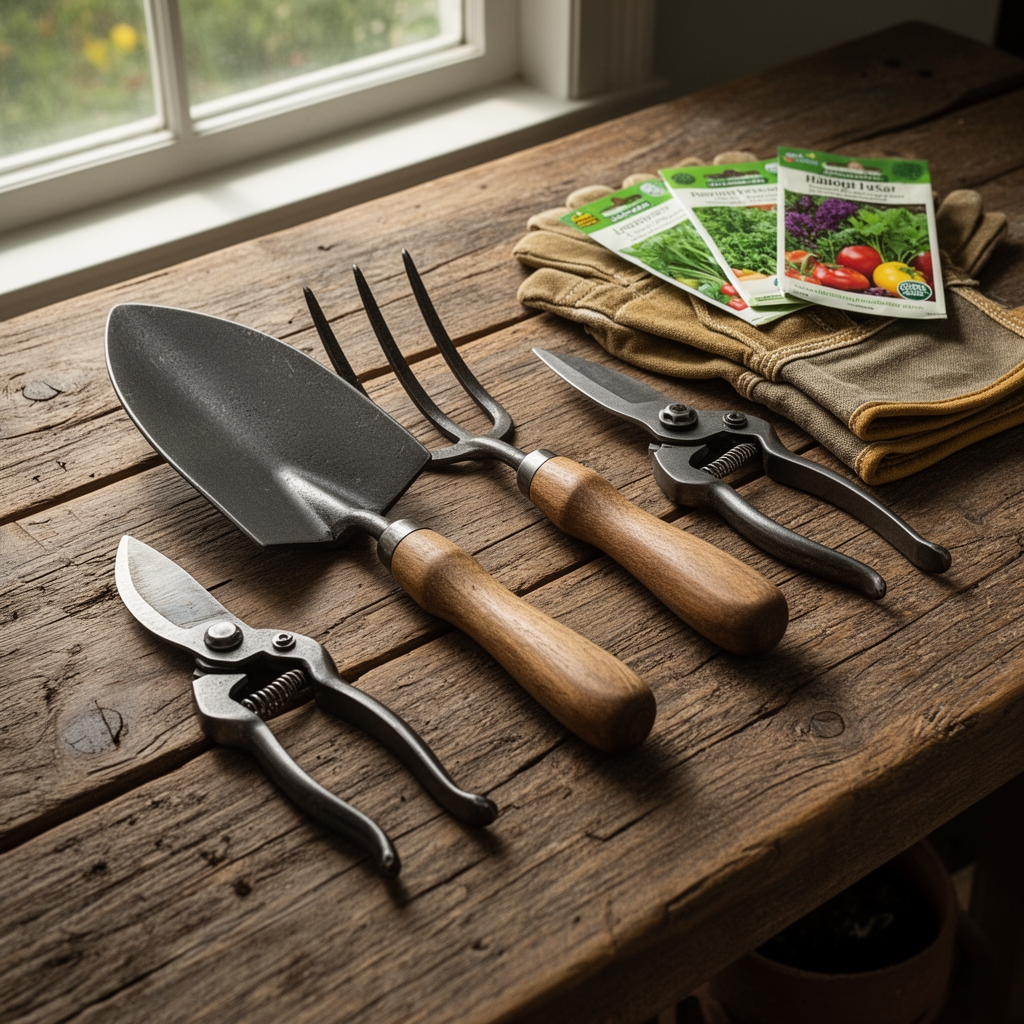
Materials for Pressure Canning
A dial-gauge or weighted-gauge pressure canner rated to reach 240°F at 10-15 PSI forms the foundation. Low-acid vegetables (pH above 4.6) demand pressure processing because boiling water baths only reach 212°F, insufficient to destroy Clostridium botulinum endospores.
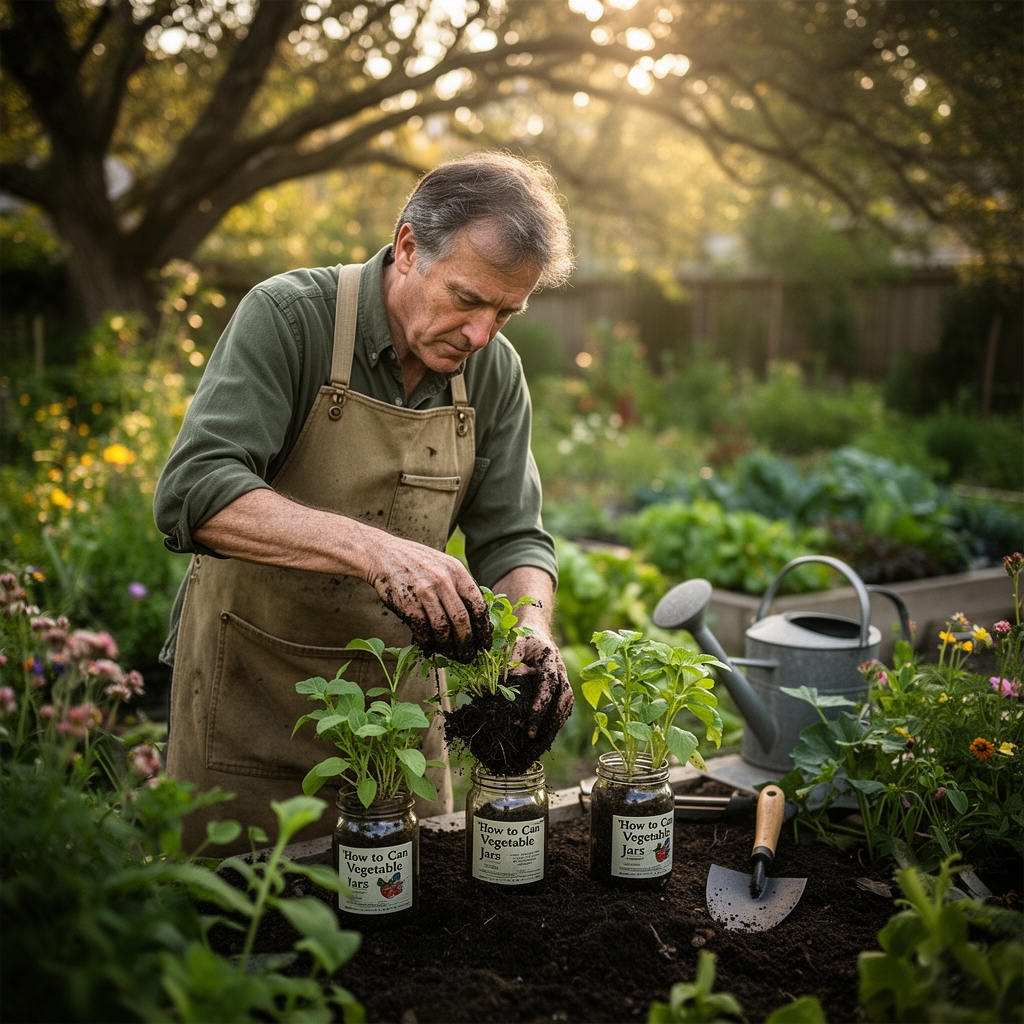
Select wide-mouth quart or pint Mason jars with two-piece lids. The flat metal disk features a food-grade rubberized compound that softens during processing and creates a hermetic seal upon cooling. Inspect each jar rim for chips or cracks that compromise seal integrity.
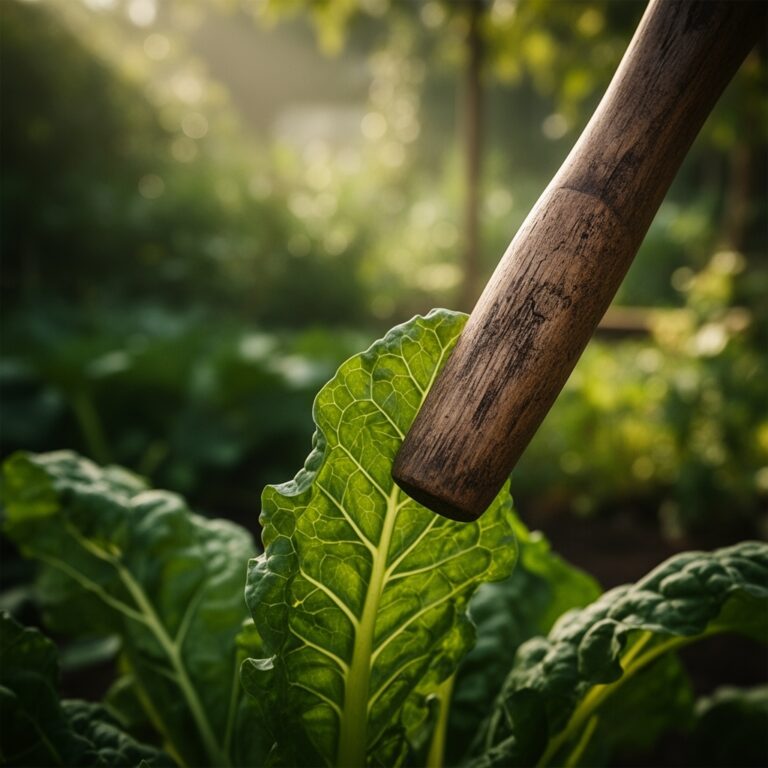
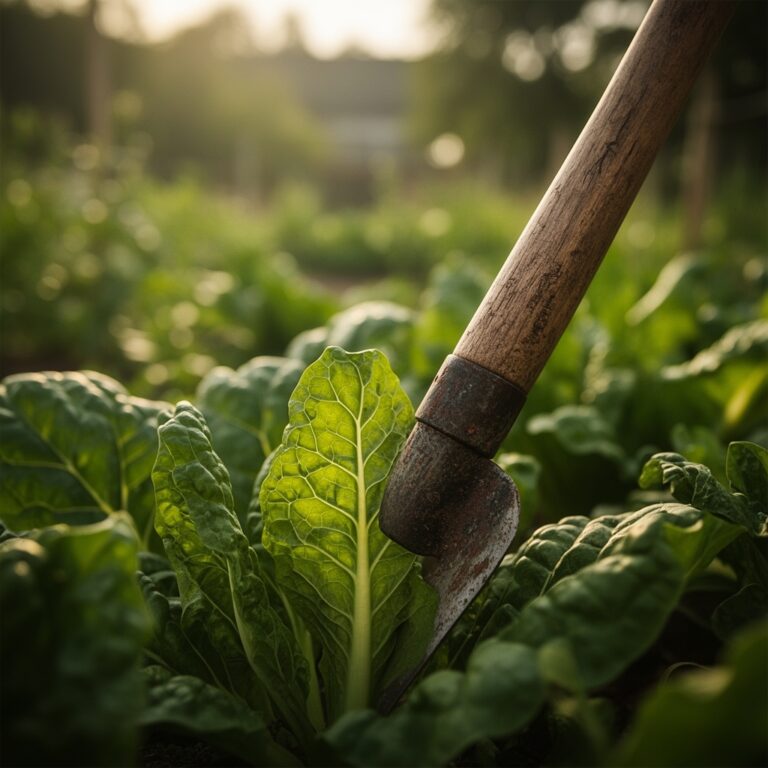
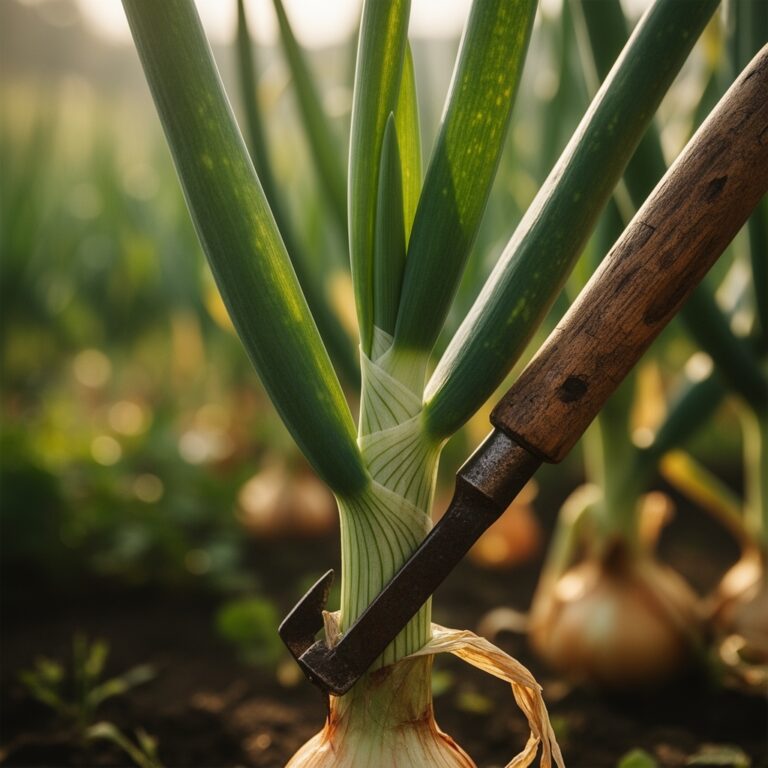
Harvest vegetables at peak maturity when carbohydrate conversion reaches its maximum and fiber remains tender. Beans show best quality when seeds are one-quarter developed inside pods. Carrots require 60-75 days post-germination, reaching 1-1.5 inches in diameter. Beets grown in soil amended with kelp meal (1-0-2 NPK ratio) develop superior earthy flavor compounds.
A jar lifter with rubberized grips prevents thermal shock. A magnetic lid wand retrieves sterilized lids from hot water without introducing skin oils or contaminants. A bubble remover and headspace tool ensures consistent 1-inch clearance between liquid surface and jar rim.
Timing by Hardiness Zone
Zones 3-5 experience killing frosts from September 15 to October 15, creating a narrow canning window for cold-season crops like Brussels sprouts and kale. Begin pressure canning operations in late August as determinate bean varieties reach harvest size.
Zones 6-7 enjoy extended harvest from July through October. Stagger plantings at 14-day intervals to distribute canning workload and prevent processing bottlenecks. Succession-planted 'Provider' bush beans produce flushes every three weeks.
Zones 8-10 support year-round cultivation in protected microclimates. Focus pressure canning on surplus production during peak months when photosynthetic efficiency exceeds household consumption rates.
Processing Phases
Preparation Phase
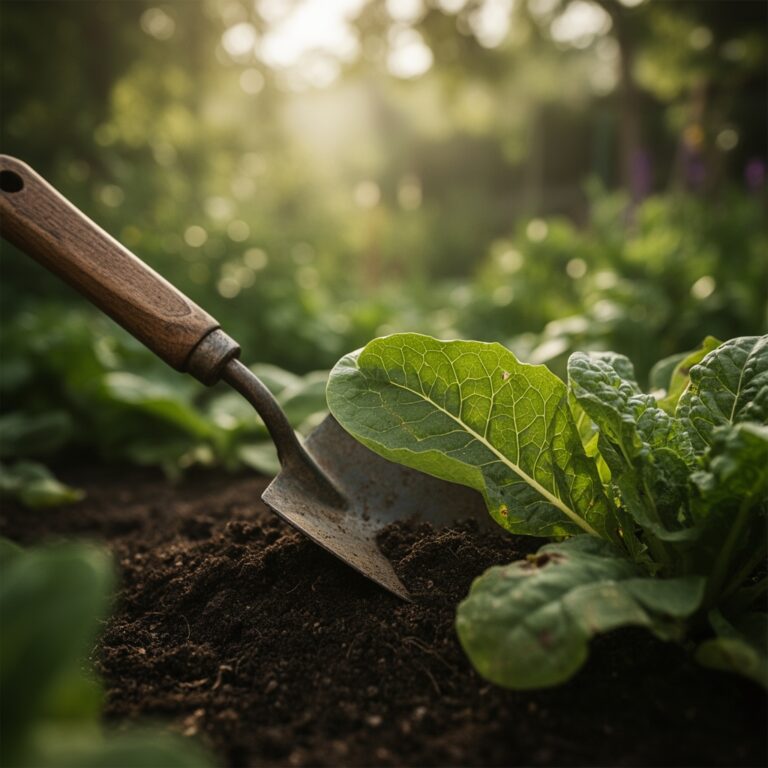
Wash vegetables under cold running water to remove soil particles and reduce microbial load by 2-3 logarithmic units. Trim beans to uniform 1-inch segments for consistent heat penetration. Peel carrots and slice into rounds no thicker than 0.25 inches. Remove beet greens 2 inches above the crown to prevent bleeding during processing.
Blanch vegetables in boiling water for 3-5 minutes to deactivate polyphenol oxidase enzymes that cause discoloration. Blanching also shrinks cellular volume, allowing tighter jar packing and improved brine displacement.
Pro-Tip: Add 1 tablespoon of calcium chloride per gallon of blanching water to maintain cell wall rigidity through pectin cross-linking, producing firmer finished texture.
Filling Phase
Pack hot vegetables into hot jars, leaving 1 inch of headspace for expansion during heat processing. Raw-pack methods yield inferior texture because vegetables compress unevenly during the extended heat exposure.
Add 0.5 teaspoon of canning salt per pint or 1 teaspoon per quart to enhance flavor without affecting pH or processing safety. Pour boiling water or vegetable cooking liquid over contents, maintaining the 1-inch headspace measurement.
Remove trapped air pockets by sliding a non-metallic spatula between jar wall and vegetables in four quadrants. Air pockets create insulating barriers that prevent uniform heat distribution.
Pro-Tip: Test seal quality post-processing by removing the screw band and lifting jars by the flat lid edge. Properly sealed jars support their full weight without lid separation.
Processing Phase
Place filled jars on the canner rack with at least 1 inch of clearance between vessels for steam circulation. Add 2-3 inches of water to canner bottom and lock the lid mechanism according to manufacturer specifications.
Vent steam for 10 minutes at maximum heat to purge atmospheric air and establish pure steam environment. Close the vent and monitor pressure rise. Begin timing only when the dial reaches the prescribed PSI for your elevation.
Pints of green beans require 20 minutes at 11 PSI for elevations of 1,001-2,000 feet. Quarts demand 25 minutes under identical pressure. Consult USDA Complete Guide to Home Canning for processing times adjusted to your specific elevation and jar size.
Pro-Tip: Maintain constant pressure within 1 PSI of target. Fluctuations restart the processing clock and may compromise seal formation through repeated expansion-contraction cycles.
Troubleshooting Common Issues
Symptom: Cloudy liquid with sediment
Solution: Natural starch release from vegetables during processing. Not a safety concern unless accompanied by off-odors or spurting liquid upon opening, which indicate spoilage.
Symptom: Jar lids fail to seal (button remains raised)
Solution: Inadequate headspace, food particles on jar rim, or pressure loss during processing. Refrigerate immediately and consume within 3 days, or reprocess within 24 hours using new lids.
Symptom: Loss of liquid during processing (siphoning)
Solution: Pressure dropped too rapidly during cooling phase. Thermal shock creates vacuum surges that pull liquid from jars. Allow canner to depressurize naturally without forced cooling.
Symptom: Discolored vegetables (white, brown, or pink)
Solution: Oxidation from insufficient liquid coverage, enzymatic browning from inadequate blanching, or mineral deposits from hard water. Use filtered water with TDS below 150 ppm.
Symptom: Soft, mushy texture
Solution: Over-processing time, vegetables harvested past peak maturity, or insufficient acidity. Add 1 tablespoon bottled lemon juice per pint to improve cellular structure retention through pH adjustment to 4.3-4.5.
Maintenance Protocol
Store sealed jars in locations maintaining 50-70°F with relative humidity below 50%. Temperature fluctuations above 85°F accelerate nutrient degradation and may compromise seal integrity through lid compound deterioration.
Rotate stock using first-in-first-out inventory management. Consume pressure-canned vegetables within 12-18 months for optimal nutrient retention and texture. Vitamin C degrades at approximately 5% per month under standard storage conditions.
Inspect jars monthly for seal failure indicators: bulging lids, rust formation on lid rims, or liquid seepage. Remove screw bands after 24-hour cooling period to prevent moisture accumulation and rust that may reseal faulty jars.
Clean jar exteriors with dilute vinegar solution (1:4 ratio with water) to remove mineral deposits and processing residue that may harbor mold spores.
FAQ
How long does pressure canning take for quart jars of mixed vegetables?
Process quart jars for 90 minutes at 11 PSI (sea level to 1,000 feet elevation). Mixed vegetables require extended processing time equivalent to the densest component, typically corn or lima beans.
Can I reuse metal canning lids?
No. The sealing compound degrades after one heat cycle. Reused lids produce failure rates exceeding 40%. Screw bands may be reused indefinitely if free from rust and dents.
What causes jars to break during processing?
Thermal shock from placing cold jars into hot canner, hairline cracks in glass, or direct contact with canner bottom without rack support. Preheat jars in 180°F water for 10 minutes before filling.
Do I need to add salt to canned vegetables?
Salt functions as flavor enhancement only. Canning safety depends on heat, pressure, and acidity rather than sodium concentration. Omit salt for sodium-restricted diets without safety compromise.
Why do green beans turn olive-colored after canning?
Chlorophyll degradation from extended heat exposure converts bright green pigments to pheophytin. This chemical transformation does not affect safety or nutritional value but indicates proper heat penetration throughout jar contents.