8 Simple Ways How to Fix Root Bound
Root-bound plants suffocate in spirals of their own making. When a root system coils tightly against container walls, it creates a self-strangling mat that blocks water uptake, restricts nutrient flow, and signals the plant to stop growing. Understanding how to fix root bound conditions transforms struggling specimens into thriving, productive plants. The telltale signs appear as stunted growth, rapid soil drying, and roots protruding from drainage holes. Addressing this condition requires mechanical intervention, not merely transplanting into a larger pot.
Materials
Successful correction of root-bound plants demands specific tools and amendments. A sterile pruning shear or root saw removes the most damaged tissue without introducing pathogens. Prepare a transplant medium with a pH between 6.0 and 7.0, blending equal parts aged compost, perlite, and peat moss or coir. For nutrients, incorporate a balanced 4-4-4 organic meal at planting to support gradual root establishment without burning tender new growth.
Mycorrhizal inoculant powder, applied directly to exposed roots, accelerates the colonization of beneficial fungi that extend effective root reach by up to 100 times. A rooting hormone containing 0.1% indole-3-butyric acid (IBA) stimulates auxin distribution and lateral root formation. Keep hydrogen peroxide (3% solution) available to sterilize cutting tools between cuts, preventing the spread of root rot pathogens.
Timing
The optimal window for addressing how to fix root bound plants aligns with the species' natural dormancy or active growth period. For most herbaceous perennials and vegetables, early spring provides ideal conditions in Zones 5 through 9, specifically two weeks after the last expected frost date when soil temperatures reach 55°F.
Woody ornamentals tolerate root disturbance best during late winter dormancy, from January through early March in Zones 6 through 8. Tropical and subtropical species require intervention during their active growing season when temperatures consistently stay above 60°F. Avoid root work during flowering or fruiting stages, as the stress redirects energy away from reproduction and can cause bud or fruit drop.
Phases
Initial Assessment and Root Liberation
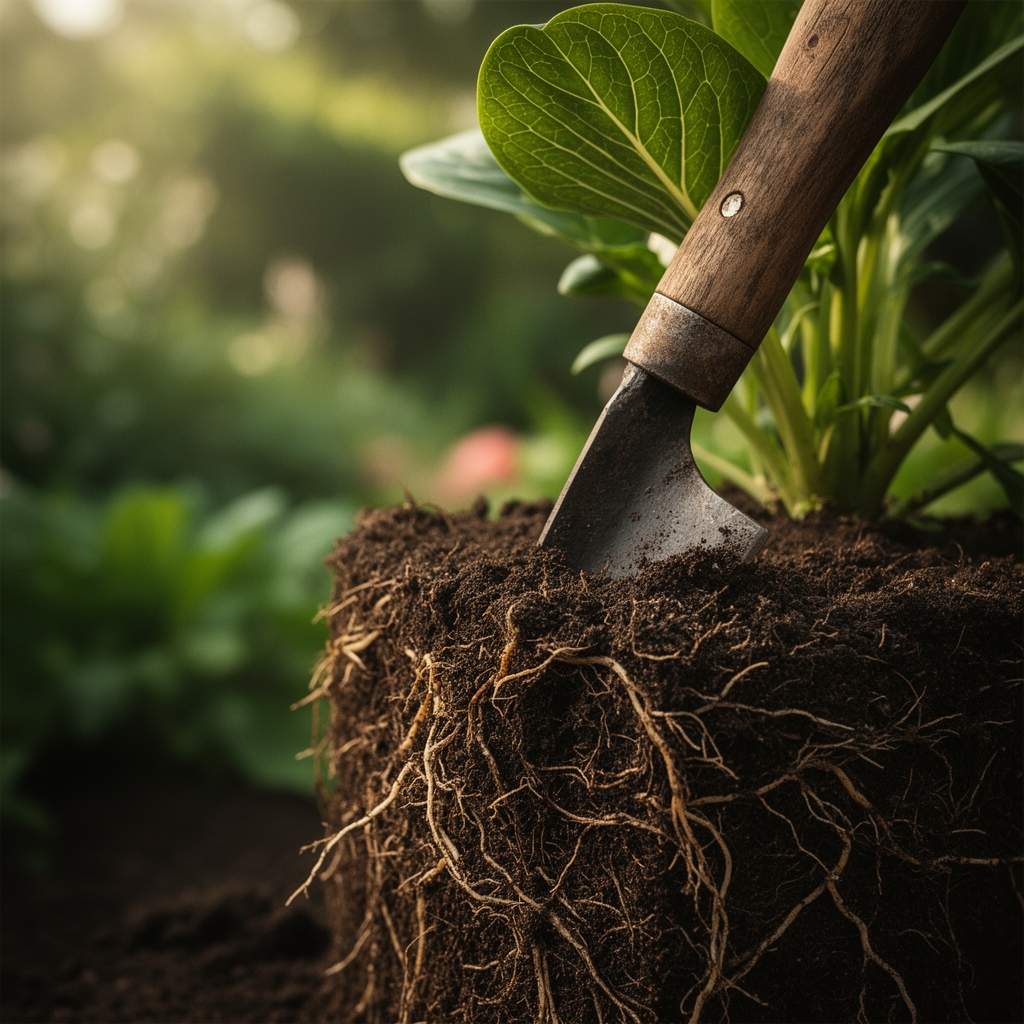
Remove the plant from its container by tapping the sides and gently inverting while supporting the stem base. Examine the root ball's exterior. Severely bound roots form a dense mat with few to no visible soil particles. Use your fingers to gently tease apart the outer 1 to 2 inches of root mass, working from bottom to top.
Pro-Tip: Submerge the root ball in room-temperature water for 15 minutes to soften the mass and make separation less traumatic to fine feeder roots.
Surgical Root Pruning
For root systems that cannot be manually separated, make four vertical cuts 1/2 inch deep along the sides of the root ball using sterilized pruners. Space cuts evenly around the circumference. Slice horizontally across the bottom third of the root mass, removing 1 to 2 inches of the most congested tissue. This mechanical disruption breaks the circular growth pattern and forces auxin redistribution to lateral buds.
Pro-Tip: Cut at a 45-degree angle when removing circling roots thicker than 1/8 inch in diameter to maximize the surface area for callus formation and new root initiation.
Transplanting and Establishment
Select a container 2 to 4 inches larger in diameter than the previous pot. Fill the bottom third with prepared medium. Position the plant so the original soil line sits 1 inch below the new container rim. Backfill around the root ball, firming gently to eliminate air pockets without compacting. Water thoroughly with 1 quart per gallon of pot volume, allowing complete drainage.
Pro-Tip: Apply Trichoderma harzianum fungal inoculant to the planting hole before setting the root ball to establish a protective barrier against opportunistic pathogens entering through pruning wounds.
Troubleshooting
Symptom: Yellowing leaves within one week post-transplant
Solution: Transplant shock from excessive root loss. Reduce watering frequency by 30% and move to indirect light for 7 to 10 days. Apply diluted kelp extract (1 tablespoon per gallon) to boost cytokinin levels.
Symptom: Wilting despite moist soil
Solution: Root rot from damaged tissue. Remove from pot, cut away brown or mushy roots until only white tissue remains. Treat with a captan fungicide drench at 2 tablespoons per gallon before replanting in fresh, sterile medium.
Symptom: No new growth after three weeks
Solution: Insufficient root-to-soil contact or depleted auxin reserves. Gently firm soil around the base and apply 0.1% IBA rooting hormone as a soil drench at 1 cup per plant.
Symptom: Root tips turning brown
Solution: Salt accumulation from over-fertilization or poor cation exchange capacity in the medium. Flush with 2 gallons of pH-neutral water per gallon of pot volume. Resume feeding at half strength after two weeks.
Maintenance
Water when the top 2 inches of soil feel dry, providing 1 inch of water per session, measured by placing a rain gauge in the pot. For the first month, fertilize bi-weekly with half-strength balanced liquid fertilizer (5-5-5 NPK ratio). After establishment, transition to monthly feeding with a slow-release granular formula.
Monitor new root growth by gently lifting the plant after six weeks. Healthy white roots extending into fresh soil confirm successful recovery. Maintain relative humidity between 40% and 60% to reduce transpiration stress while roots regenerate.
Avoid staking unless the plant cannot support itself, as movement stimulates thigmomorphogenesis and stronger stem development. Prune dead foliage to redirect energy toward root establishment rather than maintaining damaged tissue.
FAQ
How long does recovery take after fixing root-bound plants?
Most herbaceous species show new growth within 14 to 21 days. Woody plants require 6 to 8 weeks for full root system re-establishment and visible canopy expansion.
Can I fix root-bound plants without removing them from pots?
No. Effective correction requires direct access to the root mass for mechanical disruption. Surface amendments cannot penetrate the bound matrix.
How often should previously root-bound plants be repotted?
Every 18 to 24 months for fast-growing species, 3 to 4 years for slow-growing woody specimens. Monitor drainage holes for emerging roots as the primary indicator.
Will all root-bound plants survive correction?
Success rates exceed 90% for plants with less than 50% of roots showing brown discoloration. Severely neglected specimens with extensive root death may not recover.
Should I fertilize immediately after transplanting root-bound plants?
No. Wait 10 to 14 days to allow wound healing and initial root establishment before introducing soluble nutrients that can burn damaged tissue.