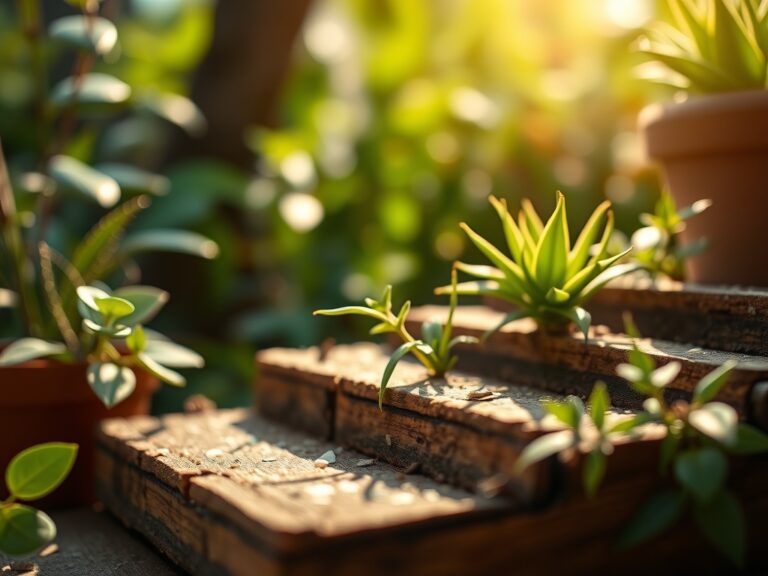
9 Essential Steps to Air Plant Tillandsia Care
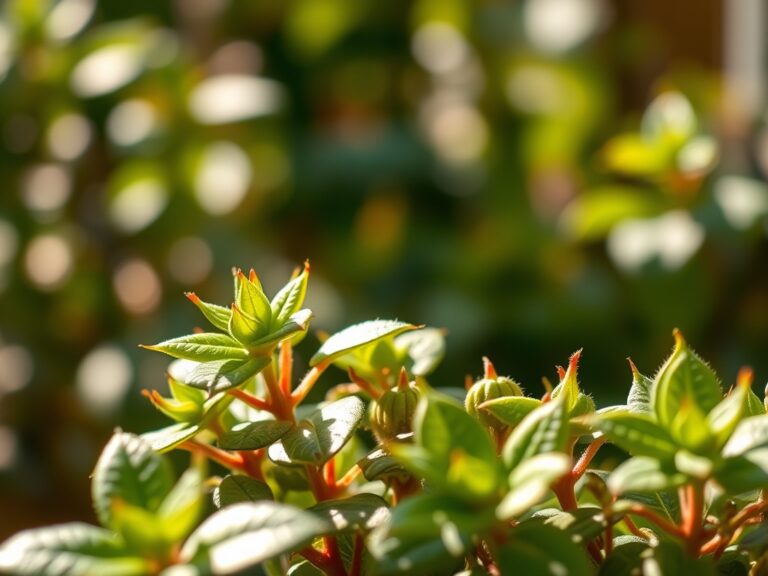
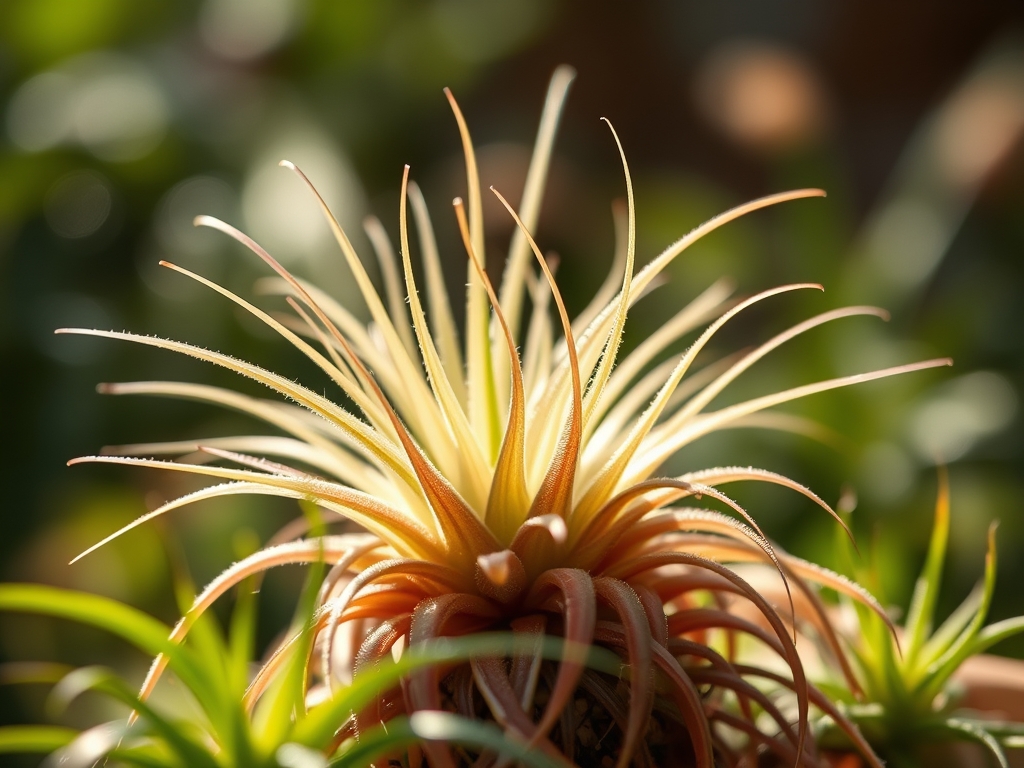
The scent of wet aluminum and damp cedar bark signals a healthy epiphytic environment. When you press a thumb against the leaf of a Tillandsia, the resistance you feel is turgor pressure; it is the primary indicator of cellular hydration. Mastering the steps to air plant tillandsia care requires moving beyond the novelty of a plant without soil and into the rigorous mechanics of atmospheric nutrient absorption. These plants do not utilize a traditional rhizosphere; instead, they rely on specialized cellular structures called trichomes to pull moisture and minerals directly from the air.
Success in this niche of horticulture depends on your ability to replicate the specific microclimates of the sub-tropics and deserts. You are managing a biological entity that has traded root-based nutrient uptake for a highly efficient surface-level absorption system. Failure usually stems from a lack of understanding regarding gas exchange and the Crassulacean Acid Metabolism (CAM) cycle. This guide provides the technical framework necessary to maintain these complex organisms through every stage of their life cycle.
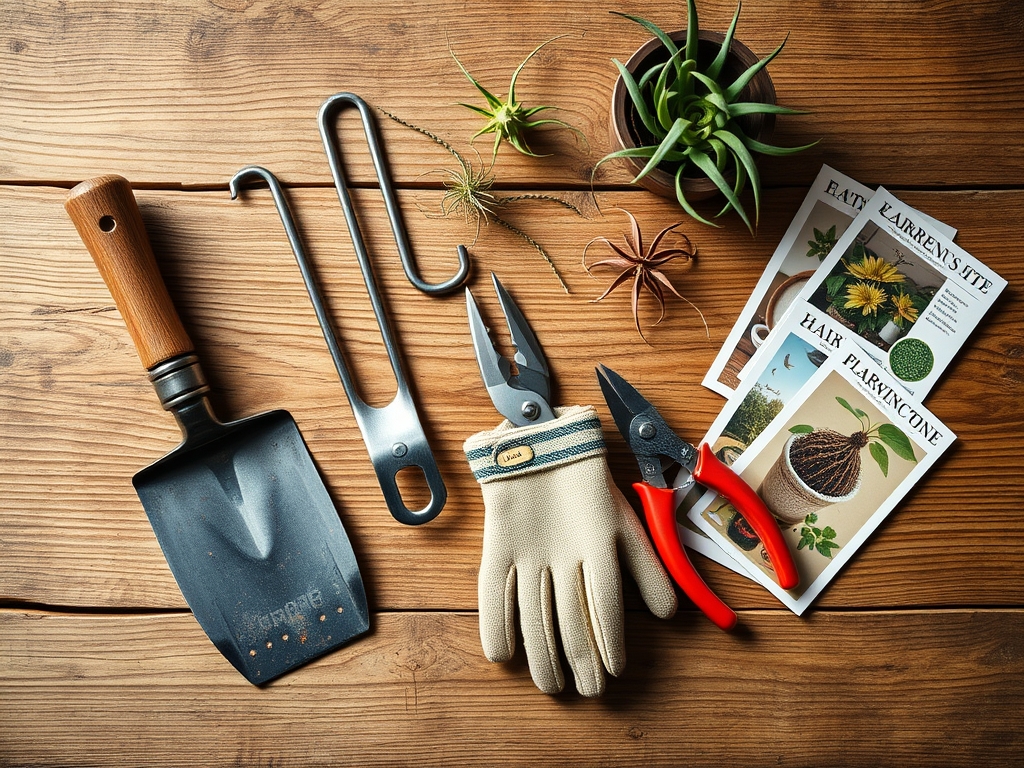
Materials:
While Tillandsia are epiphytes, their mounting surfaces and the water used for hydration must meet specific chemical standards. The water should maintain a **pH between 5.5 and 6.5** to ensure nutrient availability. Avoid distilled water; it lacks the mineral salts necessary for osmotic balance and can actually leach nutrients out of the plant tissue.
For fertilization, utilize a water-soluble, urea-free NPK formula. A ratio of 17-8-22 is ideal for supporting both foliar expansion and the eventual reproductive phase. Nitrogen must be in the form of ammonium or nitrate because Tillandsia lack the soil-borne urease enzymes required to break down urea. If you choose to mount your plants, use a substrate with a neutral Cation Exchange Capacity (CEC) such as cork bark or weathered driftwood. Avoid pressure-treated lumber, as the copper-based preservatives are toxic to epiphytes.
Timing:
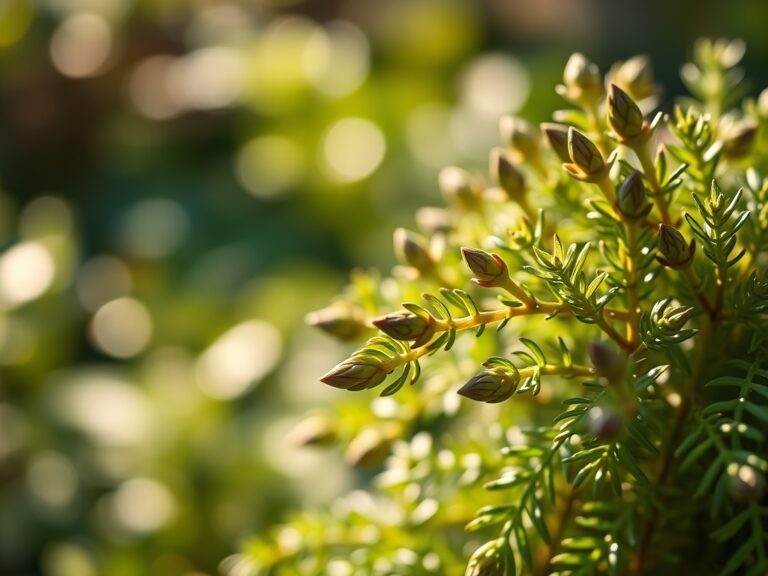
Tillandsia are generally hardy in USDA Zones 9 through 11. In these regions, they can remain outdoors year-round provided temperatures stay above 45 degrees Fahrenheit. In cooler zones, they must be transitioned indoors well before the first frost date. The biological clock of a Tillandsia is governed by the photoperiod and temperature fluctuations.
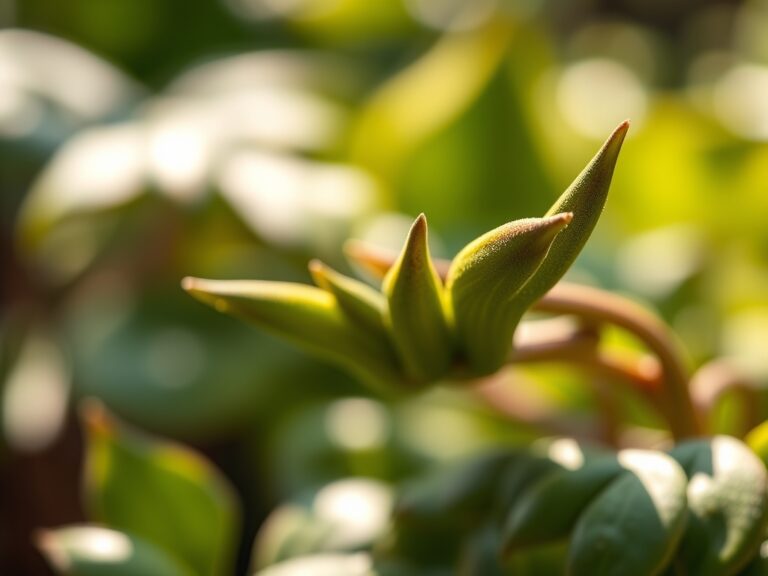
The transition from the vegetative stage to the reproductive stage, known as "blushing," is triggered by increased light intensity and specific maturity markers. Once a plant enters senescence after flowering, it shifts its metabolic energy toward the production of "pups" or offsets. This process can take several months. You must monitor the plant's color changes closely; a shift toward red or purple hues indicates the onset of the reproductive phase.
Phases:
Sowing and Propagation
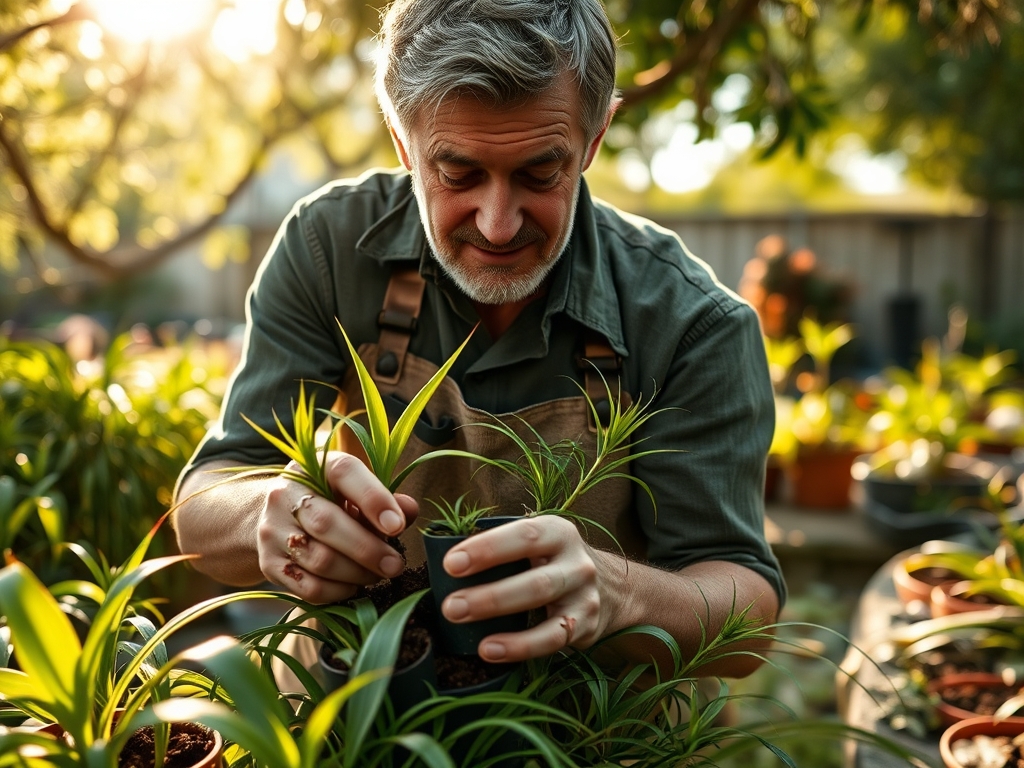
Most hobbyists propagate via offsets rather than seeds, as Tillandsia seeds can take years to reach a manageable size. To harvest an offset, wait until it is at least one-third the size of the parent plant. Use a sharp bypass pruner to make a clean cut at the base where the pup attaches to the mother.
Pro-Tip: This timing is critical because of auxin suppression. The mother plant produces hormones that regulate the growth of the offsets. Removing them too early disrupts this hormonal flow and can result in stunted growth for the pup.
Transplanting and Mounting
Mounting an air plant is the equivalent of transplanting. Use a non-water-soluble adhesive or galvanized wire to secure the base to your chosen substrate. Ensure the base is firm; movement can damage the emerging holdfast roots, which the plant uses for stability rather than nutrient uptake.
Pro-Tip: Utilize the principle of thigmotropism. The plant's "roots" will respond to the physical contact of a solid surface by growing more aggressively to anchor the plant. This structural stability signals the plant to allocate more energy to foliar development.
Establishing the Microclimate
Once mounted, the plant requires a period of acclimation. Place it in a location with 50% to 70% humidity and indirect sunlight. Use a soil moisture meter or a hygrometer to monitor the ambient air. The goal is to establish a cycle of saturation followed by rapid drying within four hours.
Pro-Tip: Rapid drying is essential to prevent "crown rot." This is a biological necessity because Tillandsia perform gas exchange at night. If the trichomes are clogged with water, the plant cannot take in carbon dioxide, effectively suffocating the organism.
The Clinic:
Physiological disorders in Tillandsia are often mistaken for pests. You must diagnose based on cellular appearance and texture.
Symptom: Leaf tips turning brown and brittle.
Solution: This indicates low humidity or high salt buildup from tap water. Increase misting frequency and use rainwater or filtered water.
Symptom: Soft, blackened base (Crown Rot).
Solution: The plant has remained wet for too long. Improve air circulation and ensure the plant is turned upside down after soaking to drain excess water from the leaf axils.
Symptom: Nitrogen Chlorosis (yellowing of older leaves).
Fix-It: Apply a urea-free 17-8-22 NPK solution at quarter-strength. Nitrogen is a mobile nutrient; the plant is scavenging it from old growth to support new leaves.
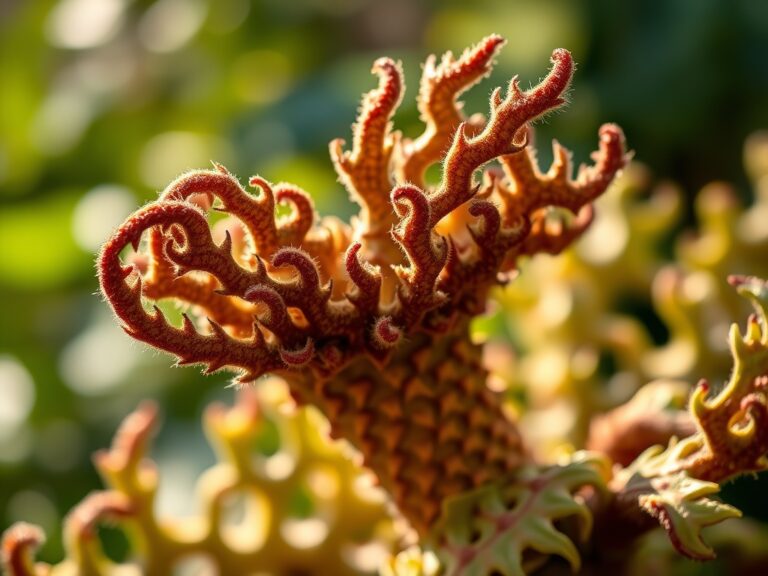
Symptom: Purpling of leaves out of season.
Solution: This is often a stress response to excessive UV radiation. Move the plant further from the light source.
Maintenance:
Precision is the difference between survival and thriving. Provide a deep soak for 20 to 30 minutes once per week. In arid environments, supplement this with misting every three days. After soaking, shake the plant vigorously to remove trapped water.
Use a hori-hori knife to scrape away any algae or lichen from mounting surfaces that might compete for surface area. Prune dead or spent leaves using bypass pruners sterilized with isopropyl alcohol. Ensure the plant receives at least 12 hours of bright, indirect light daily. If using artificial lights, maintain a distance of 6 to 12 inches from LED or fluorescent tubes to prevent thermal stress.
The Yield:
While you do not "harvest" Tillandsia for consumption, the yield consists of the seeds and offsets. If you are collecting seeds, wait for the seed pod to burst naturally, revealing the feathery "pappus." To maintain "day-one" freshness for offsets you intend to gift or sell, keep them in a high-humidity environment for 48 hours post-separation to allow the wound to callus without losing excessive turgor.
FAQ:
How often should I fertilize my Tillandsia?
Apply a urea-free NPK fertilizer at 25% strength once per month during the growing season. This supports the high metabolic demand of foliar growth without causing salt burn on the sensitive trichomes.
Can air plants survive in low light?
No. Tillandsia require bright, indirect light to fuel photosynthesis. In low-light conditions, the plant will suffer from etiolation, becoming weak and pale as it stretches for a light source.
Why is my air plant falling apart at the base?
This is typically a sign of rot caused by trapped moisture. If the base feels mushy, the internal vascular system has collapsed. Ensure the plant dries completely within four hours of watering.
What is the best water for air plants?
Rainwater or aquarium water is ideal because it contains natural organic matter and a balanced pH. Avoid softened water, as the high sodium content will dehydrate the plant at a cellular level.