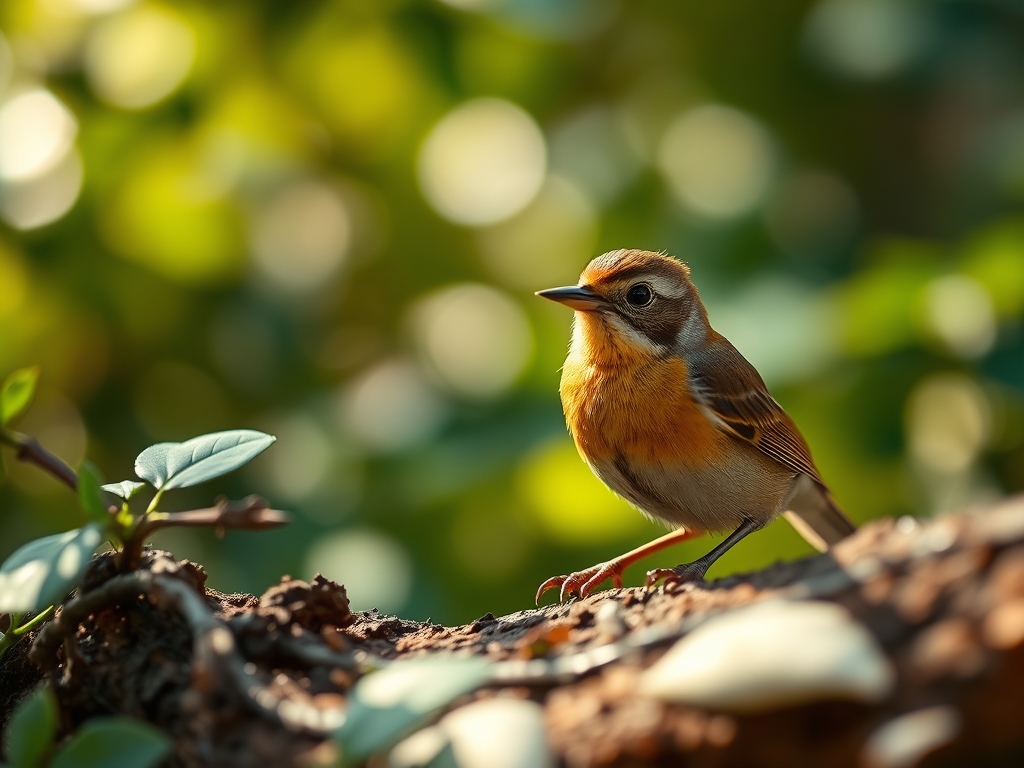
9 Peaceful Ways How to Design a Bird Sanctuary
Damp earth releases geosmin as you disturb the topsoil; the scent signals a healthy microbial community ready for installation. A successful habitat depends on high turgor pressure in native flora to provide hydration and structural cover for avian visitors. Understanding how to design a bird sanctuary requires more than placing a feeder. It demands a rigorous application of ecological principles to create a self-sustaining trophic web. You must transform a sterile lawn into a multi-layered ecosystem that provides thermal regulation and high-protein forage. This process begins with soil chemistry and ends with a complex structural canopy. Every plant choice serves a functional purpose; every water source must meet specific sanitation standards. We are not decorating a yard; we are engineering a biological refuge.
Materials:

Substrate quality dictates the success of your sanctuary. You require a **friable loam** with a **Cation Exchange Capacity (CEC) above 15**. This ensures the soil can retain and exchange essential nutrients like calcium and magnesium. Conduct a professional soil test to determine your baseline. For most avian-friendly native shrubs, aim for a **soil pH between 6.0 and 7.0**.
Nutrient management follows specific NPK (Nitrogen-Phosphorus-Potassium) requirements based on the plant's life stage. Use a slow-release 5-10-10 fertilizer for woody perennials to encourage root development and fruit production without triggering excessive, weak vegetative growth. High nitrogen ratios (e.g., 20-10-10) often lead to aphid infestations due to succulent new growth; avoid these. Incorporate organic matter to achieve a 3 percent to 5 percent organic carbon content. This supports the rhizosphere, the zone of soil surrounding plant roots where complex biological interactions occur.
Timing:
Your geographical location determines the biological schedule. In Hardiness Zones 5 through 7, the primary planting window opens when soil temperatures consistently reach 50 degrees Fahrenheit. This usually occurs 2 to 3 weeks after the last predicted frost date. Monitoring the "Biological Clock" is essential for timing the transition from vegetative to reproductive stages.
Birds synchronize their nesting cycles with the emergence of protein-rich larvae. Therefore, you must establish your sanctuary's "soft landing" zones; leaf mulch and ground cover; before the spring migration peak. In Zones 8 and 9, autumn planting is preferred to allow root systems to establish during the winter dormancy period, avoiding the high transpiration stress of southern summers. Observe the photoperiod changes; as day length increases, plants trigger auxin production to stimulate new buds, providing the early season cover birds require for nesting.
Phases:
Sowing
Direct sow native annuals and grasses into a prepared seedbed. Ensure "seed-to-soil" contact by tamping the area firmly. For species requiring cold stratification, sow in late autumn so the winter freeze-thaw cycle breaks seed dormancy.
Pro-Tip: Utilize the principle of photoblastism. Some seeds require light exposure to germinate; do not bury these deeper than twice their diameter. This ensures the phytochrome receptors in the seed trigger the germination sequence at the correct depth.
Transplanting
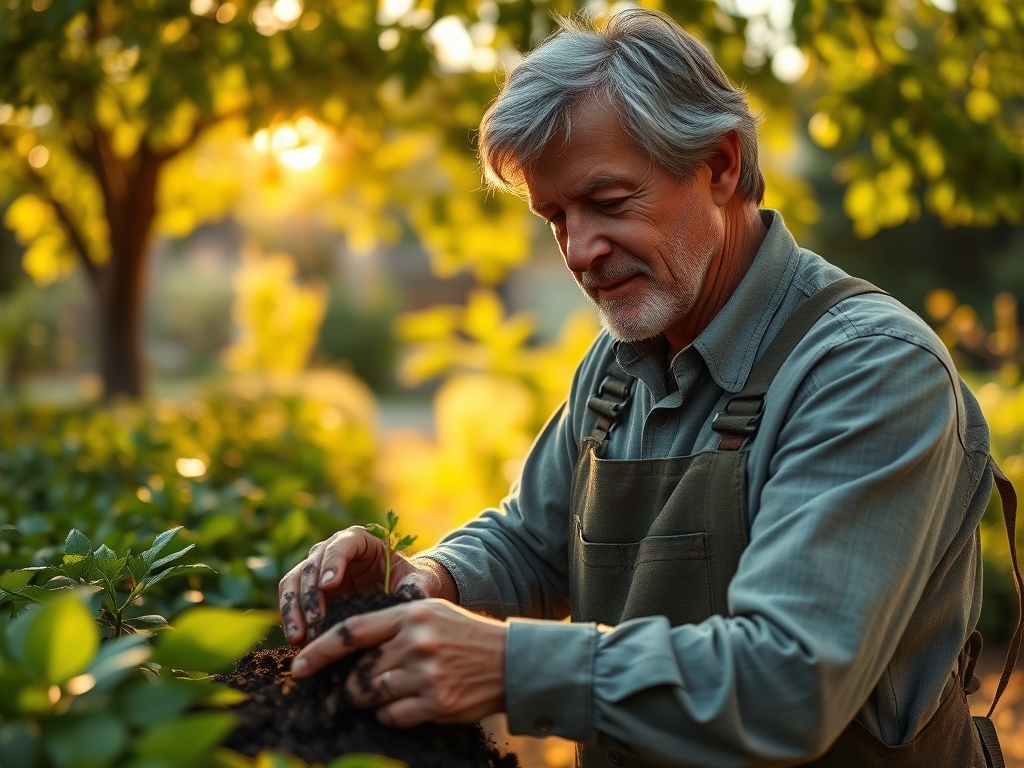
When moving container-grown shrubs into the sanctuary, dig a hole twice as wide as the root ball but no deeper. This prevents the "bathtub effect" where water collects and causes anaerobic conditions. Score the sides of the hole to allow roots to penetrate the surrounding native soil.
Pro-Tip: Inoculate the planting hole with mycorrhizal fungi. This symbiotic relationship extends the root's surface area, allowing the plant to absorb phosphorus and water more efficiently. This biological synergy increases the plant's resilience against drought stress.
Establishing
During the first 12 to 18 months, the primary goal is root architecture rather than upward growth. Maintain consistent moisture levels to prevent plasmolysis, where cells lose water and the plant wilts beyond recovery.
Pro-Tip: Practice apical dominance management. Pruning the lead terminal bud on young shrubs can suppress auxin flow down the stem, which stimulates lateral bud growth. This results in a denser, bushier plant that provides superior nesting concealment.
The Clinic:
Physiological disorders often mimic disease but result from environmental or nutritional stress.
Symptom: Interveinal Chlorosis
Yellowing between the veins of young leaves while the veins remain green.
Solution: This indicates an Iron (Fe) deficiency, often caused by high soil pH (alkalinity) which locks out micronutrients. Lower the pH using elemental sulfur to a range of 6.5.
Symptom: Leaf Margin Necrosis
Browning and dying of the outer edges of the leaves.
Solution: This usually signals Potassium (K) deficiency or salt accumulation. Flush the soil with 2 inches of water to leach excess salts and apply a sulfate of potash supplement.
Symptom: Blossom End Rot or Stunted Fruit
Dark, leathery spots on the base of berries or fruit.
Solution: This is a Calcium (Ca) transport issue. Ensure consistent irrigation; calcium moves via the transpiration stream. If the soil is deficient, add dolomitic lime or gypsum.
Fix-It: Nitrogen Chlorosis
If the entire plant, starting with the oldest leaves, turns pale green or yellow, it lacks nitrogen. Apply a blood meal or a high-nitrogen organic amendment to restore chlorophyll production.
Maintenance:
Precision is the hallmark of a professional sanctuary manager. Irrigation must be calculated; apply 1.5 inches of water per week at the drip line, which is the outermost circumference of the plant's canopy. Use a soil moisture meter to verify that moisture has penetrated 8 inches deep. Shallow watering encourages weak, surface-level root systems.
Keep your bypass pruners sharpened and disinfected with a 10 percent bleach solution between plants to prevent the spread of pathogens. Use a hori-hori knife for deep-root weeding and precision planting. Avoid "deadheading" spent flowers in the autumn; the seed heads provide essential winter lipids for resident birds. Maintain a 3-inch layer of arborist wood chips to suppress weeds and regulate soil temperature, but keep the mulch 2 inches away from the trunk flare to prevent fungal rot.
The Yield:
In a bird sanctuary, the "yield" consists of high-energy berries and seeds. For species like Sambucus (Elderberry) or Viburnum, harvesting for your own use should only occur when the fruit reaches full senescence (ripeness). This is indicated by a deep color change and a slight softening of the fruit wall.
If harvesting for human consumption or seed saving, clip the entire cluster using shears to avoid bruising. To maintain "day-one" freshness for seeds, store them in a cool, dry environment with a relative humidity below 35 percent. For the birds, leaving the yield on the branch ensures a steady supply of carbohydrates during the critical winter months.
FAQ:
What is the best soil for a bird sanctuary?
Aim for a friable loam with a pH of 6.0 to 7.0. Ensure the Cation Exchange Capacity (CEC) is above 15 to facilitate nutrient uptake. High organic matter (5 percent) supports the insects that birds consume.
How much water do sanctuary plants need?
Most native shrubs require 1.5 inches of water per week. Use a soil moisture meter to ensure water reaches 8 inches deep. This encourages deep root systems and increases drought resistance during high-heat periods.
Should I remove dead trees from the sanctuary?
If they pose no safety risk, keep them. Dead wood (snags) provides essential nesting sites and supports wood-boring insects. These insects are a primary protein source for woodpeckers and other insectivorous avian species.
When is the best time to plant?
Planting should occur when soil temperatures reach 50 degrees Fahrenheit. In northern zones, this is typically spring. In southern zones, autumn planting is superior as it allows for root establishment before the summer heat stress begins.