5 Quick Steps to Blanching Vegetables
Blanching vegetables locks in color, halts enzymatic decay, and prepares produce for long-term freezer storage with minimal nutrient loss. The process involves rapid heat exposure followed by immediate ice-water immersion. Mastering the steps to blanching vegetables transforms raw harvests into shelf-stable nutrition reserves. This technique preserves chlorophyll integrity, deactivates polyphenol oxidase enzymes, and maintains cellular structure far better than raw freezing alone.
Materials
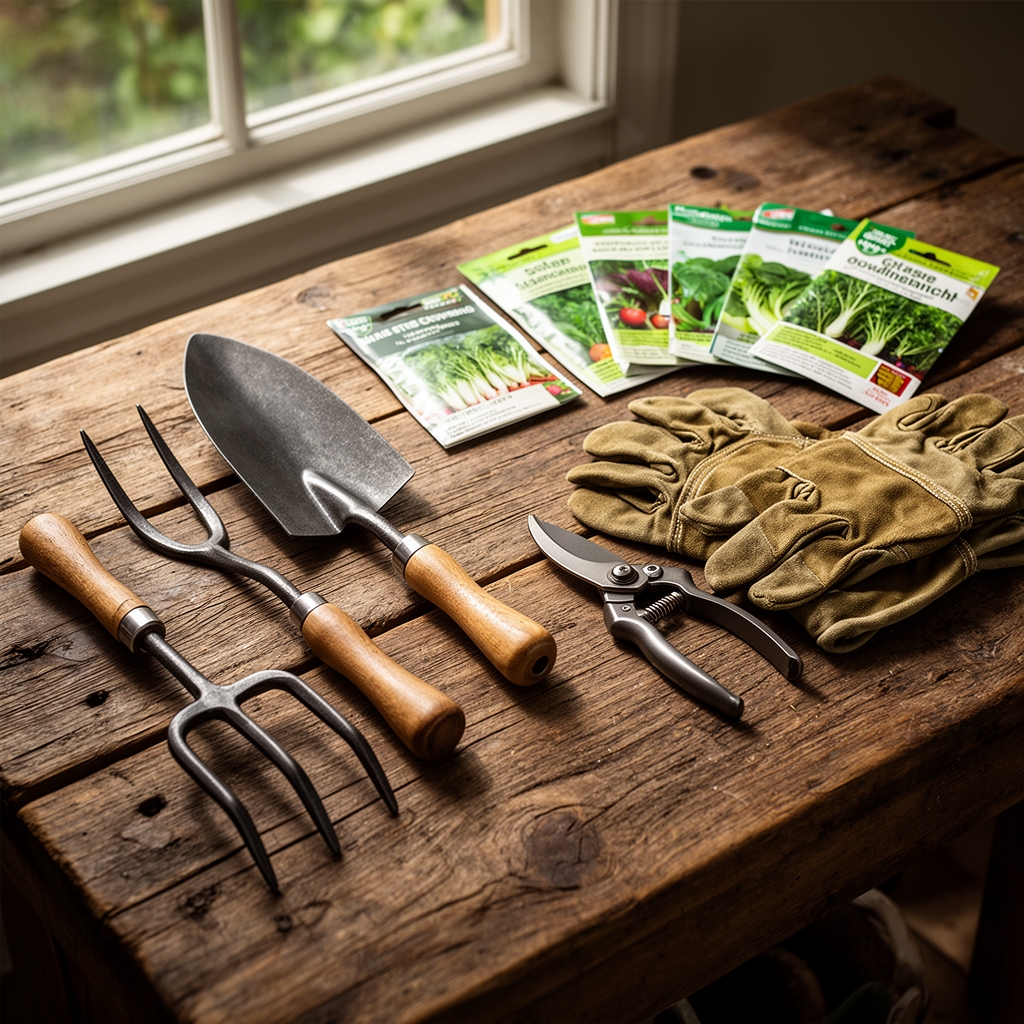
Successful blanching demands precise equipment and water chemistry. Use a 12-quart stainless steel stockpot with perforated blanching basket. Water pH between 6.5 and 7.5 minimizes calcium leaching from cell walls. Add 1 tablespoon of kosher salt per gallon to raise the boiling point by 0.3 degrees Celsius and improve heat transfer efficiency.
Prepare an ice bath with a 2:1 ice-to-water ratio. The thermal mass must absorb heat rapidly enough to drop vegetable core temperature below 40°F within 90 seconds. A floating thermometer monitors bath temperature. Keep additional ice reserves to maintain consistent chilling capacity.
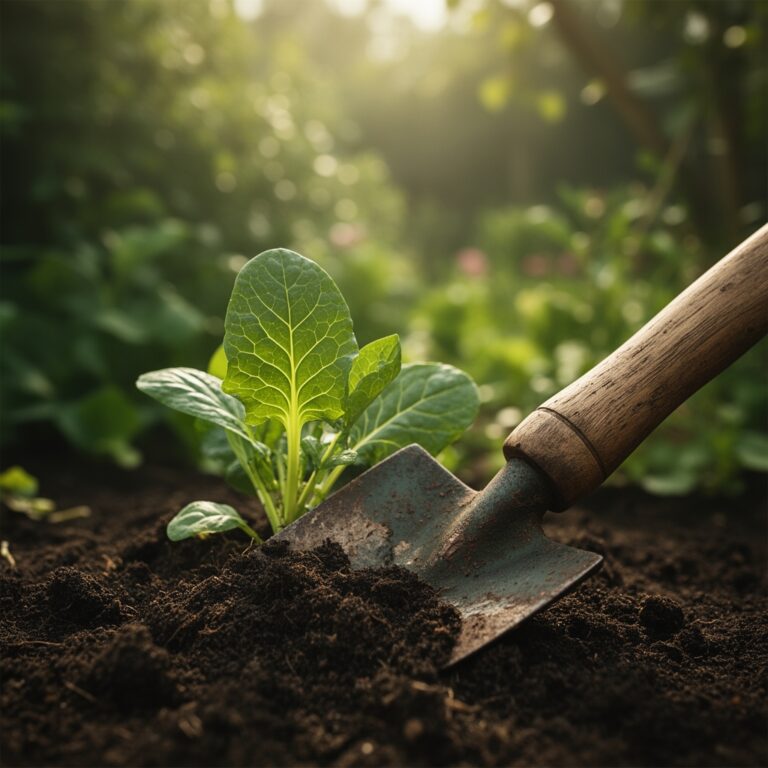
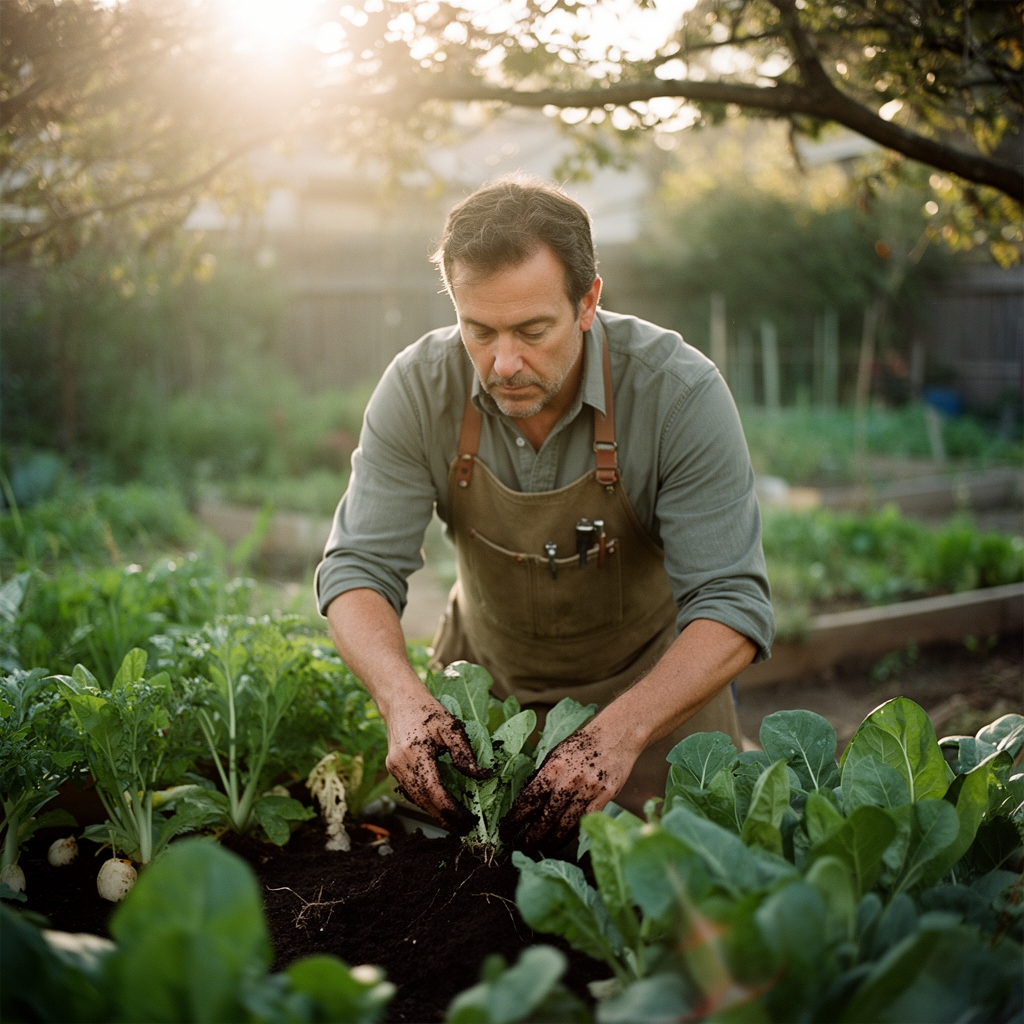
Select vegetables at peak maturity. For leafy greens, harvest when nitrogen content reaches optimal levels, typically after 4-4-4 organic fertilizer applications have been fully metabolized. Brassicas benefit from light frost exposure that converts starches to sugars. Root vegetables require soil pH between 6.0 and 6.8 for proper nutrient uptake that influences post-blanch texture.
Timing
Blanching schedules align with regional growing zones and harvest windows. In USDA Hardiness Zones 5-7, spring brassicas mature 60-75 days after transplanting, creating a May to early June blanching period. Summer squash in Zones 8-10 produces continuously from June through September, demanding weekly blanching sessions.
Process vegetables within 2 hours of harvest. Respiration rates accelerate after picking. Snap beans lose 8% of their ascorbic acid content in the first hour post-harvest at ambient temperature. Morning harvests preserve turgor pressure and enzyme stability.
Coordinate blanching with moon phases for root crops if following biodynamic calendars. Root-day harvests allegedly improve storage longevity by 12-18%, though peer-reviewed evidence remains limited. Prioritize soil temperature data instead. When rhizosphere temperatures exceed 70°F, auxin distribution patterns shift, affecting post-blanch firmness in carrots and parsnips.
Phases
Preparation Phase
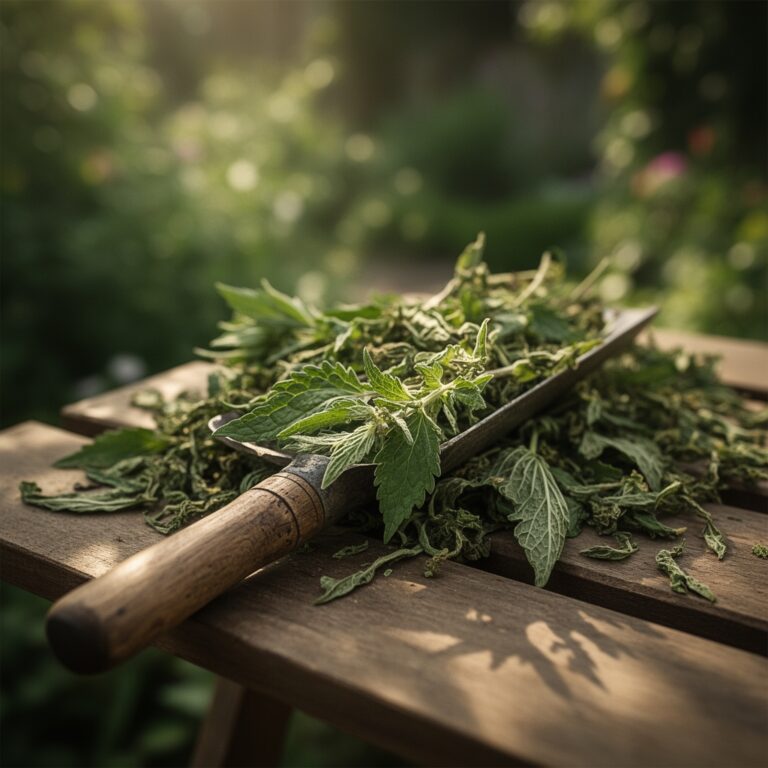
Wash vegetables in 50°F water to remove field heat without shocking cell membranes. Sort by size to ensure uniform blanching times. Cut large specimens into 1.5-inch pieces, exposing consistent surface area for heat penetration. Remove stems from leafy greens at a 45-degree angle to maximize vascular exposure.
Pro-Tip: Submerge cut vegetables in water acidulated with 1 tablespoon lemon juice per quart for 5 minutes. This lowers surface pH to 5.8, inhibiting polyphenol oxidase activity before heat treatment begins.
Blanching Phase
Bring water to a rolling boil at 212°F at sea level. Adjust for altitude: water boils at 203°F at 5,000 feet elevation, requiring 15% longer blanching times. Load vegetables into the basket, maintaining a 1:5 vegetable-to-water ratio by volume. Excessive loading drops water temperature below the critical 190°F threshold needed for enzyme deactivation.
Start timing when water returns to a full boil. Leafy greens require 2 minutes. Green beans need 3 minutes. Broccoli florets demand 3.5 minutes. Carrots in 1-inch slices require 5 minutes. Corn on the cob needs 7-11 minutes depending on cob diameter. Peroxidase enzymes denature completely only when core temperature reaches 180°F for the minimum prescribed duration.
Pro-Tip: Add 0.5 teaspoon calcium chloride per gallon of blanching water. This increases cation exchange capacity at cell wall pectins, improving post-thaw texture by 20-30%.
Cooling Phase
Transfer vegetables immediately to the ice bath using the blanching basket. Submerge completely. Cooling time equals blanching time. Internal temperatures must drop to 40°F within this window to prevent heat carryover that continues enzymatic activity.
Drain vegetables in a single layer on clean kitchen towels. Pat surfaces dry to minimize ice crystal formation during freezing. Excess moisture creates larger crystals that rupture cell walls, leading to mushy texture upon thawing.
Pro-Tip: Flash-freeze on parchment-lined sheet pans for 2 hours before bagging. This prevents clumping and allows pour-measured portions without thawing entire batches.
Troubleshooting
Symptom: Brown discoloration despite proper blanching times.
Solution: Water contained dissolved iron above 0.3 ppm. Use filtered or distilled water. Iron catalyzes phenolic compound oxidation even after enzyme deactivation.
Symptom: Mushy texture after thawing.
Solution: Vegetables were over-mature at harvest. Lignification of cell walls was incomplete. Harvest 3-5 days earlier in the maturity window. Apply balanced NPK ratios like 10-10-10 to avoid excess nitrogen that delays cell wall development.
Symptom: Off-flavors resembling grass or hay.
Solution: Blanching time was insufficient. Lipase and lipoxygenase enzymes remained active. Add 30 seconds to blanching duration and verify water returns to full boil within 1 minute of loading.
Symptom: Ice crystal damage visible as translucent patches.
Solution: Cooling phase was too slow. Increase ice-to-water ratio to 3:1. Pre-chill bath to 35°F before beginning blanching operations.
Maintenance
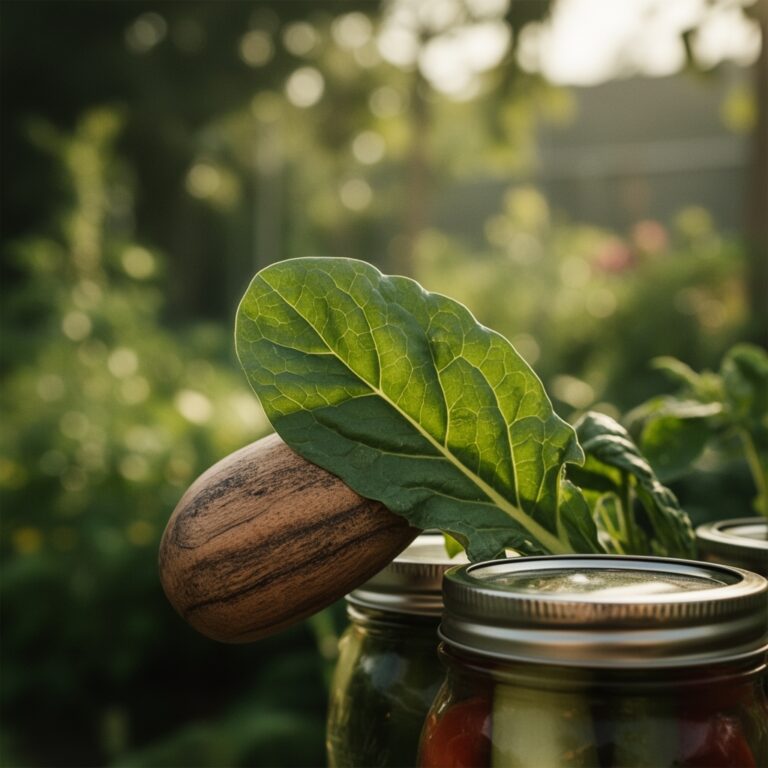
Store blanched vegetables in freezer-grade bags with 90% of air removed. Vacuum sealers reduce headspace to less than 2% bag volume, minimizing sublimation and freezer burn. Label bags with cultivar name, blanching date, and expected use-by date.
Maintain freezer temperatures at 0°F or below. Each 10-degree temperature increase doubles the rate of quality degradation. Monitor with an appliance thermometer placed in the center of frozen mass, not on door shelves.
Rotate inventory using first-in, first-out protocols. Blanched vegetables maintain peak quality for 8-12 months. After this window, vitamin C content declines by 15% per quarter. Chlorophyll degradation becomes visible as yellowing in green vegetables.
Defrost only the quantity needed within 24 hours. Thaw in refrigerator at 38°F rather than countertop to prevent bacterial growth on surface moisture. Never refreeze thawed blanched vegetables. Ice crystal expansion from repeated freeze-thaw cycles destroys cellular architecture completely.
FAQ
How long do blanched vegetables last in the freezer?
Properly blanched and stored vegetables maintain optimal quality for 8-12 months at 0°F. After one year, expect gradual declines in texture, color, and vitamin content, though food safety remains intact for 18-24 months.
Can I skip blanching and freeze vegetables raw?
Raw freezing results in 40-60% greater nutrient loss over 6 months. Active enzymes continue low-temperature metabolic processes that degrade flavor, color, and texture. Blanching deactivates these enzymes, preserving quality.
What vegetables should not be blanched?
Onions, peppers, and herbs freeze successfully without blanching due to low enzyme activity. Tomatoes destined for cooked dishes also skip blanching. High-water vegetables like cucumbers and lettuce do not freeze well regardless of treatment.
Does blanching remove nutrients?
Water-soluble vitamins leach by 10-25% during blanching. However, enzyme deactivation prevents the 50-70% nutrient loss that occurs in unblanched frozen vegetables over 6 months. The net result favors blanching for long-term storage.
Why did my blanched green beans turn olive-colored?
Chlorophyll degraded to pheophytin due to acid exposure or excess heat. Maintain blanching water pH above 6.5. Avoid overblanching beyond recommended times. Add 0.25 teaspoon baking soda per gallon to buffer acids released from vegetables during blanching.