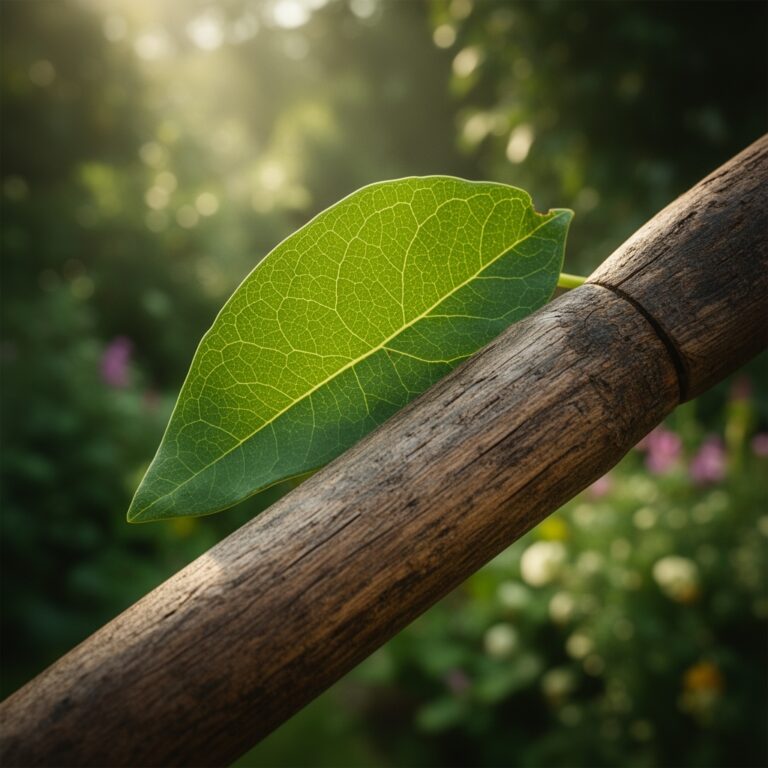
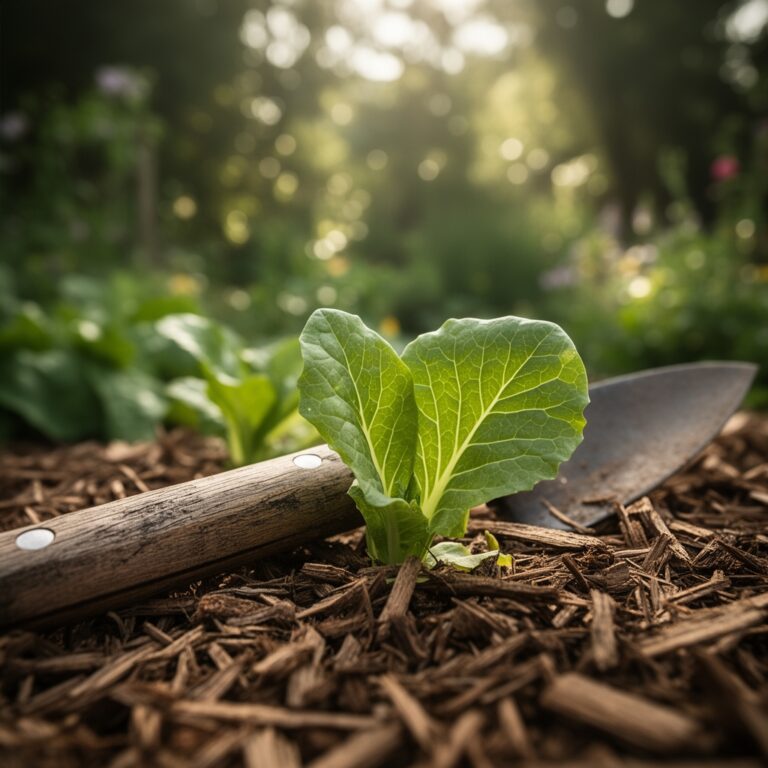
5 Quick Steps to Dry Herb Leaves
The scent of crushed basil or thyme releases volatile oils that signal readiness for preservation. Fresh herb leaves contain 80 to 90 percent water, and removing that moisture through deliberate steps to dry herb leaves locks in aromatic compounds while preventing mold. Timing the harvest and controlling airflow determine whether you preserve essential oils or lose them to oxidation. Each cultivar responds differently to temperature and humidity, demanding attention to leaf structure and vein thickness.
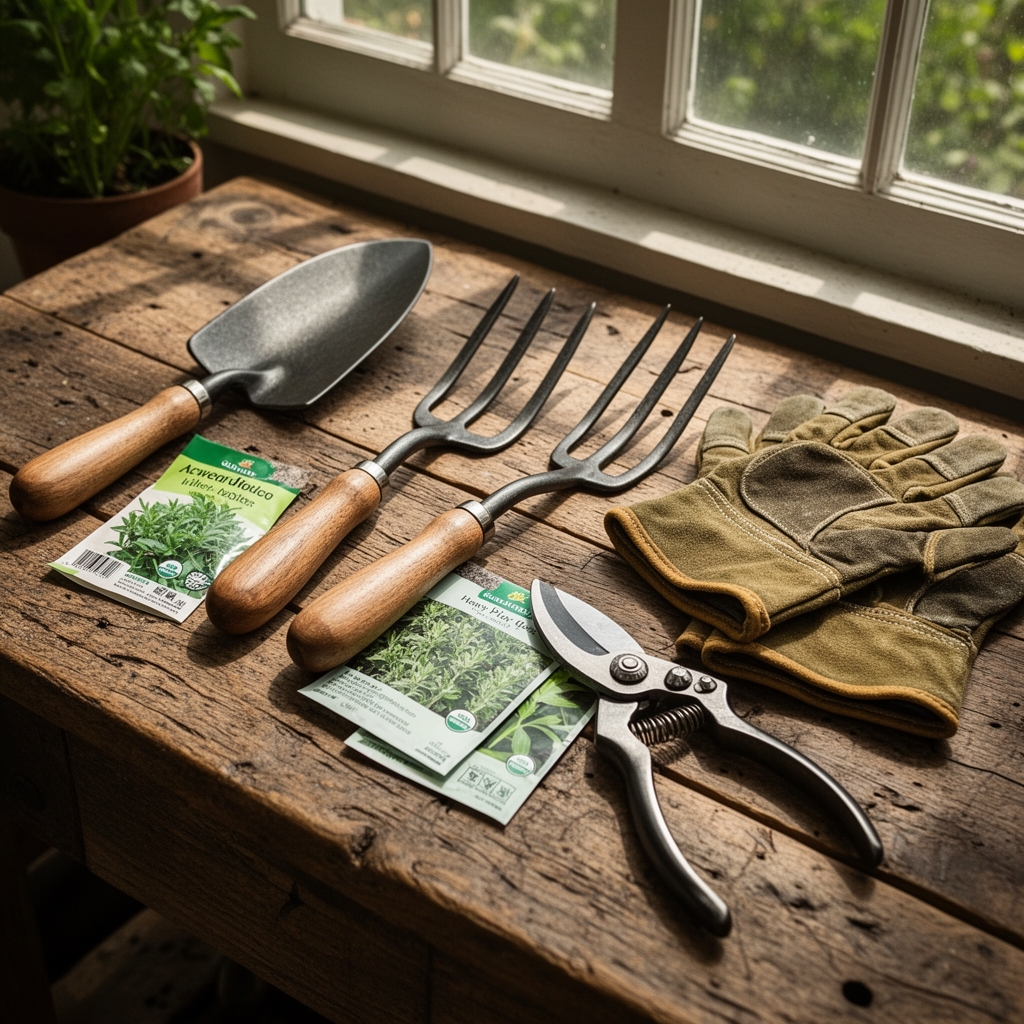
Materials
Select herbs grown in soil with a cation exchange capacity above 10 meq/100g for optimal secondary metabolite production. Amendments with balanced NPK ratios such as 4-4-4 organic kelp meal support steady growth without excessive nitrogen that dilutes flavor compounds. A soil pH between 6.0 and 7.0 suits Mediterranean herbs like oregano and rosemary, while parsley and cilantro tolerate slightly acidic conditions at 5.5 to 6.5.
Gather kitchen shears sterilized with 70 percent isopropyl alcohol to prevent pathogen transfer. Use cotton twine or food-grade rubber bands that will not introduce off-flavors. Drying racks made from untreated wood or stainless steel mesh allow air circulation without chemical leaching. A dehydrator with adjustable temperature settings between 95 and 115 degrees Fahrenheit offers precise control. Paper bags work for small batches, provided you punch ventilation holes and monitor humidity.
Timing
Harvest herbs in hardiness zones 3 through 10 after the last spring frost date, when plants reach peak vegetative growth but before flowering begins. Morning collection between 9 and 11 a.m. captures maximum essential oil concentration after dew evaporates but before afternoon heat volatilizes aromatic compounds. For perennial herbs like thyme and sage, cut stems two weeks before the first fall frost to encourage root carbohydrate storage.
In zones 9 and 10, a second harvest window opens in late autumn when cooler nights increase oil density in leaf tissues. Avoid harvesting during heat waves above 90 degrees Fahrenheit, as stress-induced auxin distribution reduces flavor complexity. Track photoperiod changes; herbs like basil decline in quality once day length drops below 12 hours.
Phases
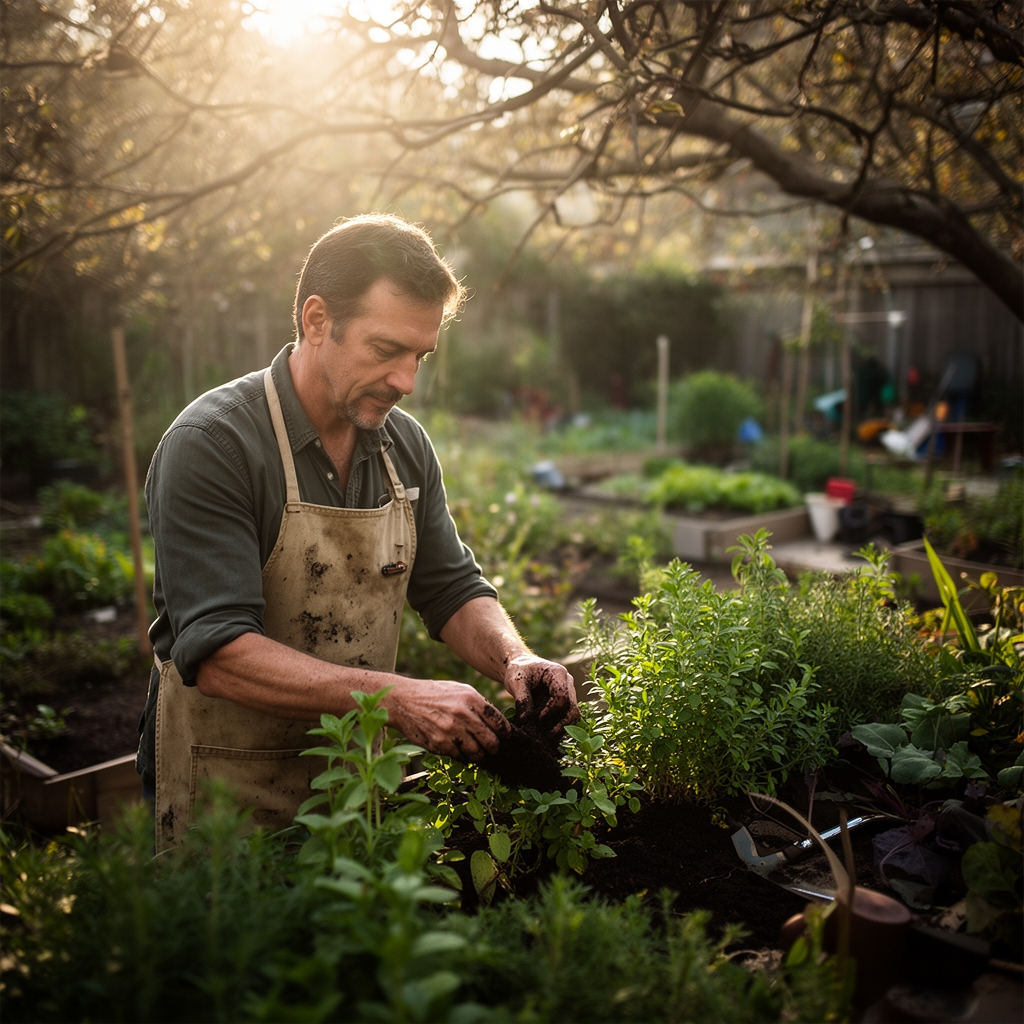
Sowing: Start seeds indoors 6 to 8 weeks before the last frost in a sterile medium with vermiculite and peat at a 1:1 ratio. Maintain soil temperature at 70 degrees Fahrenheit using a heat mat. Inoculate seedlings with mycorrhizal fungi at transplant to improve phosphorus uptake and drought tolerance. Water with a dilute seaweed extract at 1 tablespoon per gallon to stimulate root branching.
Pro-Tip: Apply endomycorrhizal spores directly to root zones at 1 teaspoon per plant during transplant to establish symbiosis before the soil microbiome stabilizes.
Transplanting: Move seedlings outdoors after hardening off for 7 days, gradually increasing sun exposure by 2 hours daily. Space plants according to mature canopy diameter: basil at 12 inches, rosemary at 24 inches. Dig holes twice the root ball width and amend with compost at a 3:1 ratio with native soil. Firm soil around roots to eliminate air pockets that disrupt water uptake.
Pro-Tip: Prune terminal buds at a 45-degree angle above the third node to redirect auxin and promote lateral branching, increasing leaf yield by 30 percent.
Establishing: Monitor new growth for 3 weeks, maintaining soil moisture at field capacity without waterlogging. Apply a side dressing of 5-5-5 granular fertilizer at 1 tablespoon per square foot after the first true leaves develop. Mulch with 2 inches of straw to regulate soil temperature and suppress weeds. Pinch flowers immediately to extend vegetative phase and concentrate flavor in foliage.
Pro-Tip: Remove lower leaves touching soil to prevent splash-borne fungal spores from colonizing leaf surfaces during irrigation.
Troubleshooting
Symptom: Yellowing lower leaves with green veins indicate iron chlorosis.
Solution: Lower soil pH to 6.0 with elemental sulfur at 1 pound per 100 square feet or apply chelated iron foliar spray at 1 tablespoon per gallon weekly.
Symptom: Black spots with yellow halos signal bacterial leaf spot.
Solution: Remove infected foliage, increase plant spacing to 18 inches, and avoid overhead watering. Apply copper fungicide at 2 tablespoons per gallon every 7 days.
Symptom: Wilting despite moist soil suggests root rot from Pythium species.
Solution: Improve drainage by incorporating perlite at 20 percent by volume. Drench soil with a beneficial Trichoderma solution at labeled rates.
Symptom: Stippled white leaves with fine webbing indicate spider mites.
Solution: Spray neem oil at 2 tablespoons per gallon, coating leaf undersides every 5 days for 3 applications.
Maintenance
Provide 1 inch of water per week through drip irrigation or soaker hoses to minimize foliar moisture. Test soil with a moisture meter; irrigate when readings drop to 4 on a 10-point scale. Feed every 4 weeks with fish emulsion diluted to half strength at 1 tablespoon per gallon. Prune spent stems monthly, cutting 1/4 inch above nodes to stimulate regrowth.
FAQ
How long do dried herbs retain potency?
Whole dried leaves stored in airtight glass containers away from light maintain essential oils for 12 months. Crushed herbs degrade within 6 months due to increased surface oxidation.
Can I dry herbs in direct sunlight?
Direct sun degrades chlorophyll and essential oils. Use shade with temperatures between 70 and 80 degrees Fahrenheit and humidity below 60 percent.
What temperature setting prevents nutrient loss?
Keep dehydrator temperatures at 95 to 105 degrees Fahrenheit. Higher heat volatilizes monoterpenes and damages heat-sensitive vitamins.
Do woody herbs require different drying methods?
Rosemary and thyme with lignified stems need 10 to 14 days of air drying. Soft herbs like basil finish in 4 to 6 days.
How do I test for complete dryness?
Leaves should crumble when rubbed between fingers. Bend a stem; properly dried material snaps cleanly rather than bending.