6 Deep Steps to Dig a Trench for Roots
The smell of damp earth signals a high concentration of geosmin; this organic compound indicates active microbial life within the rhizosphere. When a plant maintains high turgor pressure, its cells are distended with water, providing the structural rigidity necessary for upright growth. Achieving this state requires a precise approach to subterranean management. You must master the steps to dig a trench for roots to ensure that moisture and nutrients reach the vascular system without causing mechanical stress. Proper trenching facilitates the expansion of the root architecture into the surrounding soil matrix. This process involves more than moving dirt; it is a calculated intervention in the plant's hydraulic environment. By creating a dedicated channel for root development, you optimize the Cation Exchange Capacity (CEC) and provide a path of least resistance for delicate root hairs. Failure to execute these steps results in compacted soil that restricts oxygen flow and leads to anaerobic conditions. Success depends on your ability to manipulate the physical properties of the substrate while respecting the biological requirements of the species.
Materials:
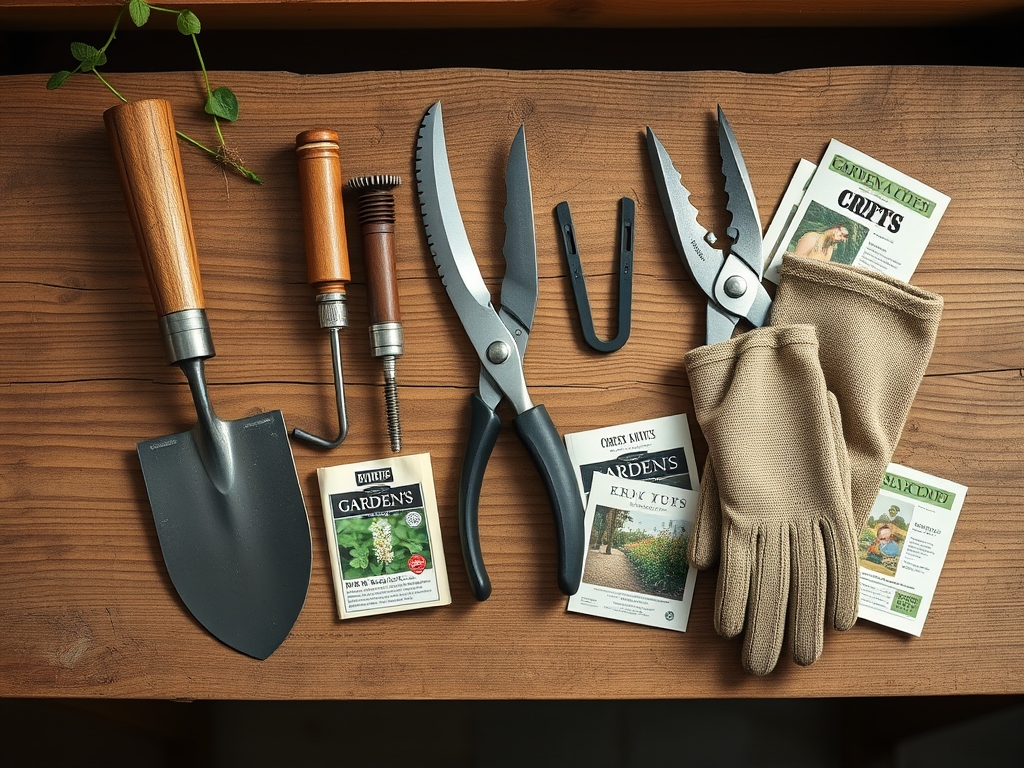
The ideal substrate for root development is a **friable loam** consisting of approximately **40 percent sand, 40 percent silt, and 20 percent clay**. This balance ensures adequate pore space for gas exchange. Before digging, verify your soil pH; most temperate species thrive in a range of **6.2 to 6.8**. For heavy feeders, incorporate a slow-release fertilizer with an **NPK ratio of 10-10-10** to provide a baseline of nitrogen, phosphorus, and potassium. If you are targeting root-specific growth, utilize a **5-15-15 ratio** to prioritize phosphorus, which is essential for ATP production and cellular division in the meristematic regions. High CEC soils, such as those rich in organic matter or montmorillonite clay, will hold these nutrients more effectively than sandy soils with low exchange sites. Ensure you have a **sharpened spade**, a **square-point shovel**, and a **soil moisture meter** calibrated for your specific soil type.
Timing:
Timing is dictated by the United States Department of Agriculture (USDA) Hardiness Zones and the specific biological clock of your specimens. In Zones 5 through 7, the optimal window for trenching and planting occurs between the last spring frost and the onset of high summer temperatures, typically when soil temperatures reach a consistent 55 degrees Fahrenheit (12.8 degrees Celsius). This period aligns with the transition from dormancy to the vegetative stage. During the vegetative stage, the plant allocates energy toward leaf and stem development, powered by high auxin levels. You must complete your trenching before the plant enters its reproductive stage; once the photoperiod triggers flowering, the plant shifts its carbon allocation away from root expansion. Trenching during the reproductive phase can cause transplant shock and lead to premature senescence. Monitor the local frost-date windows to ensure the root system has at least six weeks to establish before the first hard freeze of autumn.
Phases:

Sowing and Site Preparation
Begin by marking a line that follows the intended drip line of the mature canopy. Dig a trench 12 inches wide and 18 inches deep. This depth ensures that you break through any existing plow pan or compaction layers. Remove large stones and debris that could obstruct root elongation.
Pro-Tip: Loosening the soil at the base of the trench encourages positive hydrotropism, where roots grow toward moisture gradients. By creating a loose path, you reduce the energy the plant must expend to penetrate the soil, allowing more resources for biomass production.
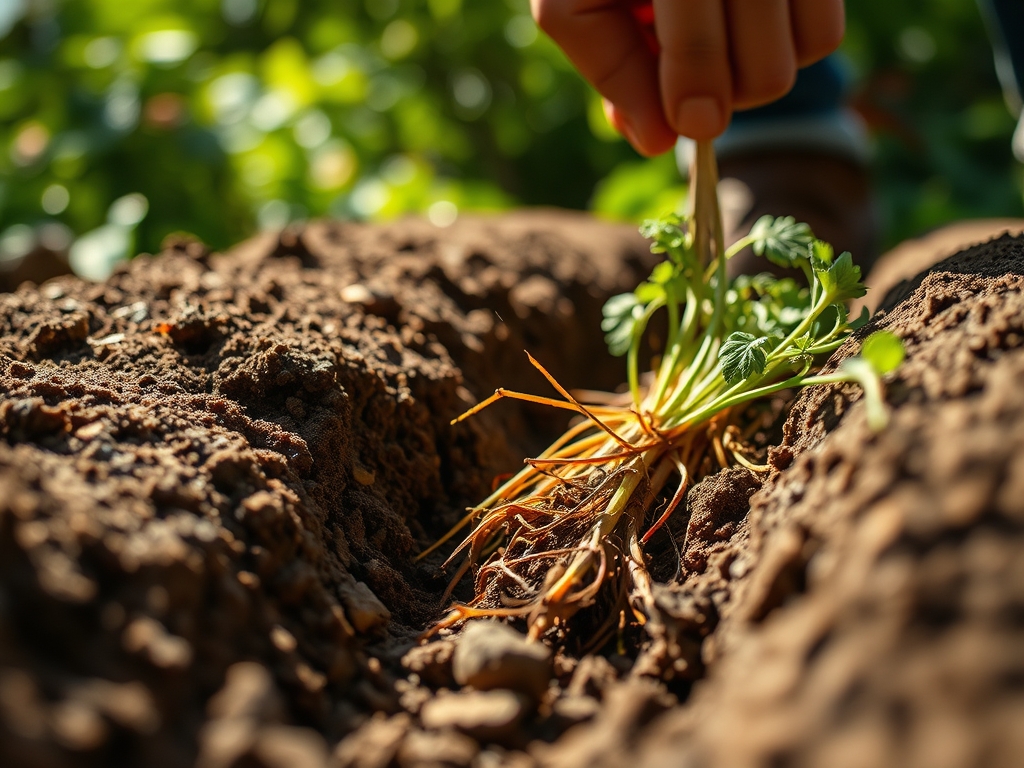
Transplanting into the Trench
Place the specimen in the trench at a depth where the root flare is exactly level with the soil surface. Backfill with a mixture of native soil and finished compost. Avoid over-compressing the backfill; you want to maintain a bulk density of approximately 1.3 to 1.4 grams per cubic centimeter.
Pro-Tip: Incorporating mycorrhizal inoculants during this phase promotes mycorrhizal symbiosis. These fungi extend the reach of the root system by up to 100 times, significantly increasing the uptake of immobile nutrients like phosphorus through a network of hyphae.
Establishing the Root System
Once the trench is filled, apply a 3-inch layer of organic mulch to regulate soil temperature and prevent moisture evaporation. Use a soil moisture meter to ensure the root zone stays between 60 and 80 percent of field capacity.
Pro-Tip: Consistent moisture levels prevent the suppression of auxins, the hormones responsible for root initiation. If the soil dries out completely, the plant may enter a defensive state, halting root growth and focusing on closing stomata to prevent desiccation.
The Clinic:
Physiological disorders often manifest in the foliage but originate in the root zone.
Symptom: Interveinal chlorosis (yellowing between leaf veins) on new growth.
Solution: This typically indicates an Iron (Fe) deficiency, often caused by high soil pH (above 7.0) which renders iron insoluble.
Fix-It: Apply chelated iron to the root zone and adjust the pH using elemental sulfur to bring it back to the 6.5 range.
Symptom: Marginal leaf burn or "scorching" on older leaves.
Solution: This suggests Potassium (K) deficiency or high salinity in the rhizosphere.
Fix-It: Flush the trench with 2 inches of water to leach excess salts and apply a sulfate of potash fertilizer at a rate of 0.5 pounds per 100 square feet.
Symptom: Stunted growth and purple tinting on the underside of leaves.
Solution: This is a classic sign of Phosphorus (P) deficiency, often exacerbated by cold soil temperatures (below 50 degrees Fahrenheit).
Fix-It: Apply a water-soluble high-phosphorus "starter" fertilizer and ensure the trench is well-drained to allow the soil to warm up.
Maintenance:
Precision irrigation is the cornerstone of root health. Deliver exactly 1.5 inches of water per week at the drip line. Use a hori-hori knife to check for soil compaction every three months; if the blade cannot penetrate 6 inches with moderate pressure, the soil requires aeration. Use bypass pruners to remove any circling roots that may appear near the surface, as these can eventually girdle the main trunk. Monitor the cation exchange capacity annually through professional soil testing; a healthy garden soil should have a CEC between 10 and 25 meq/100g. If the CEC is low, continue adding organic matter to increase the number of negatively charged sites available to hold nutrients.
The Yield:
For those growing root crops or flowering perennials within a trenched system, harvesting requires a delicate touch. Harvest root vegetables when they reach the diameter specified for the cultivar; for example, most carrots are optimal at 0.75 to 1 inch at the shoulder. Use a garden fork to loosen the soil 4 inches away from the plant to avoid mechanical damage to the epidermis. For flowers, harvest in the early morning when turgor pressure is at its peak. Immediately submerge the stems in 40-degree Fahrenheit water to remove field heat and maintain "day-one" freshness. This rapid cooling slows down the rate of respiration and extends the post-harvest life of the vascular tissues.
FAQ:
How deep should I dig a trench for roots?
Dig the trench to a depth of 12 to 18 inches. This depth breaks through compaction layers and provides enough space for the primary root architecture to establish without resistance, ensuring better access to deep-soil moisture and nutrients.
What is the best soil pH for a root trench?
Most plants thrive in a pH range between 6.2 and 6.8. This slightly acidic environment optimizes nutrient availability, particularly for phosphorus and micronutrients, which become chemically locked and unavailable to the plant in highly alkaline or overly acidic soils.
How much water do roots need in a new trench?
Provide 1.5 inches of water per week, delivered directly to the drip line. Use a soil moisture meter to ensure the root zone remains at 60 to 80 percent field capacity, preventing both desiccation and anaerobic root rot.
When is the best time to dig a trench for roots?
Dig the trench when soil temperatures reach a consistent 55 degrees Fahrenheit. This usually occurs in early spring, during the vegetative stage of the biological clock, allowing the plant to establish roots before the energy-intensive reproductive stage begins.