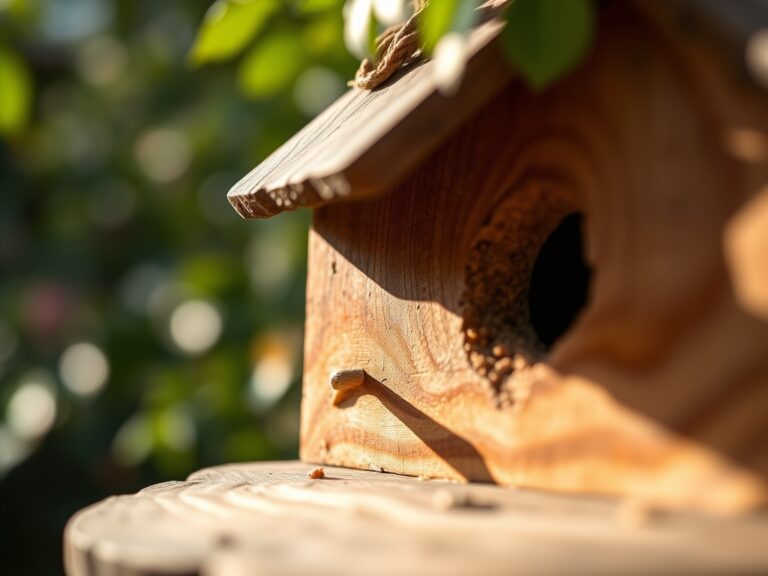
8 Best Conduit for Outdoor Wiring
The scent of damp, disturbed earth carries the sharp tang of mineral oxidation when you break ground for a new garden circuit. A healthy plant maintains turgor pressure through its cellular walls; similarly, an electrical system maintains its integrity through the structural resilience of its housing. Selecting the best conduit for outdoor wiring is not merely a matter of convenience. It is a technical necessity to protect your power source from the high Cation Exchange Capacity (CEC) of moist soils and the mechanical pressure of shifting frost lines. Whether you are powering a localized irrigation pump or an expansive lighting array, the interface between the rhizosphere and your hardware must be impenetrable. Soil is a living, corrosive medium. Without the correct shielding, the moisture that fuels plant growth will inevitably cause the catastrophic failure of your electrical infrastructure.
Materials:

The success of any subterranean installation depends on the **friable loam** or clay content of your site. In soils with a **pH of 6.0 to 7.0**, the corrosive potential is moderate; however, high acidity or alkalinity requires specific conduit materials. For most residential applications, **Schedule 40 PVC** is the standard. It is lightweight and resistant to the moisture found in the root zone. If the area experiences heavy foot traffic or equipment weight, **Schedule 80 PVC** provides a thicker wall to withstand compression.
For projects requiring maximum physical protection, Rigid Metal Conduit (RMC) or Intermediate Metal Conduit (IMC) is necessary. These are heavy-duty options that can withstand a shovel strike. When preparing the trench, ensure the substrate is free of sharp aggregates. Use an NPK ratio of 5-10-10 for surrounding turf to encourage root recovery without over-stimulating top growth. The soil should have a high organic matter content to buffer temperature fluctuations around the conduit.
Timing:
Installation must align with the local Hardiness Zone and the specific frost-date window. In Zones 5 through 7, the ground remains workable from late April through October. Digging during the vegetative stage of your garden ensures that perennial root systems have the metabolic energy to repair themselves before senescence begins in the autumn.
The "Biological Clock" of your landscape dictates that major excavations should occur when plants are not in their peak reproductive stage. Diverting a plant's energy toward root repair during flowering can lead to premature flower drop or reduced fruit set. Monitor the soil temperature; once it reaches a consistent 55 degrees Fahrenheit, microbial activity increases, facilitating faster soil settling and root re-establishment around the newly laid best conduit for outdoor wiring.
Phases:

Sowing the Path
Begin by marking the trench line. Use a sharp spade to cut through the sod, preserving the top layer for later replacement. The trench depth must meet local building codes, typically 18 inches for PVC and 6 inches for RMC.
Pro-Tip: Maintain a straight path to avoid excessive friction during wire pulling. This minimizes mechanical stress on the wire insulation, preventing micro-fissures that could lead to future shorts.
Transplanting the Hardware
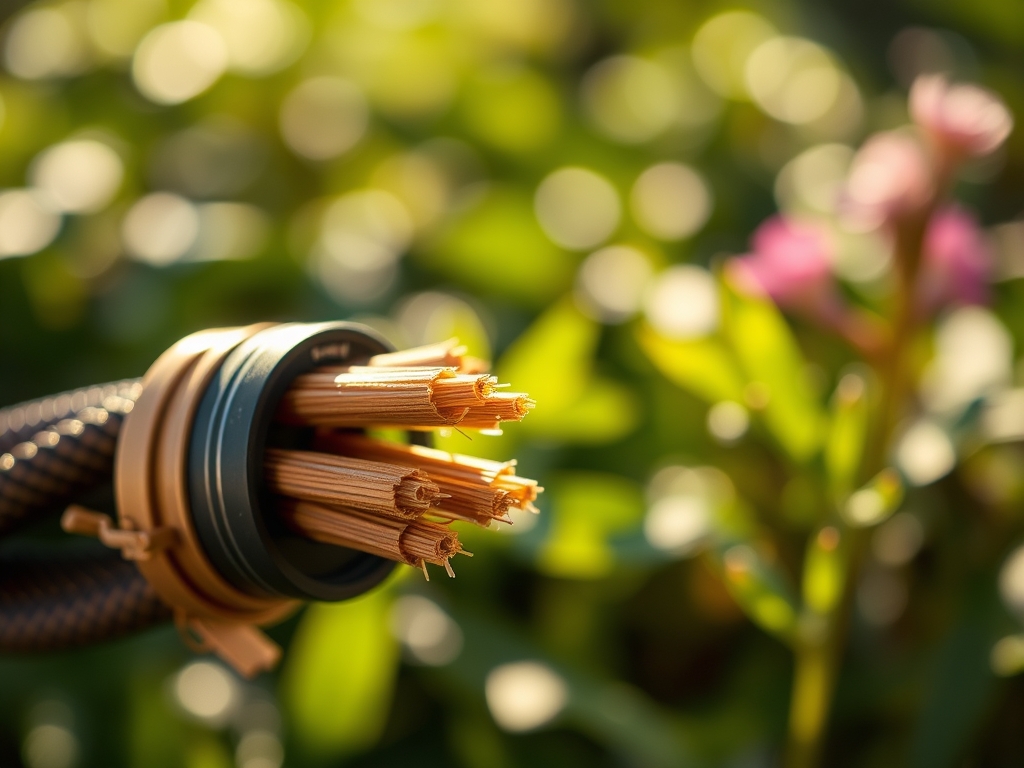
Lay the conduit sections and join them using the appropriate solvent cement for PVC or threaded couplings for metal. Ensure all joints are watertight. In areas with high clay content, the CEC can lead to significant soil expansion and contraction; allow for slight slack in the wiring to accommodate this movement.
Pro-Tip: Apply a thin layer of pea gravel at the base of the trench. This improves drainage in the rhizosphere, preventing the conduit from sitting in anaerobic, waterlogged conditions that can accelerate material degradation.
Establishing the Site
Backfill the trench in 6-inch lifts, tamping the soil down to eliminate air pockets. Air pockets around the conduit can lead to localized "hot spots" where heat from the wires cannot dissipate into the surrounding earth. Replace the original sod and water the area immediately to restore turgor pressure to the disturbed grass.
Pro-Tip: Inoculate the backfill soil with mycorrhizal fungi. This symbiotic relationship helps the disturbed root systems of nearby plants recover by extending their reach for nutrients and water, effectively "healing" the scar left by the trench.
The Clinic:
Physiological disorders in the landscape often mimic electrical issues. Distinguishing between them is vital for garden health.
Symptom: Marginal leaf scorch on nearby shrubs.
Solution: This often indicates root desiccation or mechanical damage from trenching. Increase irrigation to the affected area to 1.5 inches per week.
Symptom: Yellowing of new growth (Interveinal Chlorosis).
Solution: This is likely an Iron or Manganese deficiency caused by soil compaction. Use a soil moisture meter to ensure the area is not waterlogged, which prevents nutrient uptake.
Symptom: Sudden wilting despite moist soil.
Solution: Check for root rot (Phytophthora). The trench may be acting as a drainage channel, pooling water around plant bases. Improve the grade to ensure water flows away from the conduit line.
Fix-It for Nitrogen Chlorosis: If the grass over the trench turns pale yellow, apply a quick-release high-nitrogen fertilizer (20-0-0) at a rate of 1 pound per 1,000 square feet to jumpstart chlorophyll production.
Maintenance:
A professional-grade landscape requires precision tools. Use a hori-hori knife to weed around conduit exit points without nicking the material. Perform seasonal inspections using bypass pruners to keep woody stems at least 12 inches away from any exposed fittings. This prevents the "girdling" of the conduit by secondary thickening of the plant's vascular cambium.
Monitor the soil moisture levels twice weekly during the first growing season. The disturbed soil in the trench will dry out faster than the surrounding undisturbed earth. Aim for 1.5 inches of water per week delivered at the drip line of affected plants. Use a soil moisture meter to verify that the moisture reaches a depth of 8 inches.
The Yield:
While the yield of an electrical project is measured in lumens or gallons per minute, the horticultural yield is the preservation of the landscape's aesthetic and biological health. When harvesting flowers or vegetables near the conduit line, use clean, sharp shears to ensure a clean cut. This prevents the entry of pathogens into the plant's vascular system. For "day-one" freshness, harvest during the early morning hours when turgor pressure is at its highest and the plant is fully hydrated.
FAQ:
What is the best conduit for burial?
Schedule 40 PVC is the most common choice for outdoor burial. It is corrosion-resistant, cost-effective, and easy to install. For areas with high physical impact risks, Schedule 80 PVC or Rigid Metal Conduit is preferred.
How deep should I bury outdoor conduit?
Standard burial depth for PVC conduit is 18 inches. If using Rigid Metal Conduit (RMC), the depth can be reduced to 6 inches. Always check local building codes as requirements vary by municipality and soil type.
Can I use liquid-tight flexible conduit underground?
Liquid-tight Flexible Non-metallic Conduit (LFNC) is permitted for direct burial if it is specifically listed for that use. It is ideal for navigating around large root systems or rocks where rigid pipe is difficult to install.
How do I prevent water from entering the conduit?
Use solvent cement on all PVC joints to create a chemical weld. At the exit points, use weatherproof hubs and duct seal compound to prevent moisture from traveling down the pipe and into electrical boxes.
Does soil pH affect conduit choice?
Yes. Highly acidic or alkaline soils can corrode metal conduits over time. In these environments, PVC or coated RMC is superior because the synthetic material does not react with the soil's cation exchange process.