9 Secure Steps to Knot a Garden Line
Damp earth releases a sharp, geosmin-heavy scent as the morning dew maintains high turgor pressure in every cell of the emerging seedlings. Precision in the vegetable patch begins with a straight row; a deviation of even two inches can disrupt irrigation efficiency and root zone management. Mastery of the steps to knot a garden line ensures that your layout remains taut against wind and mechanical interference. A loose line leads to uneven spacing, which eventually compromises the rhizosphere by forcing root systems to compete for limited immobile nutrients. By securing a fixed anchor point and applying a tension-locking hitch, the gardener creates a reliable geometric guide for the entire growing season. This technical foundation prevents the accidental trampling of delicate crown tissue and allows for the surgical application of amendments. A disciplined line is the difference between a chaotic plot and a high-yield production system where every plant receives optimal solar radiation and airflow. Without a properly knotted line, the structural integrity of your planting beds will fail before the first true leaves even appear.
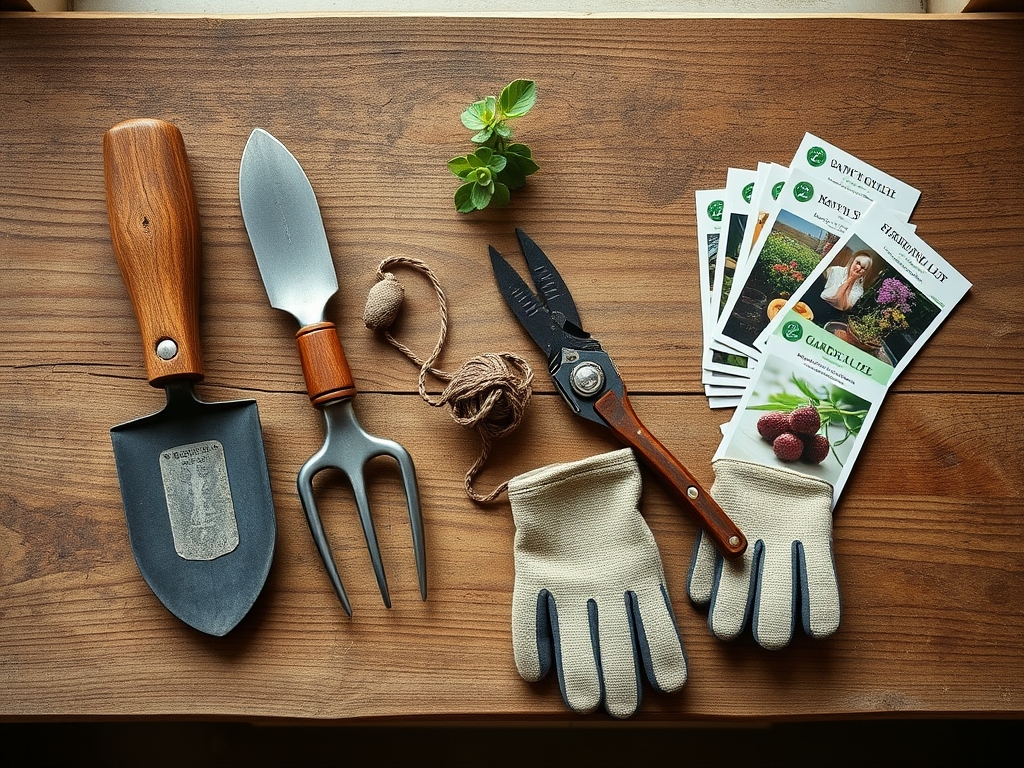
Materials:
Successful garden architecture requires more than just string; it requires a substrate capable of holding an anchor. The ideal medium is a friable loam with a pH between 6.2 and 6.8, providing the necessary structural resistance for stakes. Before tensioning your line, evaluate the soil Cation Exchange Capacity (CEC). Soils with a high CEC, often rich in organic matter or clay, provide a denser grip for wooden or metal stakes.
For the nutritional foundation of the beds you are marking, ensure the soil profile contains a balanced NPK ratio. A standard 10-10-10 formula is sufficient for general marking, but heavy feeders like Brassicas require a 15-5-10 ratio to support rapid vegetative expansion. You will need high-visibility braided nylon twine, which resists rot and UV degradation, and two 12-inch hardwood stakes. Unlike natural jute, synthetic nylon maintains its tensile strength when saturated by irrigation or heavy rainfall.
Timing:
The execution of your garden layout must align with the local frost-free date and the specific requirements of your Hardiness Zone. In Zones 5 through 7, the window for setting lines typically opens in late March or early April once the soil temperature consistently reaches 50 degrees Fahrenheit. At this temperature, soil microbes become active, and the risk of frost heave, which can dislodge your stakes, diminishes.
Understanding the "Biological Clock" of your crop is essential. For photoperiod-sensitive plants, the transition from vegetative growth to reproductive stages is triggered by day length. Setting your lines early ensures that transplanting occurs during the optimal window for root establishment before the plant shifts its energy toward flowering. If you delay your layout, you risk transplanting during a period of high evapotranspiration, which places lethal stress on the vascular system of young starts.
Phases:

Sowing
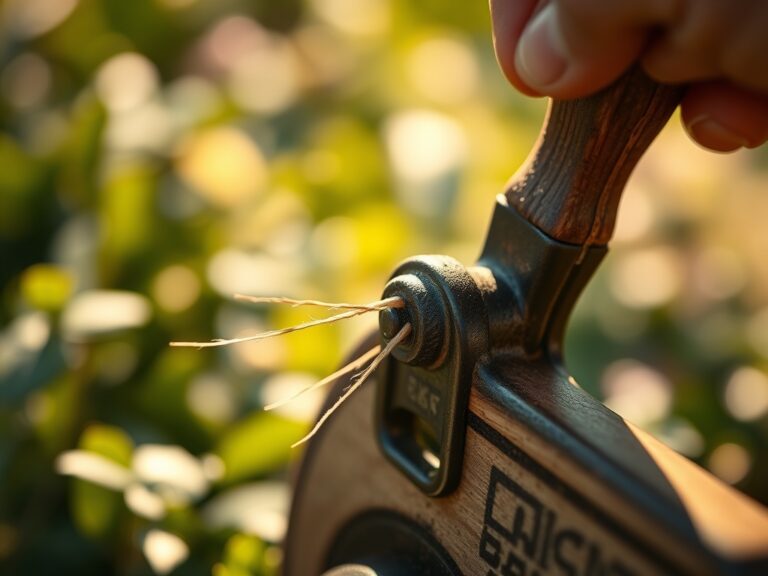
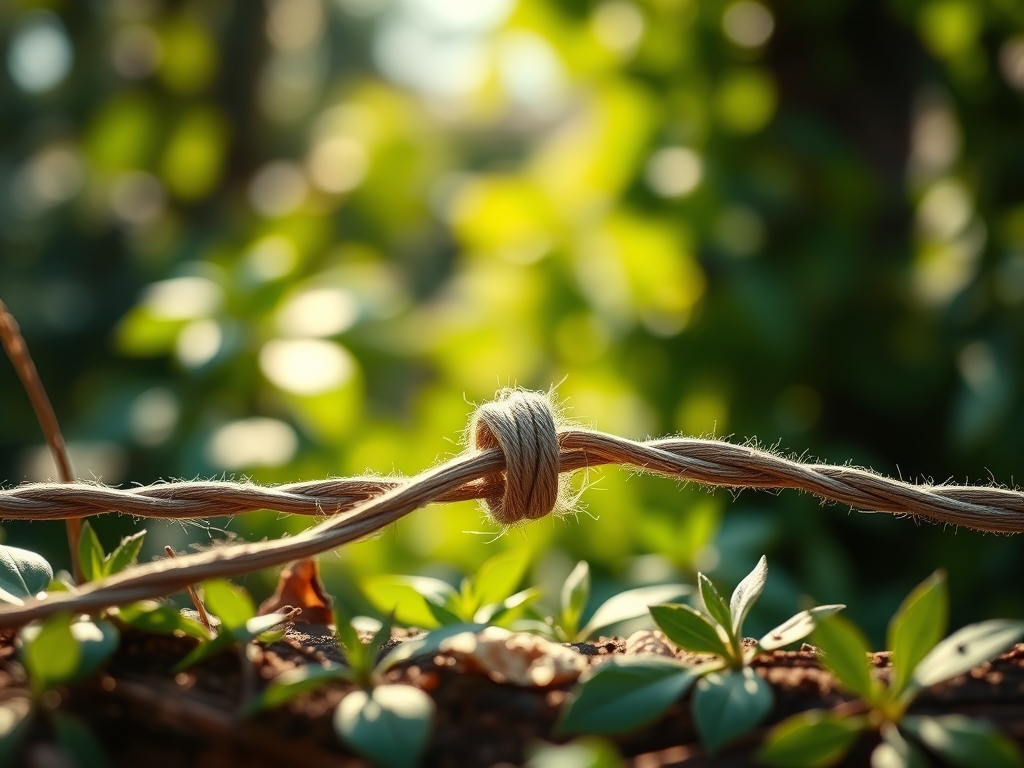
Begin by driving the primary stake four inches into the soil at the head of the row. Use a clove hitch to secure the line to the first stake. This knot provides a self-binding grip that tightens as more tension is applied. Pull the twine to the opposite end of the bed, ensuring it sits two inches above the soil surface to avoid interfering with seed placement.
Pro-Tip: Maintaining a straight line prevents overcrowding, which reduces the risk of fungal pathogens. This is due to auxin suppression; when plants are spaced correctly, they do not compete for light, preventing the elongated, weak stems associated with shade-avoidance syndrome.
Transplanting
Once the line is taut, use a measuring tape to mark your specific plant spacing. For indeterminate tomatoes, a 24-inch interval is standard. Dig your holes directly under the line. This ensures the root ball is positioned to grow downward into the nutrient-rich "A horizon" of the soil profile rather than tangling with neighbors.
Pro-Tip: Consistent spacing facilitates mycorrhizal symbiosis. By providing adequate room, you allow beneficial fungi to colonize the root zone without the chemical interference or "root grafting" that occurs in overcrowded environments.
Establishing
After the plants are in the ground, keep the line in place for the first fourteen days. This serves as a physical barrier for weeding tools. Use a hori-hori knife to remove any emerging monocots or dicots within three inches of the line. The line acts as a visual guide to protect the delicate "flare" where the stem meets the roots.
Pro-Tip: This phase utilizes phototropism. By keeping rows perfectly straight and oriented North-to-South, you maximize the duration of direct sunlight hitting the leaf surface, optimizing the photosynthetic rate across the entire crop canopy.
The Clinic:
Even with a perfect layout, physiological disorders can occur. Monitor your plants for these specific symptoms to maintain a high-functioning garden.
Symptom: Interveinal chlorosis on older leaves.
Solution: This indicates a Magnesium deficiency. Apply a foliar spray of Epsom salts (magnesium sulfate) at a rate of one tablespoon per gallon of water to restore chlorophyll production.
Symptom: Blossom end rot on fruit.
Solution: This is a Calcium transport issue, often caused by inconsistent soil moisture rather than a lack of calcium in the soil. Maintain a steady moisture level to ensure the vascular system can move calcium to the developing fruit.
Symptom: Stunted growth and purple-tinted foliage.
Solution: This is a classic sign of Phosphorus deficiency, common in cold, wet soils. Use a soil moisture meter to ensure the bed is not waterlogged and apply a high-phosphorus starter fertilizer if soil temps are below 55 degrees Fahrenheit.
Fix-It for Nitrogen Chlorosis: If the entire plant turns a pale lime green, it lacks nitrogen. Side-dress the row with blood meal or a high-nitrogen liquid feed to boost vegetative vigor.
Maintenance:
A precision garden requires rigorous upkeep. Deliver exactly 1.5 inches of water per week at the drip line using a soaker hose or drip irrigation system. Overhead watering should be avoided to prevent the spread of bacterial leaf spot. Use bypass pruners to remove any necrotic tissue or "suckers" that emerge from the axils of tomato plants; this redirects energy to fruit production.
Regularly check the tension of your garden line. Soil expansion and contraction due to moisture cycles can loosen stakes. Re-tighten the knots every two weeks to ensure your cultivation path remains clear. Use a soil moisture meter every three days at a depth of six inches to verify that the root zone is not experiencing drought stress, which can lead to permanent wilting point (PWP).
The Yield:
Harvesting is the culmination of structural discipline. For leafy greens, harvest in the early morning when turgor pressure is at its peak. This ensures the leaves are crisp and have a longer shelf life. Use a sharp knife to cut above the basal plate to allow for "cut and come again" regrowth.
For fruiting crops, monitor the "break stage" when color first appears. Handling the plant post-harvest requires immediate cooling. Place harvested produce in a shaded, well-ventilated area to remove field heat. This slows down the rate of senescence, the biological aging process, ensuring your produce retains its nutritional density and structural firmness for several days.
FAQ:
What is the best knot for a garden line?
The clove hitch is superior for the starting stake because it is easy to adjust. For the finishing stake, a trucker's hitch allows you to apply maximum tension, ensuring the line does not sag during the planting process.
How high should the line be?
Set the line two to three inches above the soil surface. This height is sufficient to guide your tools without obstructing the actual sowing of seeds or the placement of transplants into the rhizosphere.
Can I use cotton string for my garden line?
Cotton is discouraged because it absorbs moisture and is prone to fungal degradation. It also stretches when wet, which compromises the straightness of your rows. Braided nylon or polyester is the professional standard for durability.
When should I remove the garden line?
Remove the line once the plants have reached the establishment phase, typically three weeks after transplanting. By this time, the root systems are anchored and the plants are large enough to serve as their own visual markers.