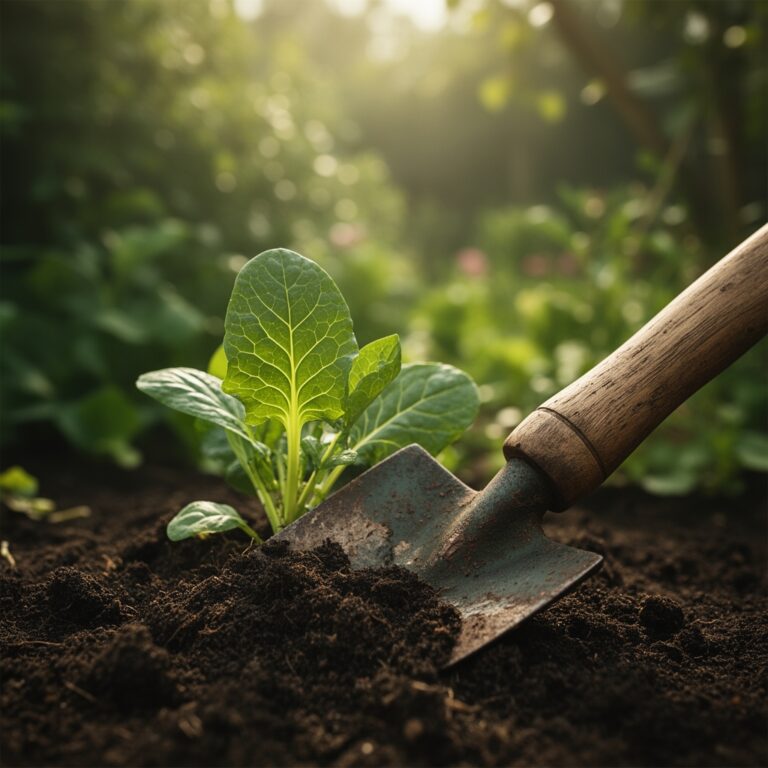
5 Quick Steps to Lasagna Mulch
Gardeners who struggle with compacted clay or nutrient-depleted soil often spend years amending beds one handful at a time. The steps to lasagna mulch offer a faster route: alternating layers of carbon-rich and nitrogen-rich materials directly on top of existing ground, building friable topsoil while suppressing weeds through sheet composting. This no-till method mimics forest-floor decomposition, encouraging earthworm activity and mycorrhizal colonization without the backache of double-digging.
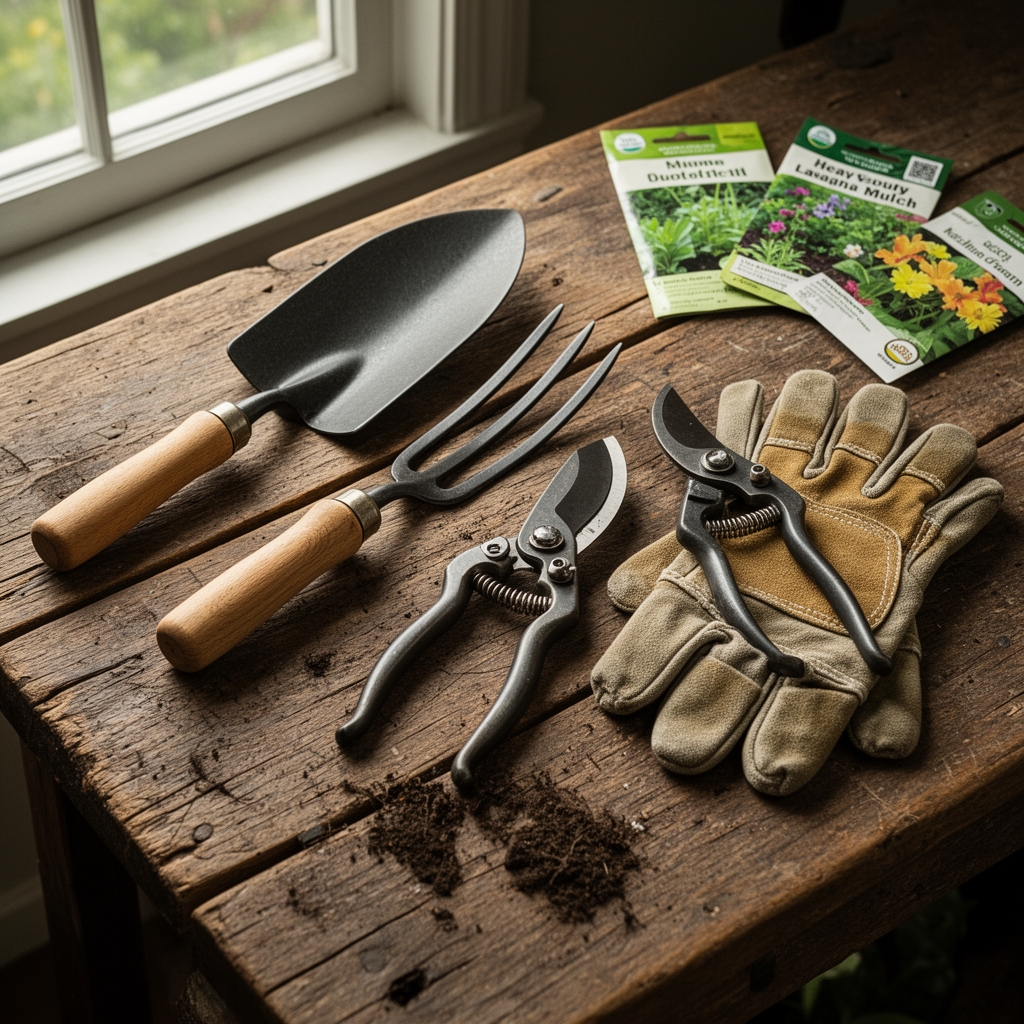
Materials
Successful lasagna mulching depends on balancing carbon (C) and nitrogen (N) inputs to maintain a 25:1 to 30:1 ratio during decomposition. Brown materials supply carbon: shredded cardboard, straw (pH 6.0-7.5), dry leaves (oak leaves at pH 4.5-5.5, maple at pH 6.0), and wood chips aged at least six months to reduce tannin content. Green materials deliver nitrogen: grass clippings (3-0-2 NPK approximate), coffee grounds (2-0.3-0.2 NPK, pH 6.5-6.8), vegetable scraps, and alfalfa meal (3-1-2 NPK). For beds intended for acid-loving plants like blueberries, incorporate pine needles (pH 3.5-4.0) and peat moss. For neutral to alkaline crops, add wood ash sparingly (0-1-3 NPK, pH 9-11) at no more than 5 pounds per 100 square feet to avoid sodium buildup. A 4-4-4 organic meal or composted poultry manure (4-3-2 NPK) accelerates microbial activity in the lower layers. Avoid diseased plant tissue, seed-bearing weeds, and walnut leaves, which release juglone and inhibit root growth in tomatoes and peppers.
Timing
The optimal window for establishing the steps to lasagna mulch spans late summer through mid-fall in Zones 5-8, approximately six to eight weeks before the first hard frost. Soil temperatures between 50-70°F promote mesophilic bacterial communities that break down cellulose efficiently. In Zones 9-10, begin in November or December when daytime highs drop below 80°F to prevent anaerobic conditions that generate hydrogen sulfide odor. Spring installation works in Zones 3-4, as soon as the ground thaws and drainage is reliable, but requires a three-month curing period before transplanting. Southern gardeners in Zones 10-11 should layer during the dry season (October-February) to avoid fungal overgrowth during monsoon rains. Beds built in fall are ready for spring planting when a soil probe inserted 6 inches deep meets little resistance and the bottom layers have a crumbly texture with visible earthworm castings.
Phases

Sowing the Base Layer: Mow existing vegetation to 2 inches or less. Lay overlapping sheets of corrugated cardboard or eight sheets of newsprint directly on the grass, ensuring no gaps exceed 1 inch to prevent weed puncture. Wet each paper layer thoroughly until water pools briefly on the surface. This sacrificial barrier smothers perennial weeds by blocking photosynthesis while providing habitat for ground beetles that predate slugs.
Pro-Tip: Apply a slurry of endomycorrhizal fungi (Glomus intraradices at 50 propagules per gram) mixed with water directly onto the cardboard to colonize plant roots as they penetrate downward, increasing phosphorus uptake by 40-60 percent.
Transplanting Layers: Alternate 2-inch layers of green material with 4-inch layers of brown material, repeating until the stack reaches 18-24 inches. The differential thickness maintains the target C:N ratio. Water each green layer with 1 gallon per 4 square feet to initiate microbial respiration. Insert a compost thermometer into the center after the third brown layer; internal temperatures should climb to 90-110°F within 48 hours, indicating active decomposition without reaching the 131°F threshold that kills beneficial bacteria.
Pro-Tip: Incorporate biochar at 1 quart per 10 square feet within the middle brown layer to increase cation exchange capacity by 20 percent and retain ammonium ions for gradual release.
Establishing the Surface: Cap the pile with 3 inches of finished compost or aged leaf mold (pH 6.0-7.0). This inoculates the raw layers with decomposer organisms and provides an immediate planting medium for transplants. For spring establishment, sow a cover crop of crimson clover (Trifolium incarnatum) or hairy vetch (Vicia villosa) to fix atmospheric nitrogen at rates up to 120 pounds per acre. Terminate the cover crop by mowing at early bloom stage, leaving residue in place to add 2-4 percent organic matter.
Pro-Tip: Prune transplant roots at a 45-degree angle with sterile shears to stimulate auxin distribution and lateral root proliferation within 7-10 days.
Troubleshooting
Symptom: Sour, ammonia-like odor after two weeks.
Solution: Excess nitrogen has triggered anaerobic decomposition. Turn the top 6 inches and add 4 inches of dry straw or shredded paper to rebalance the C:N ratio. Avoid compacting layers during construction.
Symptom: Mushrooms appearing on surface.
Solution: Fungal fruiting bodies indicate healthy saprophytic activity. Edibility cannot be assumed. Remove by hand if aesthetics are a concern, but leave mycelial networks undisturbed to process lignin.
Symptom: Seedlings show yellowing (chlorosis) on lower leaves.
Solution: Nitrogen immobilization occurs as soil microbes consume available N to decompose high-carbon materials. Side-dress with blood meal (12-0-0 NPK) at 1 pound per 25 square feet or apply fish emulsion (5-1-1 NPK) diluted 1:4 weekly until foliage regains dark green color.
Symptom: Slow decomposition after four months.
Solution: Low microbial populations due to insufficient moisture or cold temperatures. Core aerate the bed with a pitchfork every 12 inches to introduce oxygen. Apply compost tea brewed for 24 hours with 2 tablespoons molasses per gallon to boost bacterial counts by 10^6 CFU/ml.
Symptom: Persistent perennial weeds (bindweed, quackgrass) emerging through layers.
Solution: Initial cardboard barrier was too thin. Excavate problem areas and install a double thickness of cardboard, then re-layer. Alternatively, solarize the bed for six weeks using clear 2-mil polyethylene sheeting to raise soil temperature to 140°F at 2 inches depth.
Maintenance
Monitor moisture by squeezing a handful of material from the middle layer. It should feel like a wrung-out sponge. In the absence of rain, apply 1 inch of water per week using drip irrigation or soaker hoses to avoid compacting the stack. Test soil pH every six weeks with a probe-style meter; adjust with dolomitic lime (add 5 pounds per 100 square feet to raise pH by 0.5 units) or elemental sulfur (add 1 pound per 100 square feet to lower pH by 0.5 units). After the first growing season, replenish the top 2 inches with fresh compost each spring to maintain organic matter at 5-8 percent. Earthworm populations should reach 10-15 individuals per cubic foot within 12 months, indicating stable soil structure and active nutrient cycling.
FAQ
How deep should the final lasagna mulch bed be?
Aim for 18-24 inches at construction. Settling reduces height by 40-50 percent within six months, yielding a final depth of 10-12 inches suitable for most vegetable root systems.
Can I plant immediately after layering?
Transplants can go into the top compost layer within 24 hours. Seeds require a minimum three-week waiting period to avoid germination inhibitors from fresh organic matter.
Do I need to remove grass first?
No. The cardboard barrier and overlying layers smother grass by eliminating light. Roots decompose in place, contributing organic matter and creating macropores for drainage.
What if I only have brown materials available?
Supplement with a bagged nitrogen source like feather meal (12-0-0 NPK) at 2 pounds per 20 square feet of brown layer to prevent decomposition stall. Monitor for nitrogen deficiency in transplants.
Will lasagna mulch attract rodents?
Avoid adding meat, dairy, or oils. Stick to plant-based materials. Hardware cloth (1/4-inch mesh) laid under the cardboard deters voles and moles without impeding earthworm movement.