6 Simple Steps to Care for Hoya Kerrii Hearts
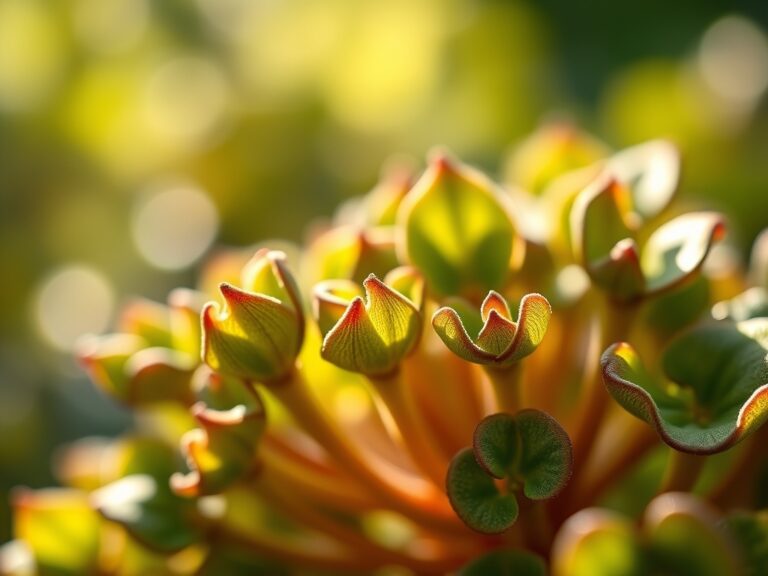
The scent of crushed succulent leaves lingers faintly as you turn the waxy heart in your hand, examining the translucent edges where chloroplasts cluster. This Hoya kerrii specimen, often sold as a single-leaf novelty during Valentine's Day, demands more than sentiment to thrive. The steps to care for hoya kerrii hearts begin with understanding that the plant evolved as an epiphytic climber in Southeast Asian forests, where it anchored to tree bark and absorbed nutrients from decomposing organic matter. Without a node attached to the petiole, a lone heart-shaped leaf may photosynthesize for years but will never produce new growth. With the node intact, however, you hold the foundation for a vining specimen that can span six feet indoors.
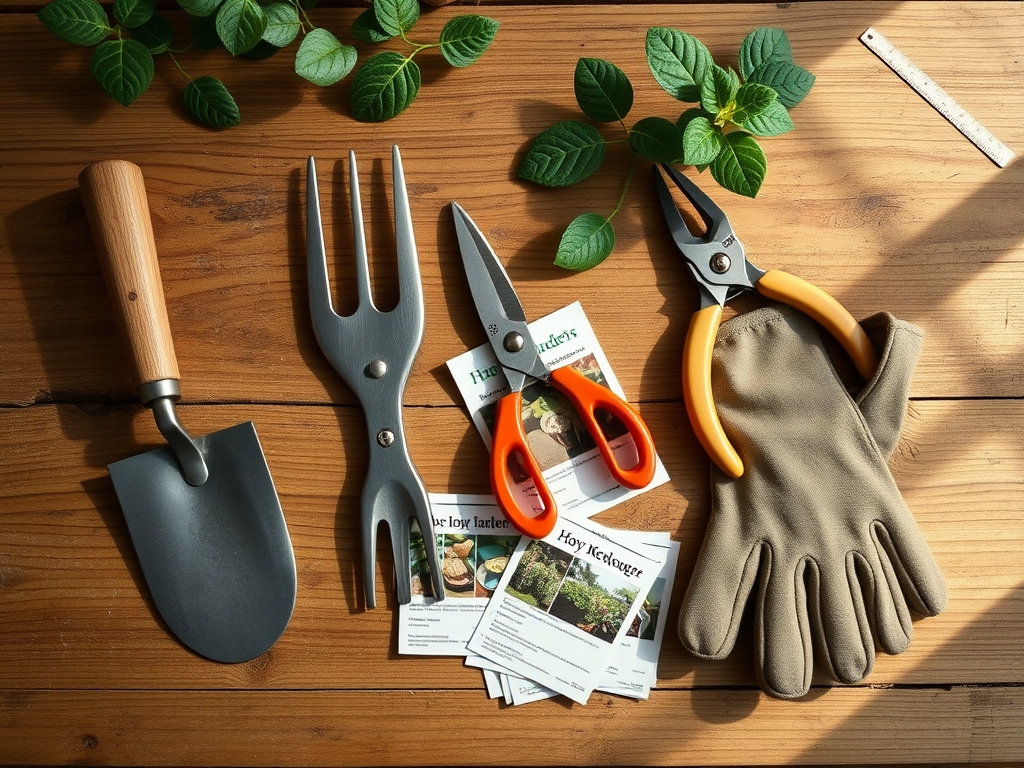
Materials
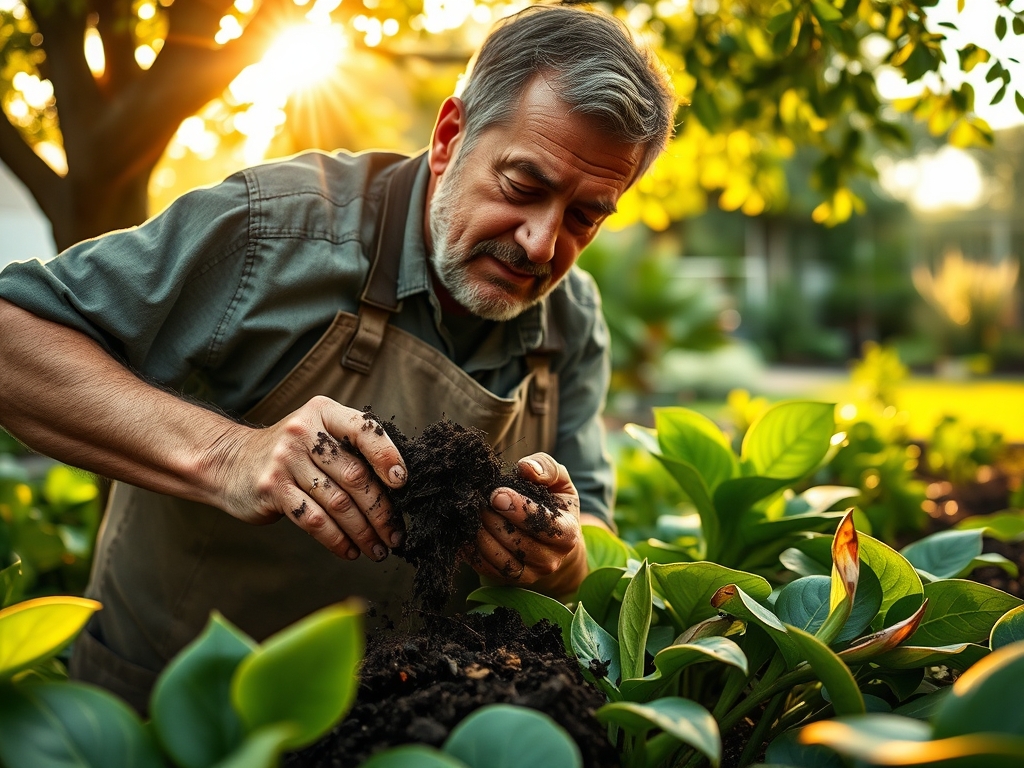
Substrate composition dictates root health and mycorrhizal colonization potential. Blend three parts orchid bark (5/8-inch chunks) with two parts perlite and one part sphagnum peat moss to achieve a pH range of 6.0 to 6.5. This mixture mimics the cation exchange capacity of tropical epiphyte habitats while preventing anaerobic conditions. Incorporate one tablespoon of worm castings per quart of mix to introduce beneficial microorganisms without spiking nitrogen levels prematurely.
For fertilization, select a balanced 4-4-4 organic meal or a 10-10-10 water-soluble formula diluted to one-quarter strength. Hoya kerrii stores nutrients in its succulent leaves, making it sensitive to salt accumulation from synthetic fertilizers. A potting vessel must provide drainage holes at least 0.5 inches in diameter. Terracotta pots (6-inch diameter for juvenile plants) enhance gas exchange through porous walls, accelerating root respiration and preventing waterlogged conditions that promote Pythium root rot.
Timing
Hoya kerrii tolerates USDA Hardiness Zones 10b through 12 outdoors, where minimum winter temperatures remain above 40°F. In temperate climates, treat it as a houseplant year-round. Repotting occurs optimally between March and May, when lengthening photoperiods trigger auxin distribution toward apical meristems. This hormonal shift coincides with active root growth, reducing transplant shock. Avoid repotting between October and February when the plant enters metabolic dormancy and cannot repair damaged root hairs efficiently.
For propagation via stem cuttings, wait until ambient temperatures stabilize above 70°F. Cooler conditions suppress callus formation at the cut site, increasing susceptibility to fungal pathogens like Botrytis cinerea. Rooting hormone containing 0.3% indole-3-butyric acid accelerates adventitious root development but is unnecessary if temperatures and humidity remain consistent.
Phases
Sowing (Propagation): Select a stem section with at least two nodes and one fully expanded leaf. Make a cut 0.25 inches below the lower node using sterilized pruning shears at a 45-degree angle to maximize surface area for water uptake. Insert the cutting into moistened propagation mix (equal parts perlite and peat moss) so the lower node sits 0.5 inches beneath the surface. Enclose the container in a clear plastic bag to maintain 70% relative humidity. Roots emerge in three to five weeks when bottom heat of 75°F is supplied via a propagation mat.
Pro-Tip: Dip the cut end in a slurry of mycorrhizal fungi (Glomus intraradices) before insertion. This symbiotic relationship increases phosphorus uptake by 40% during root establishment.
Transplanting: When roots reach two inches in length, transplant into the prepared substrate. Position the node junction at soil level to prevent crown rot. Firm the mix gently around the root ball, eliminating air pockets that desiccate root hairs. Water with 8 ounces of room-temperature water (68°F to 72°F) immediately after transplanting to settle particles around the roots.
Pro-Tip: Prune any yellowing propagation leaves at a 60-degree angle to redirect carbohydrates toward root expansion rather than maintaining senescent tissue.
Establishing: Place the transplanted specimen in bright, indirect light measuring 10,000 to 20,000 lux. Direct sunlight causes chlorophyll degradation, visible as bleached patches on leaf surfaces. Allow the top two inches of substrate to dry completely between waterings to prevent root asphyxiation. Over the first eight weeks, new leaves will emerge smaller and darker than the parent leaf before normalizing to the species' characteristic waxy texture.
Pro-Tip: Rotate the pot 90 degrees weekly to ensure even auxin distribution and prevent phototropic leaning that weakens stem integrity.
Troubleshooting
Symptom: Yellowing leaves with brown, crispy edges. Solution: Excess soluble salts from overfertilization. Flush the substrate with distilled water at twice the pot volume to leach accumulated minerals. Reduce fertilizer concentration to one-eighth strength for four weeks.
Symptom: Black, mushy stem base. Solution: Pythium root rot from overwatering. Remove affected tissue with sterilized tools, cutting into healthy green tissue. Repot in fresh substrate and reduce watering frequency to every 10 to 14 days.
Symptom: Sticky residue on leaves with cotton-like clusters. Solution: Mealybug infestation (Pseudococcidae family). Swab insects with isopropyl alcohol on a cotton swab, then apply insecticidal soap at 2% concentration weekly for three weeks.
Symptom: Leaves fail to grow beyond propagation size after six months. Solution: Lack of node tissue. Confirm a visible node bump exists at the petiole base. Without meristematic cells, the leaf cannot produce vines or new leaves.
Maintenance
Provide 0.5 inches of water per week during active growth (March through September), measured by inserting a moisture meter to a three-inch depth. The reading should drop to "3" (on a 1-to-10 scale) before rewatering. During dormancy (October through February), reduce to 0.25 inches every 14 days.
Apply diluted 4-4-4 fertilizer monthly from April through August. Skip fertilization entirely during dormancy to prevent salt accumulation when nutrient uptake slows. Prune spent flower stalks (peduncles) only after blooms have dropped naturally. Hoyas reuse peduncle tissue to produce subsequent inflorescences, and premature removal eliminates future flowering sites.
Maintain ambient temperatures between 65°F and 80°F. Exposure below 50°F causes irreversible cellular damage to succulent leaves.
FAQ
How long before a single-leaf cutting grows vines? A cutting with a node produces the first new leaf in 8 to 12 weeks under optimal conditions. Without a node, the leaf remains static indefinitely.
Can Hoya kerrii tolerate low light? Minimum light requirements sit at 5,000 lux. Below this threshold, photosynthesis cannot support growth, and the plant survives on stored carbohydrates until reserves deplete.
Why do leaves wrinkle? Dehydration from underwatering or low humidity below 40%. Water thoroughly and mist leaves with distilled water to restore turgor pressure within 48 hours.
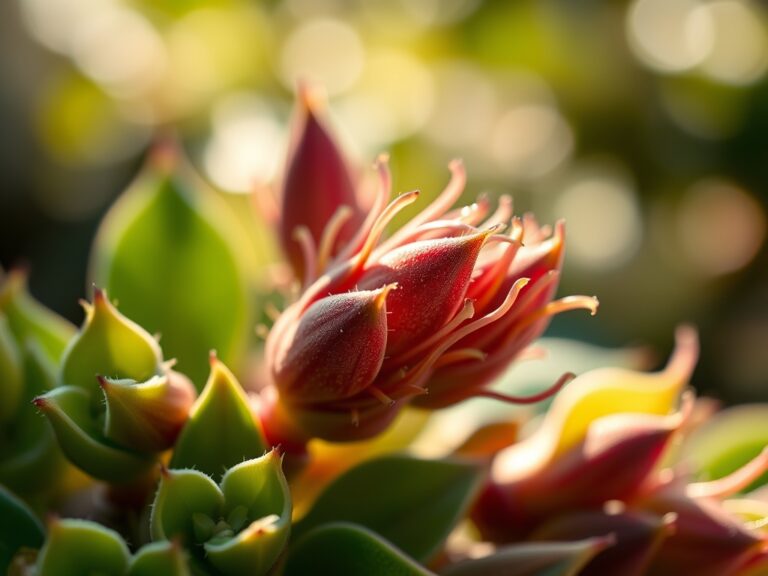
When does Hoya kerrii bloom? Mature plants (three-plus years) bloom in summer when exposed to 12 hours of bright light daily. Flowers emerge as umbels with 20 to 25 star-shaped, fragrant blossoms.
Is bottom watering safe? Yes. Place the pot in two inches of water for 15 minutes, allowing capillary action to saturate the root zone without wetting the crown.