10 Pro Tips How to Grow Croton Plant Varieties
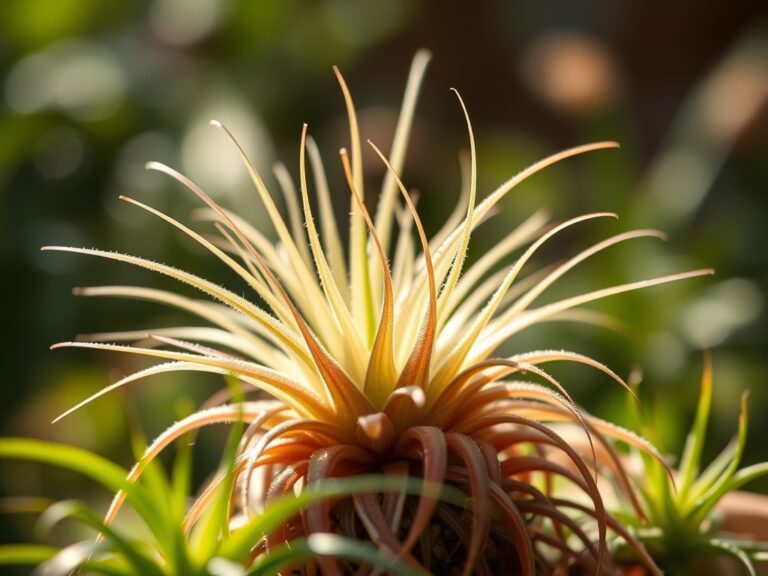
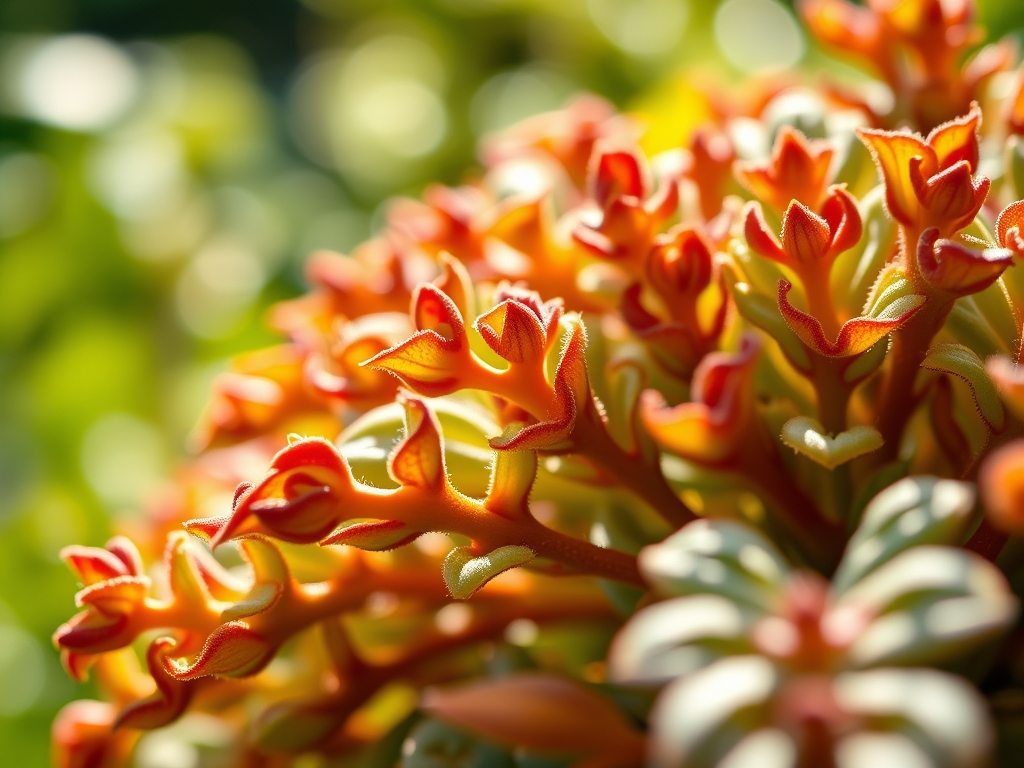
Crushing a handful of damp peat and perlite reveals the gritty reality of the rhizosphere; it is the foundation of plant health. A healthy Codiaeum variegatum leaf feels rigid with high turgor pressure. It resists bending and displays a waxy cuticle that prevents desiccation. Understanding how to grow croton plant varieties requires mastering the balance between high humidity and intense solar radiation. These tropical perennials demand precise environmental control to maintain their anthocyanin and carotenoid pigments.
Successful cultivation depends on simulating the understory of a tropical forest. This means maintaining a constant temperature above 60 degrees Fahrenheit and providing filtered light that prevents leaf scorch while fueling photosynthesis. Inconsistent moisture levels or sudden temperature drops trigger immediate leaf abscission. To master how to grow croton plant varieties, the horticulturist must focus on soil chemistry and atmospheric moisture. The plant is a biological indicator; its leaves signal stress through drooping or color loss long before systemic failure occurs.
Materials:
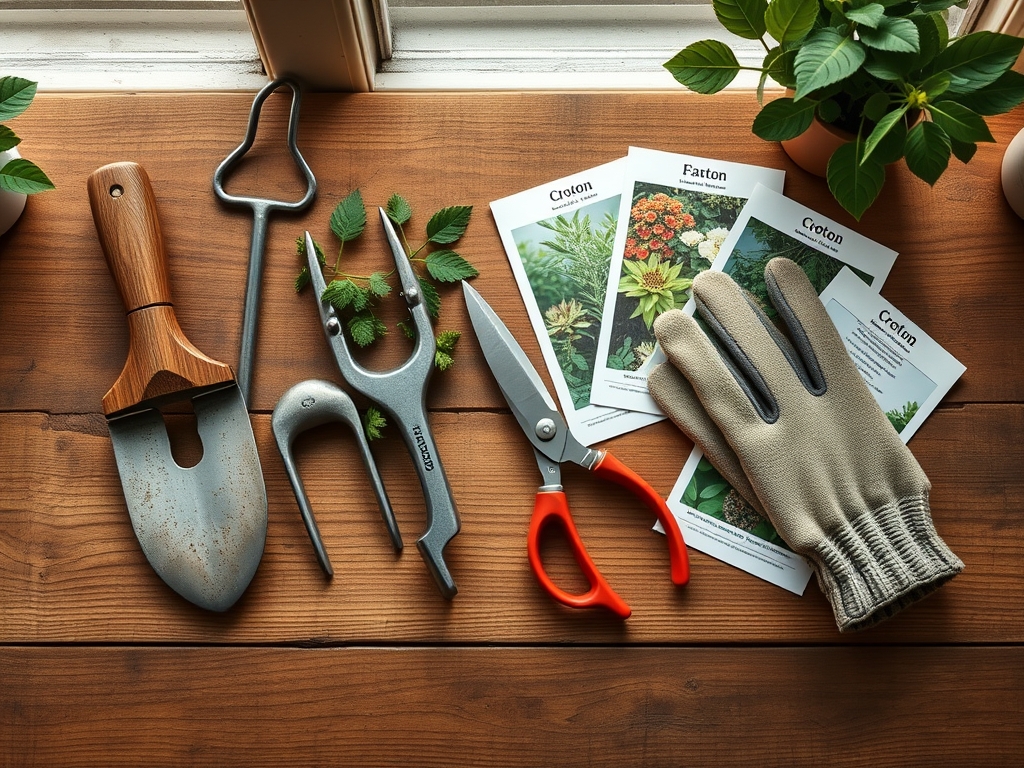
The substrate must be a friable loam with high porosity to ensure rapid drainage. Crotons fail in heavy clay because of anaerobic conditions in the root zone.
- Soil pH: Maintain a range of 5.5 to 6.5. This slightly acidic environment optimizes the availability of micronutrients like iron and manganese.
- Substrate Composition: A mix of 40 percent peat moss, 30 percent perlite, and 30 percent aged pine bark provides the necessary Cation Exchange Capacity (CEC) to hold nutrients while allowing oxygen to reach the roots.
- Fertilizer NPK Ratio: Use a 3-1-2 or 8-2-10 slow release granular fertilizer. High potassium (K) is vital for cell wall strength and water regulation within the plant tissues.
- Containers: Use pots with multiple drainage holes. Avoid saucers that allow the plant to sit in stagnant water; this leads to Pythium root rot.
Timing:
Crotons are strictly USDA Hardiness Zone 10 to 11 plants. They cannot tolerate frost or temperatures below 50 degrees Fahrenheit. The biological clock of the croton is driven by the photoperiod. During the long days of summer, the plant enters a rapid vegetative state, producing new foliage every 14 to 21 days.
In temperate zones, transplanting should only occur when nighttime temperatures consistently remain above 65 degrees Fahrenheit. If growing indoors, the timing is less dependent on the season and more on the available light intensity. Winter dormancy is not a true biological requirement for crotons; however, growth slows significantly when light levels drop below 1,000 foot-candles. Monitor the transition from vegetative growth to semi-dormancy by observing the distance between nodes. Shortened internodes indicate the plant is conserving energy due to environmental stress or reduced light.
Phases:
Sowing and Propagation
While seeds are possible, most varieties are propagated via air layering or stem cuttings to ensure genetic clones. Take a 4 to 6 inch cutting from the terminal end of a healthy branch. Dip the cut end in a 0.3 percent Indole-3-butyric acid (IBA) rooting hormone.
Pro-Tip: Remove all but the top two leaves to reduce transpiration. This prevents the cutting from wilting before the vascular system can regenerate. This is a matter of auxin management; the hormone stimulates root initiation at the node while the reduced leaf surface area prevents moisture loss.
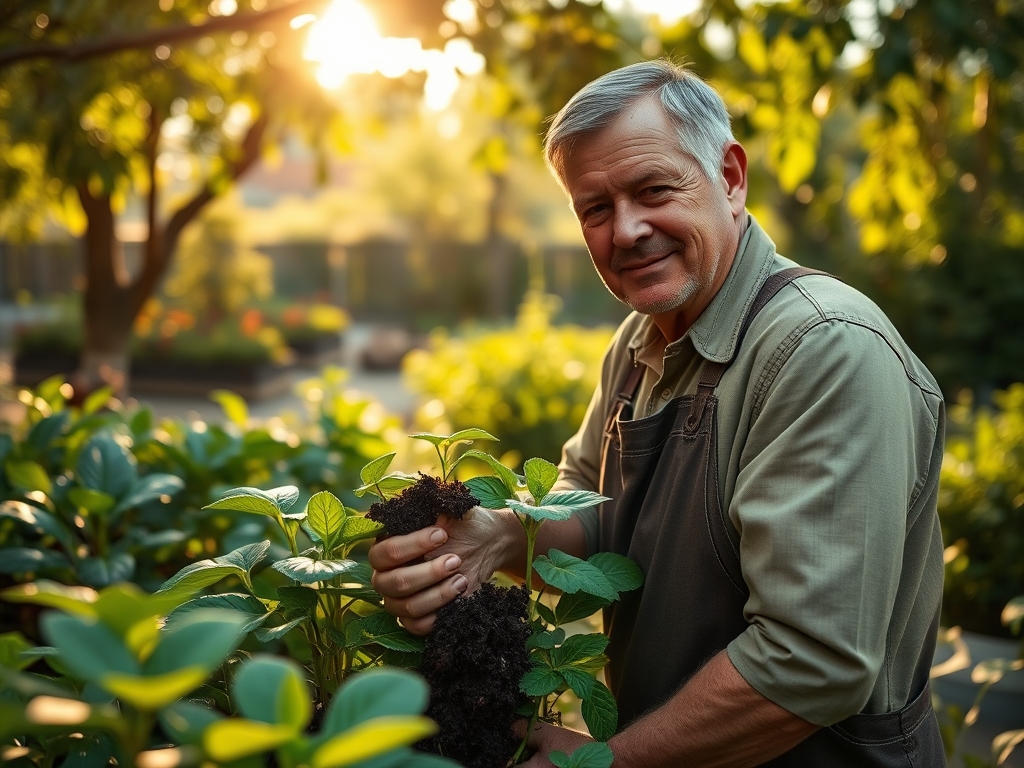
Transplanting
When moving a croton to a larger vessel, ensure the new pot is only 2 inches wider than the current root ball. Use a hori-hori knife to gently loosen any circling roots.
Pro-Tip: Do not bury the crown deeper than its original level. Deep planting causes stem rot at the soil line due to a lack of gas exchange in the bark tissues. Maintaining the original soil line preserves the hypocotyl integrity, ensuring the plant can transport water efficiently from the roots to the canopy.
Establishing
The first 30 days after transplanting are critical. Keep the soil consistently moist but not saturated. Provide high humidity (above 60 percent) to support the leaves while the root system explores the new substrate.
Pro-Tip: Avoid fertilizing for the first month. High salt concentrations from fertilizers can burn new, tender root hairs that are seeking out moisture. This allows for mycorrhizal symbiosis to develop naturally without the interference of high phosphorus levels which can inhibit fungal colonization.
The Clinic:
Symptom: Lower Leaf Abscission
Physiological Disorder: Sudden leaf drop is usually caused by "transplant shock" or a sudden drop in temperature.
Solution: Stabilize the environment. Ensure the plant is not in the path of air conditioning vents or drafty windows. Maintain a constant 75 degree Fahrenheit temperature.
Symptom: Interveinal Chlorosis
Nutrient Deficiency: Yellowing between the veins on new leaves indicates an Iron (Fe) or Magnesium (Mg) deficiency, often caused by high soil pH.
Fix-It: Apply a chelated iron foliar spray and check the soil pH. If the pH is above 7.0, add elemental sulfur to lower it to the 6.0 range.
Symptom: Stretched, Green Leaves
Environmental Stress: A loss of red and yellow pigments indicates insufficient light. The plant is producing more chlorophyll to compensate for low photon availability.
Solution: Increase light intensity to at least 2,000 to 3,000 foot-candles. Move the plant to a south facing window or provide supplemental full spectrum LED lighting.
Maintenance:
Precision is the hallmark of professional croton care. Use a soil moisture meter to verify that the top inch of soil is dry before watering. Generally, provide 1.5 inches of water per week at the drip line. Avoid wetting the foliage late in the evening as this encourages fungal pathogens like anthracnose.
Pruning is essential for maintaining a bushy habit. Use bypass pruners to make clean cuts just above a leaf node. This removes apical dominance and forces the plant to activate lateral buds. If the plant becomes "leggy," perform a hard prune in early spring, cutting the stems back by a third. Always wear gloves when pruning; the milky sap contains diterpene esters which can cause skin irritation. Clean your tools with 70 percent isopropyl alcohol between plants to prevent the spread of pathogens.
The Yield:
While crotons are grown for foliage rather than fruit, the "yield" is the density and color saturation of the leaves. For maximum color, expose the plant to high light levels during the peak growing season. To "harvest" cuttings for indoor display, cut stems at a 45 degree angle and immediately plunge them into 110 degree Fahrenheit water. This helps sear the sap and keeps the vascular system open for water uptake. These cuttings can maintain their turgor and color for up to two weeks in a vase if the water is changed every three days.
FAQ:
Why are my croton leaves turning completely green?
Insufficient light causes the plant to increase chlorophyll production for survival. To restore red and orange hues, move the plant to a location receiving at least six hours of bright, indirect sunlight daily.
How often should I fertilize my croton?
Apply a balanced, slow release fertilizer every six to eight weeks during the active growing season. Cease fertilization during winter months when the plant's metabolic rate slows and nutrient demand decreases significantly.
Can I grow crotons in full sun?
Most varieties thrive in full sun if they are acclimated slowly. Direct sun increases anthocyanin production, leading to more intense coloration. However, indoor plants moved suddenly to full sun will suffer from lethal leaf scorch.
What is the best way to increase humidity for crotons?
Use a dedicated humidifier to maintain levels above 50 percent. Alternatively, place the container on a tray filled with pebbles and water. Ensure the pot base sits above the water line to prevent root saturation.
Why is my croton dropping all its leaves after I moved it?
Crotons are highly sensitive to environmental changes. A shift in light, temperature, or humidity triggers a stress response. Maintain consistent conditions and the plant will typically regrow foliage from the axillary buds within a month.