7 Sturdy Steps to Install Sleeper Steps
The scent of wet humus and the cool, gritty texture of clay-loam under the fingernails define the start of any serious structural landscape project. When the soil reaches a state of field capacity, where it holds moisture without being anaerobic, you have the ideal conditions for earthwork. To master the steps to install sleeper steps, one must understand that this is not merely carpentry; it is an intervention in the local topography and hydrology. Proper installation requires a firm grasp of soil mechanics and gravitational pressure to ensure the timber remains stable against the lateral force of the hillside. A successful project results in a series of terraces that manage water runoff while providing a durable path. Failure to account for the angle of repose or the drainage capacity of the substrate will lead to structural shifting within two seasons. Precision starts with the first excavation, ensuring the subgrade is compacted to prevent settling that would otherwise disrupt the vertical alignment of the entire flight.
Materials:
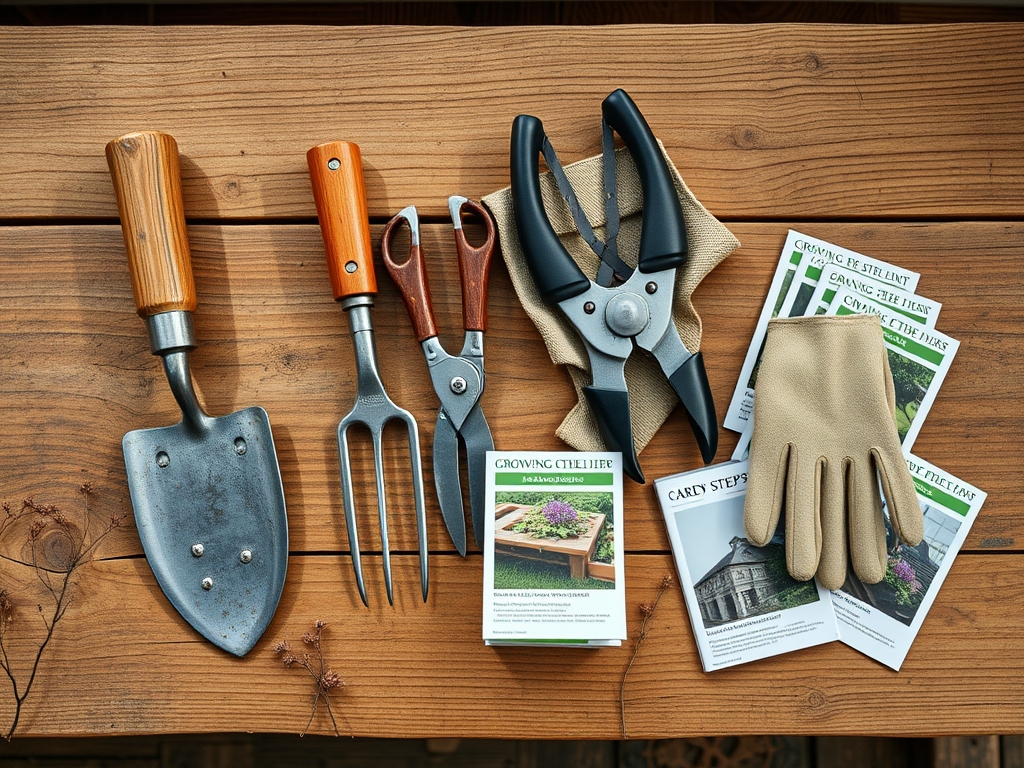
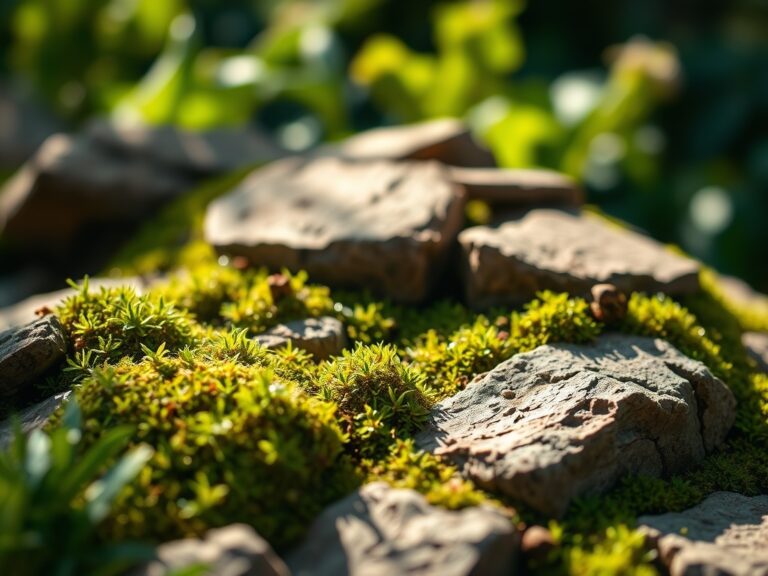
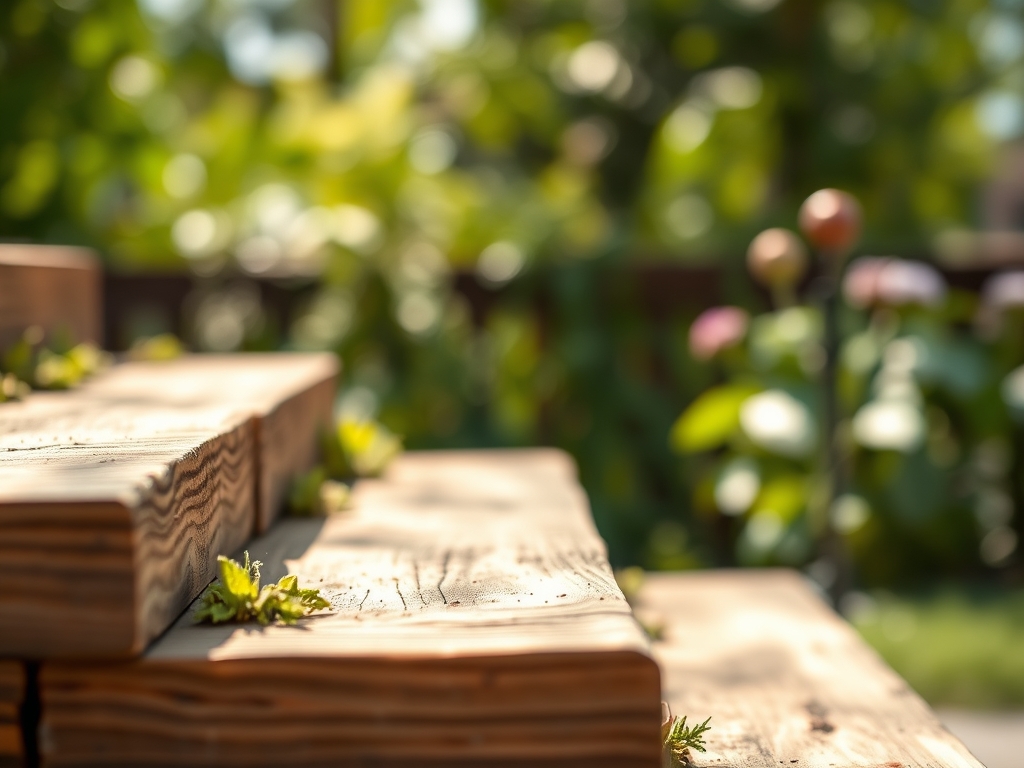
The foundation of sleeper steps relies on the chemical and physical properties of the surrounding earth. You require a **friable loam** for the backfill, ideally with a **pH between 6.0 and 7.0** to prevent accelerated corrosion of galvanized fixings. If the soil is excessively acidic, the metal spikes used to secure the sleepers will degrade faster through oxidation. For the surrounding vegetation that will stabilize the banks, prepare a soil mix with an **NPK ratio of 10-10-10** to encourage rapid root establishment. The soil must have a high **Cation Exchange Capacity (CEC)**, typically found in soils with at least **5 percent organic matter**, to retain the nutrients necessary for the groundcover. You will need **200mm x 100mm pressure-treated softwood or oak sleepers**, **250mm landscape screws**, and a **40mm depth of angular crushed stone** for the base layer to facilitate drainage and prevent the wood from sitting in a saturated rhizosphere.
Timing:
Installation should occur when the ground is workable but before the peak of the vegetative growth phase. In Hardiness Zones 5 through 8, the optimal window is late winter or early spring, specifically after the final hard frost but before the spring equinox. This timing aligns with the "Biological Clock" of local flora; installing steps during the dormant season minimizes root shock to adjacent plants. By completing the heavy excavation before the plant enters the bolting or reproductive stage, you ensure that energy reserves remain focused on root repair rather than fruit or flower production. Avoid installation during periods of heavy rainfall to prevent soil compaction, which destroys the macropores necessary for oxygen to reach the roots of nearby specimens.
Phases:

Sowing the Foundation
Excavate the first trench at the lowest point of the slope. The depth must accommodate 100mm of compacted hardcore and half the thickness of the sleeper. Level the base using a spirit level to ensure the center of gravity remains neutral.
Pro-Tip: Proper compaction prevents the disruption of mycorrhizal symbiosis. When soil is loosely backfilled, air pockets can cause root desiccation; however, over-compaction prevents fungal hyphae from transporting phosphorus to the plants.
Transplanting and Anchoring
Place the first sleeper and drive 12mm diameter steel rebar through pre-drilled holes into the subsoil. Each subsequent step should overlap the one below it by at least 50mm to create a physical lock. Backfill the void behind each sleeper with 20mm clean shingle to prevent hydrostatic pressure buildup.
Pro-Tip: Maintaining a slight forward pitch of 1 to 2 percent utilizes gravity to shed water, preventing the "puddling" that leads to fungal pathogens and wood rot through cellulose degradation.
Establishing the Grade
Once all sleepers are secured, integrate the surrounding soil. Use a hori-hori knife to slit the sod and plant low-growing, deep-rooted species like Vinca minor or Thymus praecox along the edges. These plants act as "biological rebar," their roots weaving through the soil to increase shear strength.
Pro-Tip: Use auxin suppression techniques by pinching back the terminal buds of edge plants. This redirects the plant's energy to lateral root branching, which better secures the soil adjacent to your new timber steps.
The Clinic:
Physiological disorders in the landscape surrounding your steps often indicate installation errors.
- Symptom: Leaf chlorosis (yellowing) in nearby shrubs.
Solution: Check for anaerobic conditions. Excessive backfill can bury the root flare, suffocating the plant. Lower the soil level to the original grade. - Symptom: Iron deficiency (interveinal chlorosis).
Solution: High pH from concrete dust or limestone gravel can lock out iron. Apply chelated iron and mulch with pine needles to lower the pH to 6.5. - Symptom: Nitrogen deficiency (stunted growth, pale green leaves).
Fix-It: Apply a high-nitrogen fertilizer (20-0-0) to compensate for the nitrogen drawdown that occurs as soil microbes work to decompose any fresh wood mulch or sawdust left from the sleepers.
Maintenance:
A precise maintenance schedule preserves both the timber and the surrounding biology. Monitor the soil moisture using a soil moisture meter; the goal is to maintain 1.5 inches of water per week at the drip line of adjacent plants. Use bypass pruners to keep foliage from resting directly on the wood, which maintains airflow and prevents the localized humidity that encourages rot. Every two years, inspect the 250mm landscape screws for any signs of "heaving" caused by the freeze-thaw cycle. If the sleepers show signs of algae, scrub them with a stiff brush to maintain traction without using harsh chemicals that could alter the soil pH or damage the delicate rhizosphere of the groundcover.
The Yield:
While sleeper steps are structural, the "yield" is the successful establishment of the surrounding micro-ecosystem. If you have planted creeping herbs along the treads, harvest them during the morning when turgor pressure is at its peak. This ensures the essential oils are concentrated. Use a sharp hori-hori knife to take clean cuttings, leaving at least 60 percent of the plant mass to ensure continued photosynthesis and soil stabilization. For "day-one" freshness, immediately submerge the stems in 40 degree Fahrenheit water to slow the rate of senescence and maintain cellular structure.
FAQ:
What is the best wood for sleeper steps?
Use pressure-treated softwood for cost-effectiveness or English Oak for longevity. Oak contains high tannin levels, which naturally resist decay and fungal pathogens, providing a lifespan of 20 years or more in contact with the soil.
How do I prevent the steps from sliding down the hill?
Drive 12mm steel rebar at least 500mm into the ground through the sleepers. Ensure each step is recessed into the bank so the weight of the soil above it acts as a stabilizing force against the timber.
Do I need a gravel base under sleepers?
Yes. A 40mm to 100mm layer of angular gravel is essential. It breaks the capillary action of soil moisture, preventing the wood from staying saturated, which would otherwise accelerate cellulose breakdown and structural failure.
How deep should I dig the trench for sleeper steps?
Excavate deep enough to accommodate a 100mm sub-base of compacted stone plus half the height of the sleeper. This ensures the "toe" of the staircase is anchored firmly below the frost line to prevent seasonal shifting.