8 Simple Ways How to Use Solarization Methods
Soil solarization harnesses solar radiation to raise soil temperatures between 99°F and 140°F, causing thermal death in weed seeds, soilborne pathogens, and nematodes within the top six inches of substrate. Learning how to use solarization methods transforms sterile commercial beds and disease-plagued garden plots into biologically clean growing zones without synthetic fumigants. This passive disinfestation technique requires clear polyethylene sheeting, strategic timing, and moisture management to achieve pathogen mortality thresholds.
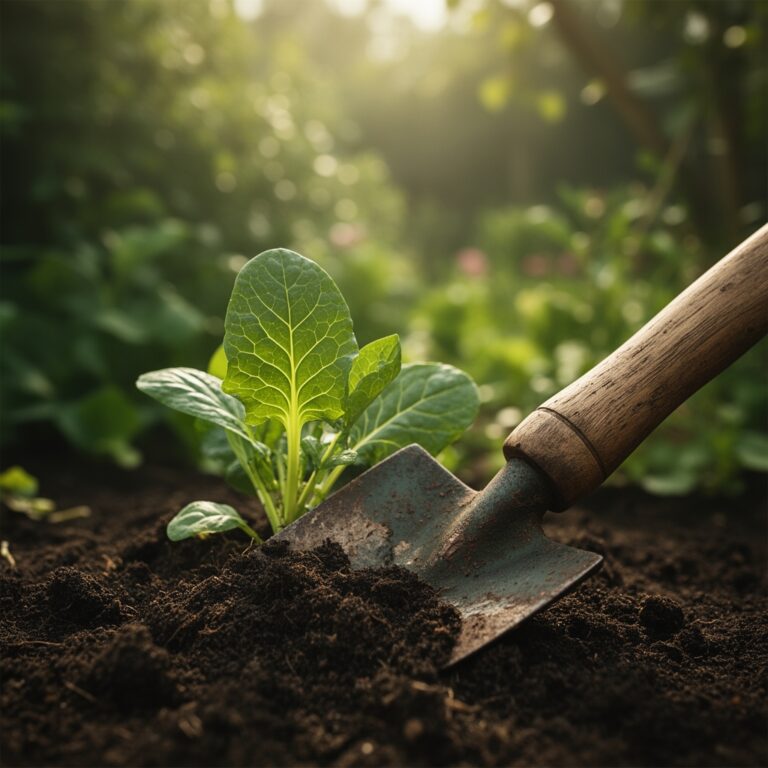
Materials
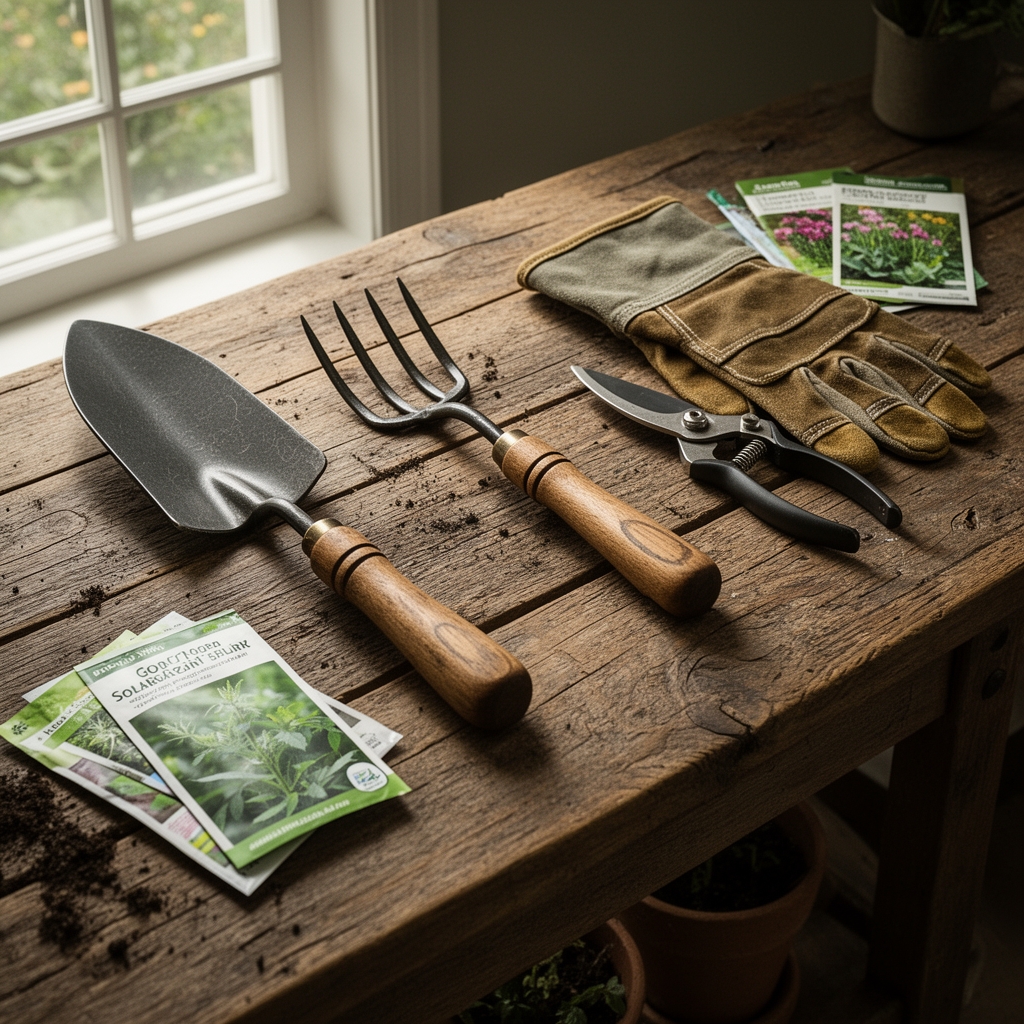
Transparent polyethylene film remains the cornerstone material. Select 1- to 4-mil clear sheeting rather than black plastic; transmission of photosynthetically active radiation increases substrate temperature 10°F to 15°F more than opaque barriers. For every 100 square feet of treatment area, purchase 110 square feet of sheeting to ensure proper edge anchoring.
Soil amendments precede film application. Incorporate a balanced 4-4-4 organic fertilizer at two pounds per 100 square feet alongside well-composted manure to raise organic matter above 3%. This elevates cation exchange capacity and moisture retention, both critical for heat transfer. For acidic soils below pH 6.0, broadcast dolomitic lime at five pounds per 100 square feet. Alkaline soils above pH 7.5 benefit from elemental sulfur at one pound per 100 square feet, incorporated ten weeks before solarization begins.
Edge-securing materials include landscape staples, soil berms, or wooden boards. Soil moisture monitoring requires a penetrating probe or tensiometer calibrated to the 4- to 6-inch depth. A soil thermometer capable of reading 140°F confirms lethal temperature zones.
Timing
Solarization demands the calendar's hottest window. In USDA Hardiness Zones 9 through 11, mid-May through late July provides peak solar irradiance exceeding 800 watts per square meter. Zones 7 and 8 require June 1 through August 15, while northern Zone 6 gardeners face marginal success unless solarization extends eight weeks.
Target soil temperatures must remain above 110°F for at least four consecutive weeks to kill Verticillium dahliae microsclerotia and Fusarium oxysporum chlamydospores. Pythium and Phytophthora species succumb at 113°F maintained for two weeks. Weed seeds, notably purslane and crabgrass, require six weeks at 108°F minimum. Avoid autumn or spring solarization; ambient air temperatures below 75°F prevent substrate from reaching pathogen mortality thresholds regardless of film quality.
Coordinate solarization with crop rotation schedules. Complete the treatment thirty days before transplanting fall brassicas or sixty days ahead of overwintering garlic. This interval allows soil microbial communities to recolonize and restore beneficial antagonistic bacteria populations.
Phases
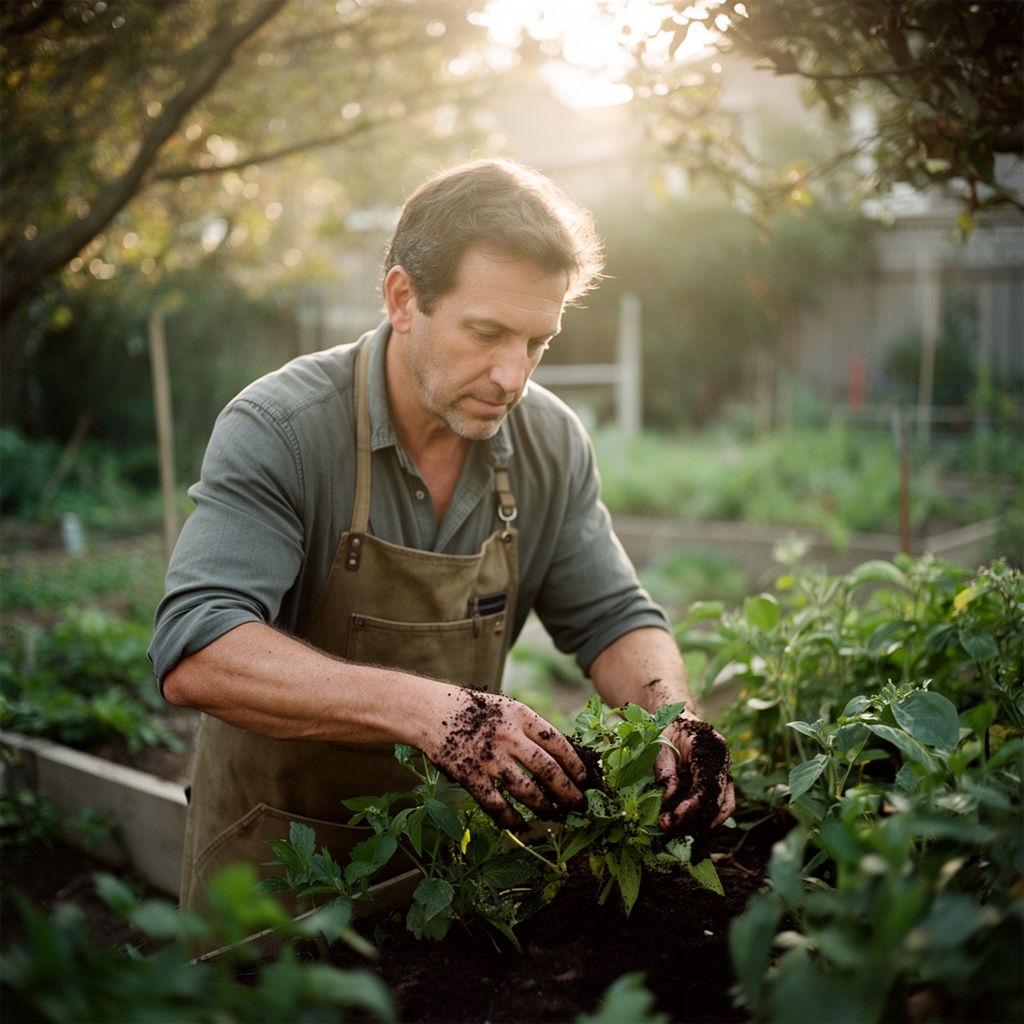
Preparation Phase: Remove all vegetation, roots, and debris from the treatment zone. Till to a depth of eight inches, breaking aggregates smaller than one inch. Irrigate to field capacity, defined as soil moisture content when free drainage ceases. The substrate should form a ribbon two inches long when compressed but crumble under light pressure. This moisture level optimizes thermal conductivity and microbial sensitivity to heat stress.
Pro-Tip: Apply mycorrhizal fungi inoculant immediately after solarization ends, introducing Glomus intraradices at 0.25 ounces per 100 square feet. Heat decimates existing fungal networks; early reintroduction restores symbiotic phosphorus pathways before transplanting.
Film Installation Phase: Spread polyethylene sheeting across moistened soil on a windless morning. Pull taut to eliminate air pockets, which insulate rather than transmit heat. Bury edges four inches deep in perimeter trenches or anchor with continuous soil berms six inches high. Seal any tears immediately with transparent polyethylene tape; even 2-inch gaps reduce internal temperatures by 8°F.
Pro-Tip: Overlap multiple sheets by twelve inches minimum, orienting seams perpendicular to prevailing winds. Weight overlap zones with sandbags every three feet to prevent billowing.
Heat Accumulation Phase: Monitor soil temperature at 4-inch depth daily during week one, then every three days. Maintain moisture by sub-surface drip irrigation if weekly probe readings drop below the permanent wilting point. Premature film removal reintroduces airborne pathogens before substrates cool. Leave sheeting intact for the full treatment duration, then remove on an overcast day to prevent thermal shock to recolonizing microorganisms.
Pro-Tip: Sprinkle a fine layer of finished compost within 24 hours of film removal. This introduces aerobic decomposers and competes with any surviving anaerobic pathogens attempting substrate recolonization.
Troubleshooting
Symptom: Film ballooning or detachment during mid-treatment.
Solution: Re-anchor edges and patch holes. If detachment exceeds 20% of the treatment area, restart the timeline from day one.
Symptom: Soil temperatures plateau below 105°F after one week.
Solution: Confirm film is clear, not translucent white. Increase soil moisture to 60% of field capacity via drip lines. Consider double-layering sheeting with a 2-inch air gap for greenhouse effect amplification.
Symptom: Algal growth on substrate surface beneath film.
Solution: Indicator of excessive moisture and incomplete anaerobiosis. Reduce irrigation frequency. Algae does not compromise pathogen kill but signals potential nutrient leaching.
Symptom: Weed germination post-treatment.
Solution: Seeds likely originated from depths exceeding six inches or introduced via contaminated tools. Apply 3-inch organic mulch layer after transplanting to suppress photoblastic germination.
Symptom: Damping-off in transplants despite solarization.
Solution: Pythium or Rhizoctonia reintroduced through non-sterile transplant trays. Sterilize all containers in 10% bleach solution. Delay transplanting to 14 days post-solarization to allow antagonistic Trichoderma populations to establish.
Maintenance
Water solarized beds to maintain 1 inch per week via drip irrigation positioned 2 inches below the mulch layer. Avoid overhead watering for 60 days post-treatment to prevent pathogen splash from adjacent untreated zones. Side-dress transplants with 5-10-10 granular fertilizer at one tablespoon per plant four weeks after establishment; solarization temporarily reduces available nitrogen through microbial die-off.
Test soil pH 45 days after film removal. Heat-induced organic matter oxidation may shift pH by 0.3 to 0.5 units. Adjust with targeted amendments before planting acid-preferring crops like blueberries (pH 4.5-5.5) or alkaline-tolerant asparagus (pH 7.0-7.5).
Reapply solarization every three years in monoculture systems or biannually in areas with persistent soilborne diseases like clubroot or southern blight.
FAQ
How long does solarization remain effective?
Pathogen-free conditions persist 12 to 18 months in undisturbed soils. Deep tillage or contaminated amendments reintroduce propagules.
Can solarization replace chemical fumigation?
Yes, for vegetable gardens and ornamental beds. Efficacy against root-knot nematodes matches methyl bromide when substrate temperatures exceed 125°F for four weeks.
Does solarization harm beneficial organisms?
Temporarily. Earthworms migrate below 12 inches to escape heat. Beneficial bacteria and fungi recolonize from surrounding soils within 30 days, especially when compost is added.
What crops benefit most from solarized soil?
Solanaceous crops (tomatoes, peppers, eggplants) suffering from Verticillium wilt. Cucurbits plagued by Fusarium crown rot. Strawberries vulnerable to black root rot complex.
Is solarization viable in cloudy climates?
Marginal. Regions averaging fewer than 10 hours of daily sunshine or with frequent marine layer fog achieve insufficient cumulative heat. Greenhouse solarization under supplemental heating offers an alternative.