8 Patient Ways How to Prep Soil for Asparagus
The smell of damp, decaying organic matter signifies the presence of active microbial respiration, a prerequisite for any successful perennial bed. Asparagus officinalis is a long term investment that demands a substrate capable of supporting a twenty year lifespan. Success depends entirely on how to prep soil for asparagus before the first crown ever touches the earth. You are not merely planting a crop; you are engineering a subterranean environment where high turgor pressure in the emerging spears is maintained through precise moisture management and nutrient density.
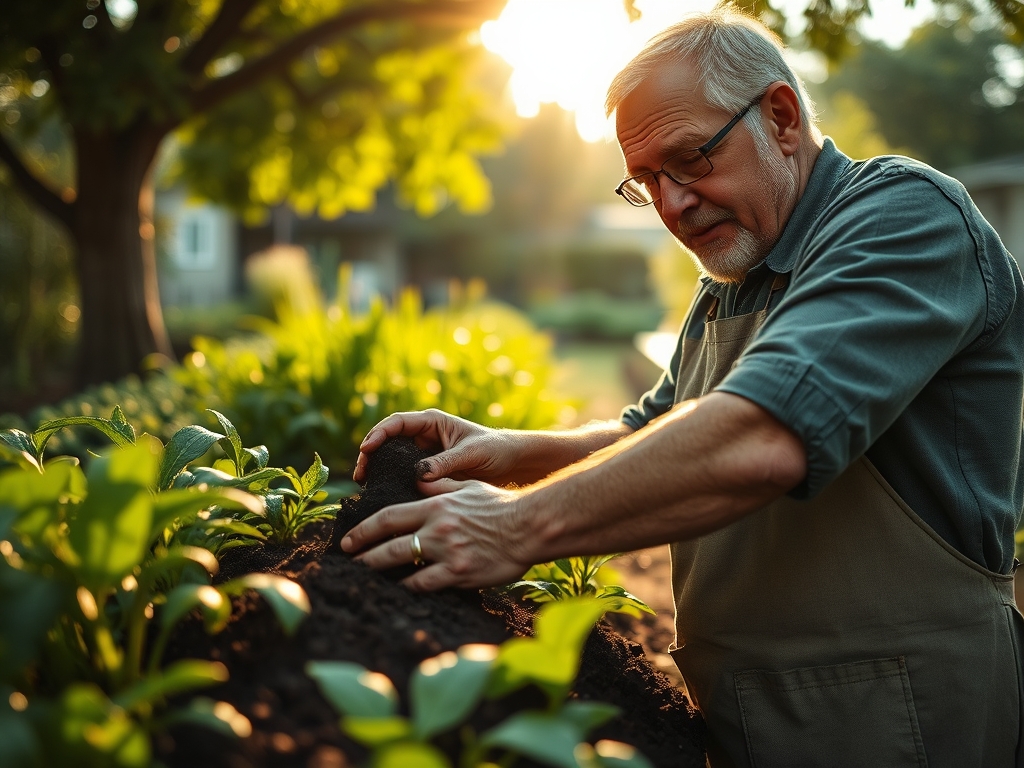
Asparagus requires a deep, well drained rhizosphere to prevent crown rot and to allow the extensive root system to forage for minerals. This plant is a heavy feeder that relies on a high cation exchange capacity (CEC) to hold onto essential ions. If your soil is compacted or anaerobic, the crowns will succumb to fungal pathogens within three seasons. You must achieve a friable loam texture that allows for rapid gas exchange while retaining enough capillary water to sustain the plant through the heat of midsummer.
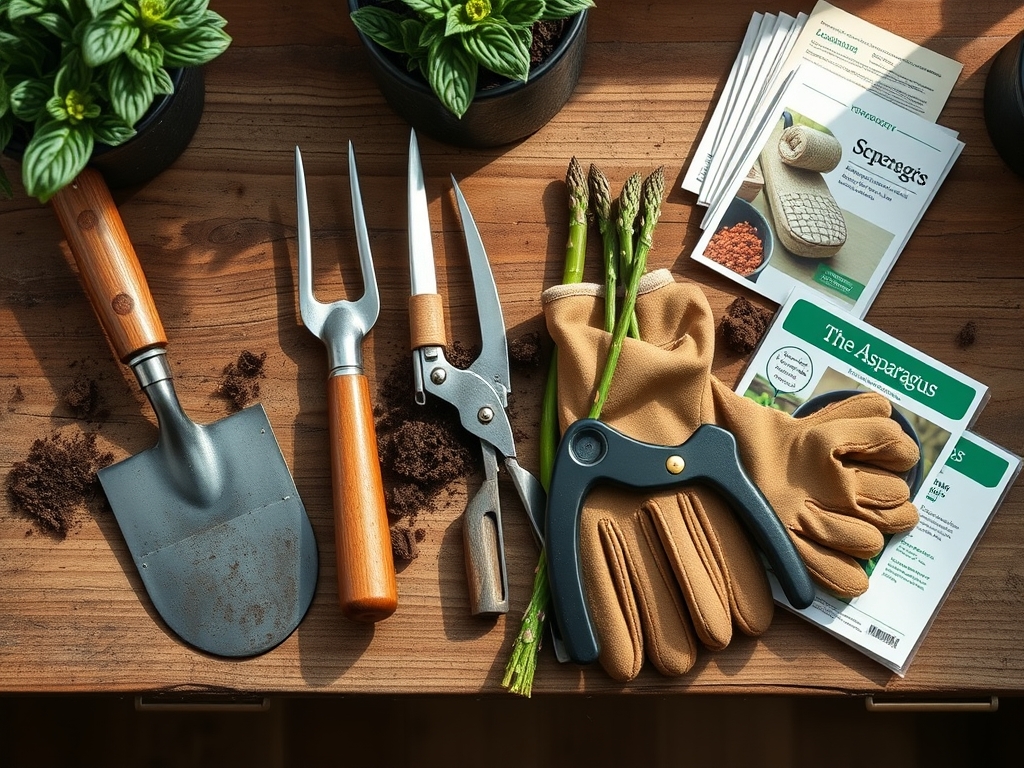
Materials:
The ideal substrate is a friable loam with a sand content of approximately 40 percent to ensure drainage. The target soil pH must sit between 6.5 and 7.0. Asparagus is sensitive to acidic conditions; a pH below 6.0 can lead to the unavailability of phosphorus and molybdenum.
For nutrient inputs, focus on the following NPK ratios and amendments:
- Rock Phosphate (0-3-0): Essential for initial root development. Apply at a rate of 5 pounds per 100 square feet.
- Potassium Sulfate (0-0-50): Critical for carbohydrate translocation to the crowns. Target 2 pounds per 100 square feet.
- Well-Rotted Compost: Aim for a carbon to nitrogen (C:N) ratio of 25:1 to 30:1. This provides the slow release nitrogen necessary for frond development.
- Agricultural Lime: If your soil test indicates a pH below 6.5, apply calcitic or dolomitic lime at the rate specified by your local extension office to neutralize acidity.
Timing:
Asparagus thrives in Hardiness Zones 3 through 8. The biological clock of the plant is governed by soil temperature and vernalization. Preparation must begin a full season before planting, typically in the autumn. This allows amendments to integrate into the soil profile and for weed seeds to germinate and be eradicated before the asparagus crowns are set.
The transition from the dormant vegetative state to the reproductive stage occurs when soil temperatures reach 50 degrees Fahrenheit. Planting should occur in early spring, approximately 4 to 6 weeks before the last frost date. This timing ensures the crowns remain dormant during handling but are ready to initiate root growth as the soil warms. In warmer zones, such as Zone 9, asparagus may struggle with a lack of dormancy, requiring a forced rest period through the cessation of irrigation.
Phases:
Sowing and Site Preparation
Begin by excavating a trench 12 inches wide and 8 to 10 inches deep. The bottom of the trench should be loosened with a hori-hori knife to break any hardpan layers that might impede downward root penetration. Incorporate 2 inches of aged compost into the bottom of the trench.
Pro-Tip: Mycorrhizal fungi inoculation at this stage is vital. Biological Why: These symbiotic fungi extend the reach of the root system, increasing the surface area for phosphorus uptake and improving the plant's resilience to drought through enhanced water transport.
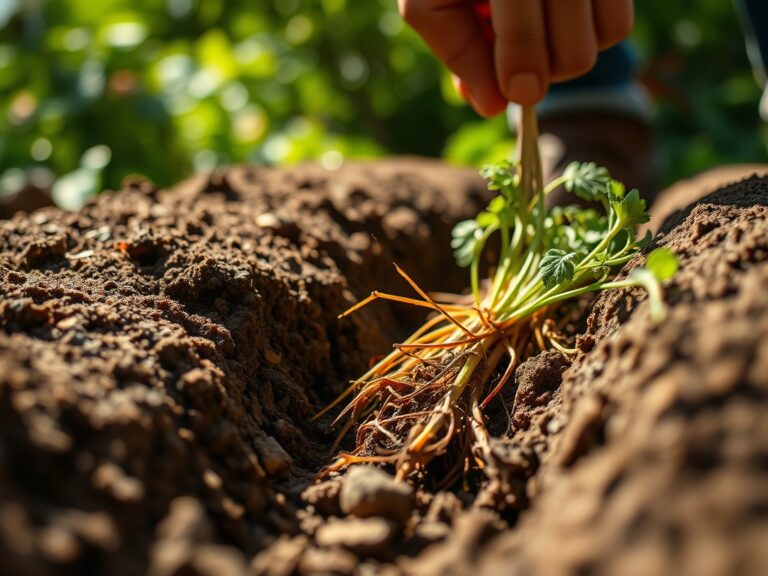
Transplanting Crowns
Place one year old crowns in the trench, spacing them 12 to 18 inches apart. Spread the roots out laterally like an octopus. Cover the crowns with only 2 to 3 inches of soil initially. As the spears emerge and grow, gradually fill the trench over the course of the first summer.
Pro-Tip: Avoid deep burial of crowns in heavy clay soils. Biological Why: Excessive soil depth can lead to oxygen deprivation in the rhizosphere, causing anaerobic respiration and subsequent crown death.
Establishing the Bed
During the first two years, the focus is on maximizing photosynthesis to build carbohydrate reserves in the fleshy roots. Do not harvest any spears during the first season. Maintain a consistent moisture profile using a soil moisture meter to ensure the root zone does not desiccate.
Pro-Tip: Allow the ferns to grow fully until they turn yellow or brown in late autumn. Biological Why: This process, known as senescence, allows the plant to translocate sugars and nutrients from the foliage back down into the crown for winter storage.
The Clinic:
Physiological disorders in asparagus often manifest as structural deformities or chlorosis. Monitoring the crop daily is necessary for early intervention.
Symptom: Bent or "hooked" spears.
Solution: This is often caused by mechanical injury or wind desiccation. Ensure the site is protected from high winds and use care when weeding near the crowns.
Symptom: Ferns turning yellow prematurely in midsummer (Nitrogen chlorosis).
Fix-It: Apply a high nitrogen organic fertilizer, such as blood meal, at a rate of 1 pound per 100 square feet. Nitrogen is a mobile nutrient; if the plant lacks it, it will pull nitrogen from older growth to support new spears.
Symptom: Spindly, needle like spears.
Solution: This indicates exhausted carbohydrate reserves. Cease harvesting immediately and apply a top dressing of 0-0-50 potassium sulfate to aid in sugar synthesis.
Maintenance:
Precision irrigation is the cornerstone of asparagus longevity. Provide 1.5 inches of water per week at the drip line. Using a soil moisture meter is recommended to verify that moisture is reaching a depth of 12 inches.
Weed competition must be managed aggressively. Use a hori-hori knife to remove deep rooted perennials while avoiding the asparagus crowns. In late winter, before spears emerge, use bypass pruners to cut back the dead ferns from the previous year. This removal reduces the habitat for overwintering pathogens. Mulch the bed with 3 inches of clean straw or shredded leaves to suppress weed germination and maintain soil thermoregulation.
The Yield:
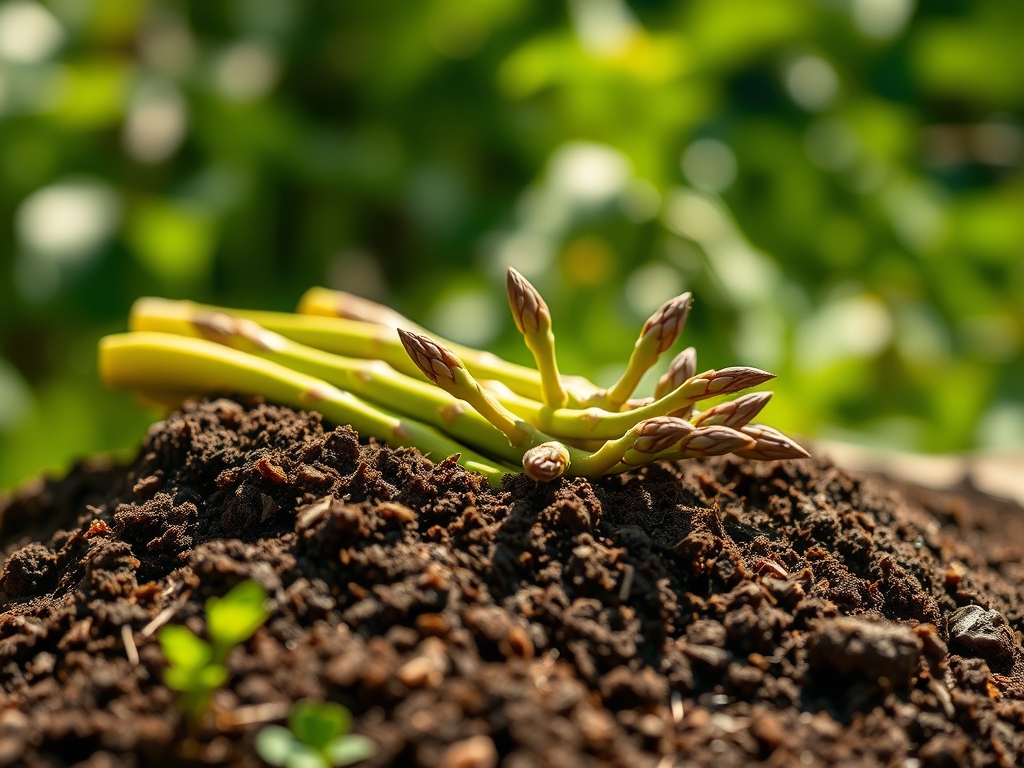
Harvesting begins in the third year. Use a sharp knife to cut spears at or just below the soil surface when they reach 6 to 8 inches in height. Stop harvesting when the diameter of the emerging spears decreases to less than the thickness of a pencil.
To maintain "day-one" freshness, immediately submerge the base of the spears in one inch of cold water and refrigerate. This preserves the turgor pressure and prevents the lignification of the fibers, which makes the spears woody and unpalatable. The metabolic rate of asparagus is high; cooling the spears quickly slows down the conversion of sugars to starch.
FAQ:
How deep should I dig the trench for asparagus?
Dig the trench 8 to 12 inches deep. This depth allows for a layer of compost at the base while leaving room to gradually backfill soil as the spears grow, protecting the crown from temperature fluctuations.
What is the best fertilizer for asparagus?
Use a balanced organic fertilizer or a specific NPK ratio like 10-10-10 in early spring. Supplement with potassium sulfate to support the translocation of carbohydrates to the roots for the following year's growth.
Can I grow asparagus in heavy clay soil?
Yes, but you must amend it heavily with coarse sand and organic matter to improve drainage. Consider raised beds if the area is prone to standing water, as asparagus crowns will rot in anaerobic conditions.
How long does it take to grow asparagus from seed?
Growing from seed adds one extra year to the establishment phase. It takes approximately three to four years from sowing to reach a sustainable harvest, whereas one year old crowns can be harvested lightly in two years.