7 Best Asparagus Fern Care Secrets
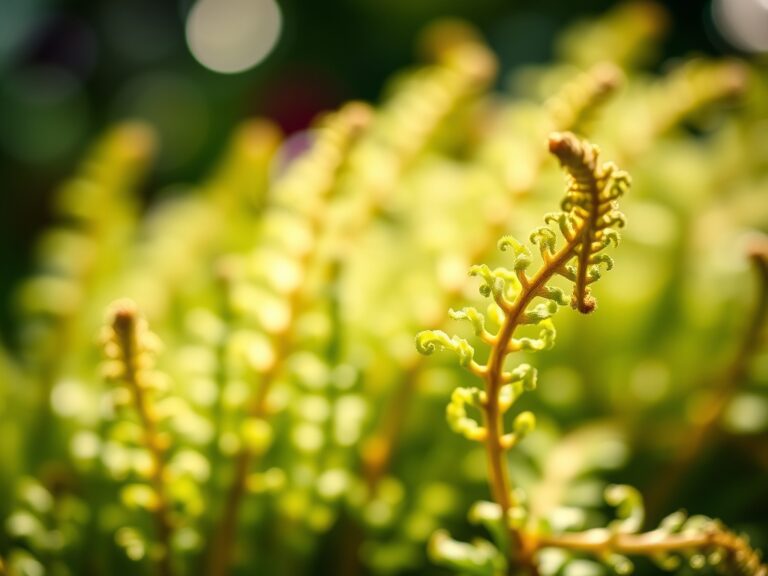
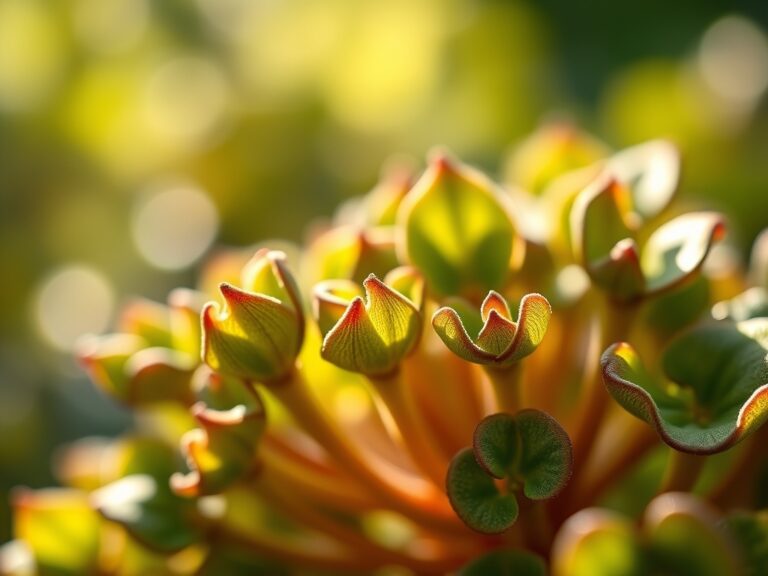
Crushing a handful of damp peat and perlite reveals the gritty reality of the rhizosphere; it is the smell of active decomposition and microbial life. To achieve the best asparagus fern care, one must understand that Asparagus aethiopicus is not a true fern but a member of the Liliaceae family. It relies on internal turgor pressure maintained within fleshy, tuberous roots to support its feathery cladodes. These modified stems perform photosynthesis while the plant manages water reserves with surgical efficiency. Success requires balancing high humidity with sharp drainage to prevent the anaerobic conditions that lead to root senescence.
Materials:

The ideal substrate is a friable loam with a high Cation Exchange Capacity (CEC) to ensure nutrient availability. Aim for a soil pH between 6.0 and 6.8. This slightly acidic range optimizes the solubility of micronutrients like iron and manganese.
- Substrate Mix: 40 percent peat moss or coconut coir; 30 percent coarse perlite; 20 percent sterilized leaf mold; 10 percent sharp sand.
- Nitrogen-Phosphorus-Potassium (NPK) Ratio: Use a water-soluble 10-10-10 or 20-20-20 balanced fertilizer. During the peak vegetative state, a higher nitrogen ratio (such as 7-3-4) supports the rapid expansion of cladodes.
- Containers: Use unglazed terracotta to allow for lateral gas exchange and moisture evaporation from the root ball.
Timing:
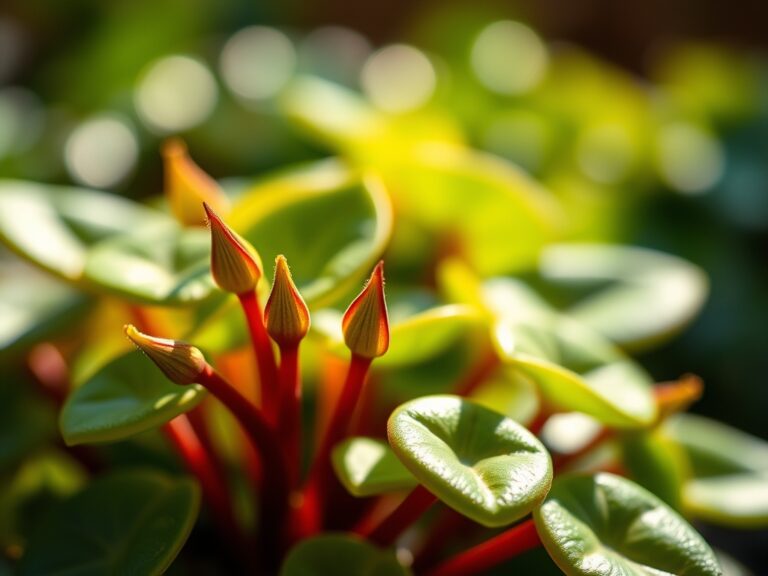
Asparagus ferns are perennials suited for USDA Hardiness Zones 9 through 11. In cooler climates, they must be transitioned indoors when ambient temperatures drop below 55 degrees Fahrenheit. The biological clock of the plant is dictated by the photoperiod. As daylight exceeds 12 hours, the plant enters an aggressive vegetative phase. Conversely, the transition to a reproductive stage, marked by the emergence of small white flowers and subsequent red berries, typically occurs in late summer. Monitor the frost-date window closely; a single exposure to 32 degrees Fahrenheit will cause immediate cellular rupture and systemic collapse.
Phases:

Sowing
Seeds require a 24-hour scarification soak in room temperature water to break dormancy. Sow seeds 0.25 inches deep in a sterile seed-starting mix. Maintain a consistent soil temperature of 70 to 75 degrees Fahrenheit using a bottom-heat germination mat.
Pro-Tip: Maintaining high soil temperature accelerates metabolic enzymes. This triggers the embryo to breach the seed coat before fungal pathogens can colonize the site.
Transplanting
Shift seedlings or nursery starts when the tuberous roots begin to circle the container. This usually occurs every 12 to 24 months. Use a hori-hori knife to gently tease apart the root mass. Ensure the crown sits exactly at the soil line; planting too deep induces crown rot.
Pro-Tip: Mycorrhizal symbiosis is critical during transplanting. Adding beneficial fungi to the new hole increases the surface area for water absorption by up to 100 times, reducing transplant shock.
Establishing
During the first six weeks post-transplant, maintain consistent moisture without saturation. The plant is focusing energy on tuber development rather than top growth. Avoid heavy fertilization during this window to prevent salt burn on new, sensitive root hairs.
Pro-Tip: Auxin suppression occurs if the central leading stems are damaged. Keep the primary stalks intact during the establishment phase to ensure the plant maintains its structural apical dominance.
The Clinic:
Physiological disorders often mimic infectious diseases. Correct diagnosis requires looking at the cellular level.
- Symptom: Yellowing cladodes (Chlorosis) starting at the base.
- Solution: This indicates Nitrogen deficiency. Apply a high-nitrogen liquid feed at half-strength immediately.
- Symptom: Brown, crispy tips despite wet soil.
- Solution: This is Low Humidity Stress. The stomata are closing to prevent desiccation, causing localized tissue death. Increase ambient humidity to 50 percent or higher.
- Symptom: Soft, mushy stems at the soil line.
- Solution: Pythium root rot caused by overwatering. Cease irrigation and treat with a copper-based fungicide; ensure the pot has functional drainage.
Fix-It for Iron Deficiency: If new growth is pale yellow while veins remain green, the pH is likely too high. Lower the pH using sulfur-based soil acidifiers to unlock iron ions.
Maintenance:
Precision is the difference between survival and mastery. Use a soil moisture meter to verify that the top 1 inch of soil is dry before adding water. Under average indoor conditions, provide 1.5 inches of water per week at the drip line. Avoid wetting the foliage to prevent fungal spores from germinating.
Pruning is essential for air circulation. Use bypass pruners to remove spent, yellowing fronds at the base. If the plant becomes "leggy," prune back by one-third during the spring to stimulate axillary bud growth. Always wear gloves; the small, recurved spines can cause mechanical skin irritation. Every three months, flush the soil with distilled water to leach out accumulated fertilizer salts that increase soil salinity and hinder water uptake.
The Yield:
While not a primary food crop, the "yield" of a healthy asparagus fern is its ornamental foliage used in floral arrangements. Harvest mature stems by cutting at the base with a sharp blade.
Post-Harvest Care: Submerge the cut ends in 110-degree Fahrenheit water (pulsing) for twenty minutes. This removes air bubbles from the xylem, ensuring maximum water transport to the cladodes for "day-one" freshness that lasts up to 14 days in a vase.
FAQ:
Why is my asparagus fern shedding needles?
Needle drop is usually a response to a sudden change in light or a significant drop in humidity. Asparagus ferns are sensitive to environmental shifts. Maintain a consistent location with bright, indirect light and humidity above 40 percent.
How often should I fertilize?
Apply a balanced, water-soluble fertilizer every four weeks during the spring and summer. Reduce frequency to every eight weeks in autumn. Cease fertilization entirely during the winter dormancy period to prevent salt buildup in the rhizosphere.
Can I grow asparagus ferns in full sun?
While they tolerate some direct morning sun, intense afternoon ultraviolet rays will scorch the cladodes. This results in bleached, white patches. Best results occur in filtered light or "dappled shade" mimicking their natural subtropical understory habitat.
Is the asparagus fern toxic?
The plant contains sapogenic steroids. Ingestion of the red berries can cause gastrointestinal distress in humans and domestic animals. Furthermore, repeated skin contact with the sap or spines may induce allergic contact dermatitis in sensitive individuals.