6 Vital Steps to Thatch a Tiki roof
The scent of wet cellulose and the coarse texture of sun-dried palm fronds define the structural integrity of a traditional outdoor shelter. Mastery over the steps to thatch a tiki roof requires a scientific understanding of material senescence and hydrological shedding. You are not merely layering leaves; you are engineering a biological shield capable of managing thermal regulation and moisture runoff. Proper execution ensures the roof remains impermeable to precipitation while allowing internal gases to escape through the porous layers. This balance of density and breathability prevents the accumulation of mold within the thatch matrix. Success depends on the selection of high-quality organic matter and the precision of the binding process. By following these technical protocols, you transform raw botanical fibers into a durable architectural canopy that resists wind shear and UV degradation.
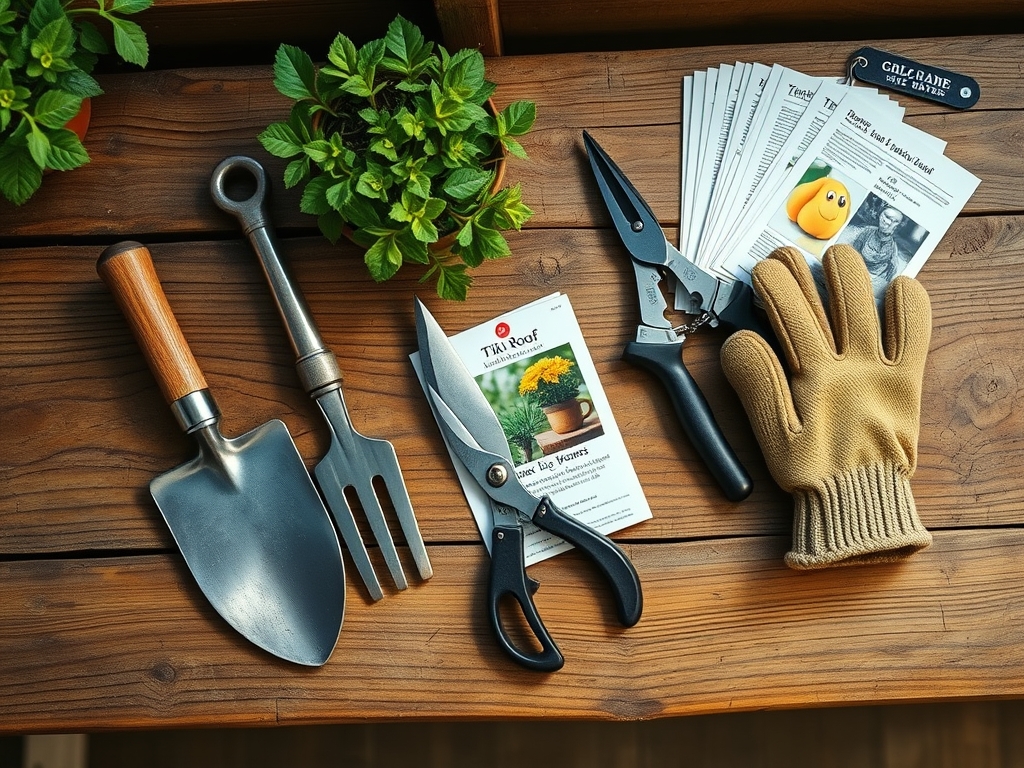
Materials:
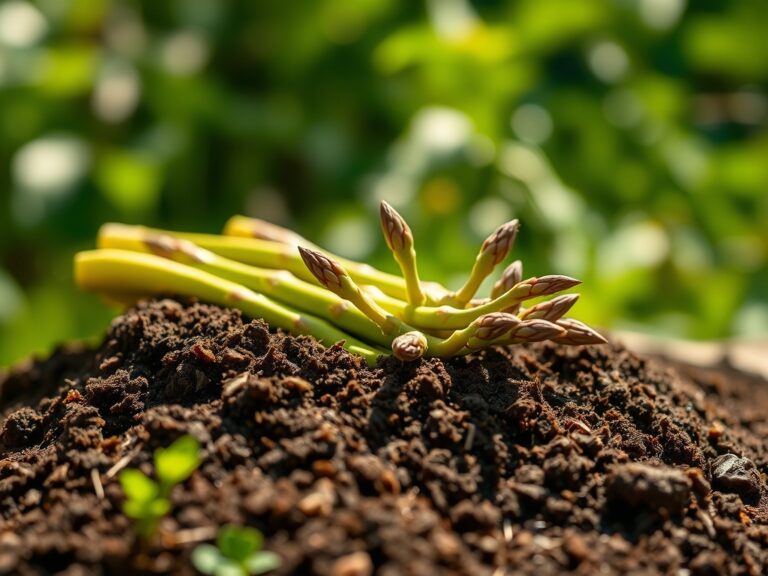
The foundation of a tiki roof is not soil, but the botanical quality of the thatch is directly influenced by the soil chemistry where the fronds were grown. Ideal palm fronds, such as those from Sabal palmetto, thrive in a **friable loam** with a **soil pH between 6.0 and 7.5**. The parent plants require a balanced nutrient profile, specifically an **NPK ratio of 8-2-12**, to ensure high magnesium and potassium levels. High potassium availability increases the structural strength of the cell walls within the fronds, reducing brittleness during the drying process. You will need **18-gauge galvanized wire** or **3/16-inch nylon cordage** for binding. The structural frame must consist of pressure-treated timber or bamboo poles with a minimum diameter of **3 inches** to support the saturated weight of the thatch.
Timing:
Thatching should be executed during periods of low humidity to ensure the fibers remain pliable but not damp. In Hardiness Zones 8 through 11, where tiki structures are most prevalent, the window between the last frost of spring and the high-humidity peaks of late summer is optimal. From a biological perspective, you are managing the senescence of the plant material. Working with fronds that have reached full maturity but have not yet begun cellular breakdown ensures maximum longevity. The "Biological Clock" of the thatch starts the moment the frond is severed from the palm. You must install the material before the lignin becomes too brittle; otherwise, the mechanical stress of binding will cause micro-fractures in the leaf surface, leading to premature leaking.
Phases:

Sowing the Foundation
The first step involves securing the horizontal purlins to the rafters. Space these horizontal supports exactly 10 to 12 inches apart. This spacing is critical for maintaining the necessary overlap of the fronds. If the gap exceeds 12 inches, the gravitational pull on the fronds will cause sagging, which disrupts the hydrological flow and allows water to penetrate the interior.
Pro-Tip: Ensure the purlins are level to prevent uneven weight distribution. Biological Why: Maintaining a uniform slope utilizes the natural hydrophobic properties of the waxy cuticle on the palm leaf, directing water downward via gravity before it can soak into the fibrous interior.
Transplanting the Fronds
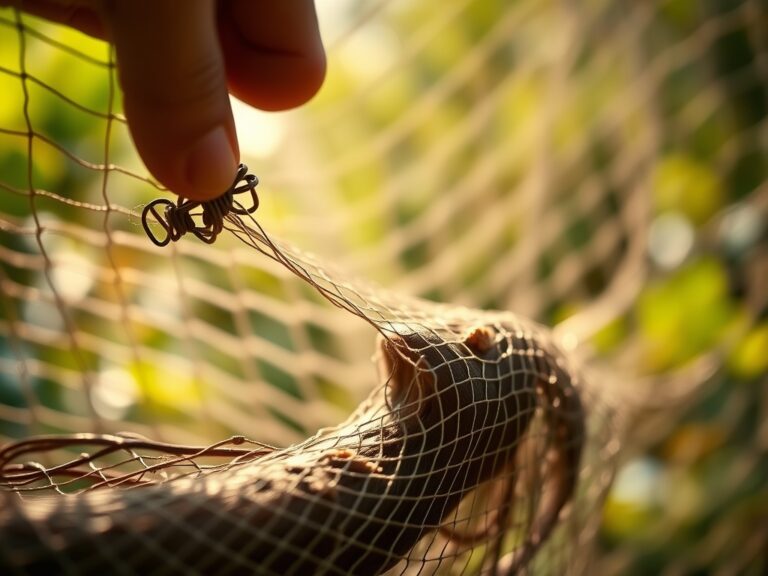
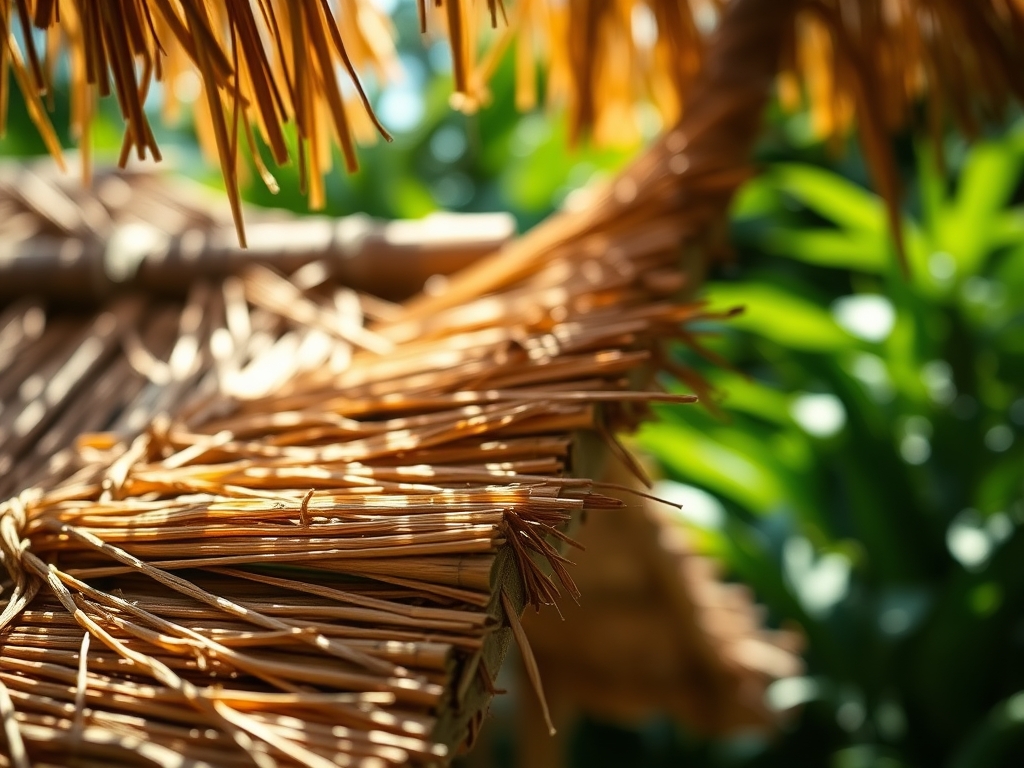
Begin at the lowest point of the roof, known as the eave. Attach the first layer of fronds so they overhang the edge by at least 6 inches. This overhang ensures that runoff clears the structural frame, protecting the wood from rot. Use a clove hitch knot or wire twists to secure each stem to the purlin. Each subsequent layer must overlap the previous one by minimum 60 percent.
Pro-Tip: Soak dry fronds in water for 20 minutes before installation. Biological Why: Rehydrating the fibers increases turgor pressure within the cells temporarily, making the material flexible and preventing the midrib from snapping during the tightening of the fasteners.
Establishing the Ridge
The ridge is the most vulnerable point of the tiki roof. You must create a "cap" by folding fronds over the peak so they cover both sides of the roof slope simultaneously. Secure this layer with a double row of binding to resist high-wind uplift. The density at the ridge should be double the thickness of the main roof sections to account for the increased solar radiation and weathering at the apex.
Pro-Tip: Apply a fire-retardant chemical treatment specifically designed for organic thatch. Biological Why: These treatments often contain salts that alter the pyrolysis process, increasing the temperature required for the cellulose to ignite and slowing the spread of flame across the dry biomass.
The Clinic:
Physiological disorders in a thatch roof often manifest as structural failures.
- Symptom: Premature thinning and graying of the thatch.
- Solution: This indicates excessive UV degradation. Apply a UV-inhibiting thatch sealer every 24 months to preserve the lignin.
- Symptom: Dark spotting or localized rot.
- Solution: This is caused by poor airflow. Thin out the interior layers to increase gas exchange and reduce moisture retention.
- Symptom: Fronds slipping out of the binding.
- Solution: This is due to material shrinkage. Re-tighten all 18-gauge wire connections after the first 90 days of installation.
Fix-It for Nutrient Deficiencies (Parent Plant): If the fronds appear yellow (chlorosis) before installation, the parent plant likely suffered from Nitrogen deficiency. Avoid using these fronds as they lack the protein density required for long-term weather resistance. Use only deep-green, nutrient-replete material.
Maintenance:
A tiki roof requires active management to reach its 10-year life expectancy. Use a soil moisture meter to check the ground around the support poles; excessive moisture at the base can lead to fungal wicking up the timber. Clear debris such as fallen leaves or twigs weekly using a soft-bristle brush to prevent the formation of organic "pockets" that hold water. Every six months, inspect the binding using a hori-hori knife to probe for tightness and signs of pest tunneling. If a section becomes damaged, use bypass pruners to cut away the affected fronds and slide in a "patch" of new material, ensuring it tucked at least 8 inches under the layer above it.
The Yield:
While a tiki roof does not produce a harvestable crop, its "yield" is measured in thermal efficiency. A properly thatched roof can maintain an interior temperature 10 to 15 degrees Fahrenheit cooler than the ambient air. To maintain this performance, do not paint or coat the thatch with non-porous materials. The "day-one" freshness of the structure is preserved by allowing the organic fibers to expand and contract with the humidity, a process known as hygroscopic movement.
FAQ:
How many layers of thatch do I need?
For a waterproof seal, you must install at least 3 to 4 layers of overlapping fronds. This creates a thickness of approximately 2 inches, which is sufficient to direct water runoff away from the interior space.
What is the best wood for the frame?
Use pressure-treated pine or solid bamboo. These materials resist the fungal decay and insect boring that typically occur in high-humidity environments. Ensure all structural members are rated for ground contact if they are buried.
How do I prevent the thatch from blowing away?
Secure each frond with 18-gauge galvanized wire at three points along the stem. The overlap should be 60 percent, which creates a heavy, interlocking mat that uses its own weight to resist wind uplift.
Can I thatch a roof in a rainy climate?
Yes, provided the roof pitch is at least 30 degrees. A steep pitch is mandatory in high-rainfall areas to ensure that gravity pulls water off the fronds faster than the fibers can absorb it.