9 Simple Ways How to Maintain a Hand Tiller
The smell of damp earth is the scent of geosmin, a chemical byproduct of Actinobacteria that signals a healthy rhizosphere. When you grip the handle of a manual cultivator, you feel the resistance of the soil density against the tines. Knowing how to maintain a hand tiller ensures that this mechanical interaction remains efficient and does not introduce pathogens into your beds. A dull or rusted tool increases physical exertion and disrupts the delicate soil structure, leading to unnecessary compaction.
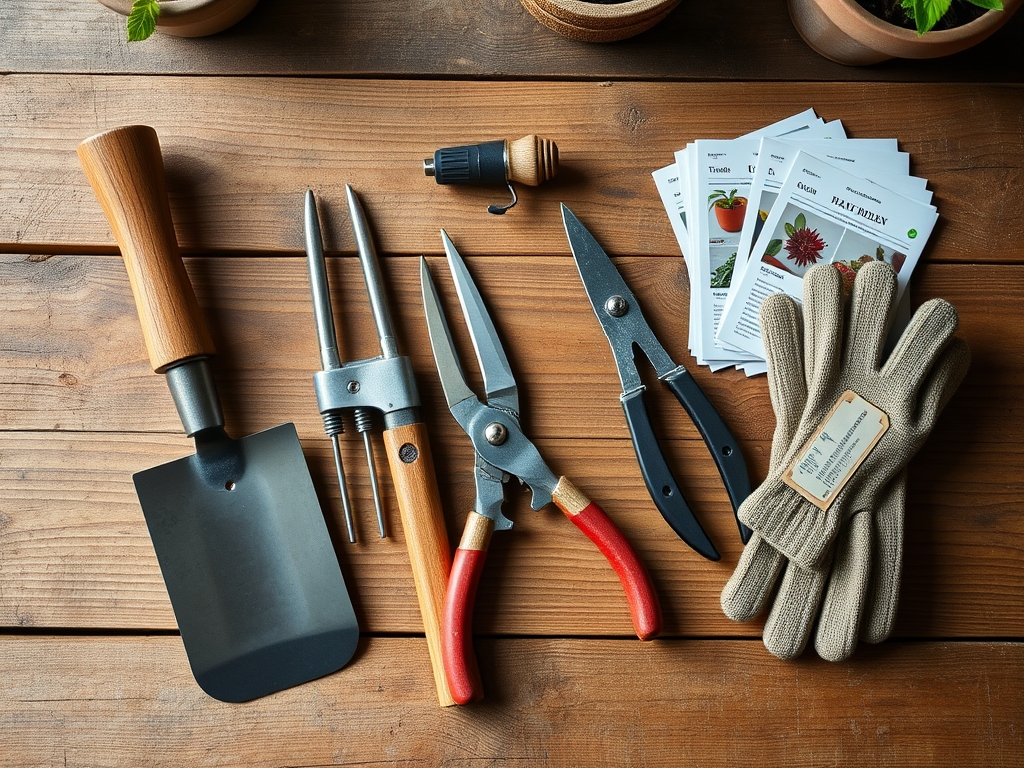
Materials:
To maintain a tiller, you must understand the substrate it penetrates. Ideal gardening occurs in **friable loam**, which typically possesses a **Cation Exchange Capacity (CEC) of 15 to 25 milliequivalents per 100 grams**. This soil texture allows for easy tine penetration without bending the metal. If your soil is heavy clay with a pH above **7.5**, the high mineral content will accelerate tool abrasion.
Before tilling, ensure your soil has a balanced nutrient profile. For most vegetable crops, an NPK ratio of 10-10-10 is standard, though heavy feeders may require a 5-10-10 ratio to prioritize root development over foliage. Keep a kit ready containing a wire brush, 80-grit sandpaper, boiled linseed oil, and a mill file. These items prevent the oxidation of carbon steel and maintain the structural integrity of the tool's wooden or fiberglass shaft.
Timing:
Maintenance follows the rhythm of the Hardiness Zones. In Zones 5 through 7, the primary maintenance window occurs during the dormant season, typically between the first hard frost and the spring thaw. You must service your tiller before the soil temperature reaches 45 degrees Fahrenheit, which is when the biological clock of cool-season crops begins the transition from dormancy to active vegetative growth.
As plants move from the vegetative stage to the reproductive stage, the demand for soil aeration increases. Tilling during the transition to a long photoperiod (more than 12 hours of light) ensures that oxygen reaches the root zone during peak metabolic activity. Avoid tilling when the soil is saturated; if a squeezed handful of soil does not crumble, the moisture content is too high, and tilling will cause anaerobic pockets that lead to root rot.
Phases:

Sowing
Before the first seeds hit the furrow, the tiller must be sharp. A sharp tool slices through weed rhizomes rather than dragging them through the dirt. Clean the tines with a 10 percent bleach solution to prevent the transfer of fungal spores like Fusarium.
Pro-Tip: Maintaining sharp tines reduces soil resistance, which prevents the destruction of mycorrhizal symbiosis. This fungal network assists in phosphorus uptake; blunt tools crush these delicate hyphae.
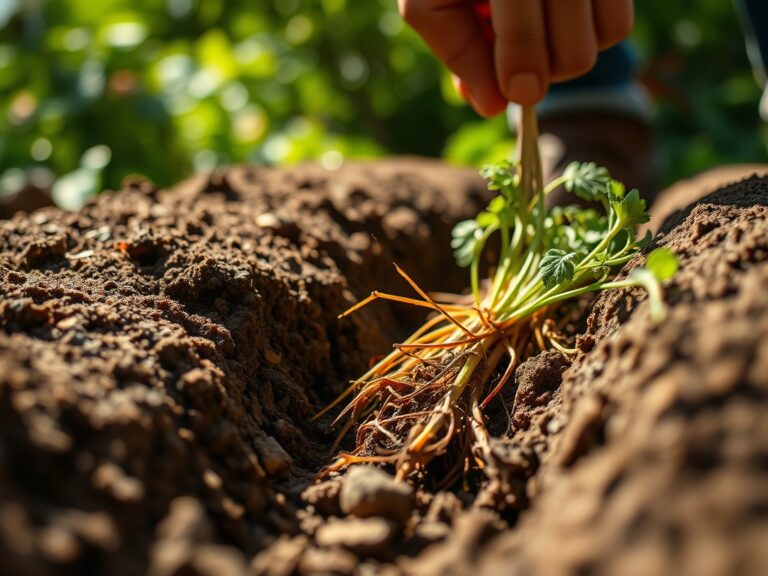
Transplanting
When moving seedlings from flats to the field, use the hand tiller to incorporate organic matter into the top 6 inches of soil. This ensures the rhizosphere is well-aerated, allowing for rapid root expansion.
Pro-Tip: Aeration increases oxygen availability, which prevents auxin suppression. High oxygen levels at the root tip promote the downward growth of the primary taproot.
Establishing
As plants establish, the tiller is used for shallow cultivation to break the soil crust. This prevents "capping," which can block water infiltration and gas exchange.
Pro-Tip: Breaking the surface crust improves turgor pressure within the plant. By allowing water to reach the roots more effectively, the plant can maintain the internal hydraulic pressure necessary for upright growth.
The Clinic:
Physiological disorders in plants often stem from poor soil management or contaminated tools.
- Symptom: Interveinal chlorosis in young leaves.
Solution: This indicates Nitrogen deficiency. Apply a high-nitrogen fertilizer (NPK 21-0-0) and use a maintained tiller to incorporate it 3 inches deep for immediate root access.
- Symptom: Blossom end rot in Solanaceae.
Solution: This is a Calcium transport issue. Use a soil moisture meter to ensure consistent hydration. Ensure your tiller has not compacted the soil, which prevents calcium ions from moving through the soil solution.
- Symptom: Stunted growth and purplish leaves.
Solution: This is Phosphorus deficiency, often caused by cold soil or improper pH. Use the tiller to mix in bone meal or triple superphosphate when soil temperatures exceed 55 degrees Fahrenheit.
- Fix-It for Rust: If the tiller develops orange oxidation, it can harbor pathogens. Scrub with a wire brush and coat with a thin layer of mineral oil to create a hydrophobic barrier.
Maintenance:
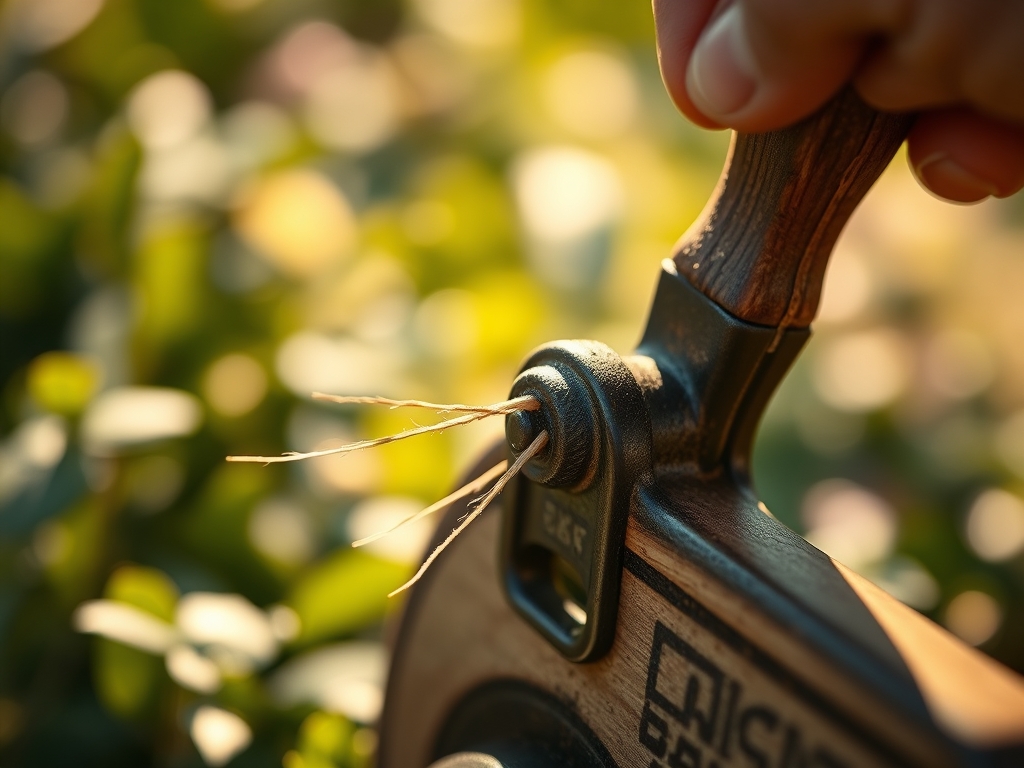
A professional maintenance routine starts with cleaning the tool after every use. Use a hori-hori knife to scrape away stubborn clay clods. Once the metal is visible, wipe it dry to prevent pitting. For the wooden handle, apply boiled linseed oil twice a year to prevent splintering and wood rot.
Watering is a critical component of tool longevity. If the soil is kept at a consistent moisture level of 1.5 inches of water per week at the drip line, the tiller will glide through the soil with minimal friction. Use bypass pruners to cut thick surface roots before tilling to avoid putting lateral stress on the tiller tines. Check the bolts on your tiller regularly; vibration during use can loosen fasteners, leading to mechanical failure.
The Yield:
When harvesting root vegetables like carrots or parsnips, use the hand tiller to loosen the soil 4 inches away from the base of the plant. This prevents mechanical damage to the taproot. To maintain "day-one" freshness, harvest during the early morning when turgor pressure is at its highest. Immediately move produce to a cool, shaded area to slow the process of senescence, which is the biological aging of the plant tissue. Properly loosened soil allows the crop to be lifted without snapping, preserving the protective epidermis.
FAQ:
How often should I sharpen my hand tiller?
Sharpen the tines once every season or after 20 hours of use. Use a mill file at a 45-degree angle to restore the leading edge. Sharp tools ensure clean cuts through root systems and reduce physical strain.
What is the best way to prevent rust on garden tools?
Clean all soil off the metal after use. Spray the tines with a silicone-based lubricant or dip them into a bucket of sand mixed with motor oil. This creates a barrier against oxygen and moisture.
Can I use a hand tiller in heavy clay soil?
Yes, but you must wait for the proper moisture window. If the soil is too wet, it will clog the tines. If too dry, it will be like concrete. Aim for a 25 percent moisture level.
How do I fix a loose handle on my tiller?
If the handle is wood, soak the head in water to swell the grain or drive a metal wedge into the top of the handle. If it is fiberglass, use a marine-grade epoxy to reseat the tool head.
Why is my tiller leaving the soil in large clumps?
This indicates high soil plasticity. Your soil may have a high clay fraction. Incorporate organic matter to improve the Cation Exchange Capacity and structure. Only till when the soil crumbles easily under light pressure.