10 Quick Steps to Clean Tiller Claws
The smell of damp earth after a spring rain signals the peak of microbial activity within the rhizosphere. As a tiller bites into the soil, the steel tines or claws encounter varying degrees of resistance based on the turgor of buried roots and the cohesion of clay particles. Neglecting the steps to clean tiller claws leads to the accumulation of organic debris that harbors pathogens like Fusarium or Pythium. This buildup increases mechanical drag and reduces the efficiency of soil aeration. A clean claw ensures that the tines penetrate to the required depth of 8 to 12 inches without introducing anaerobic bacteria from previous plots. Proper maintenance begins the moment the engine stops and the metal is still warm. Residual heat helps loosen the grip of heavy clay, making the initial removal of bulk soil significantly easier. Hardened mud acts as an abrasive that dulls the leading edges of the claws; this necessitates more torque from the machine and increases fuel consumption. Precision horticulture requires tools that function at peak mechanical capacity.
Materials:
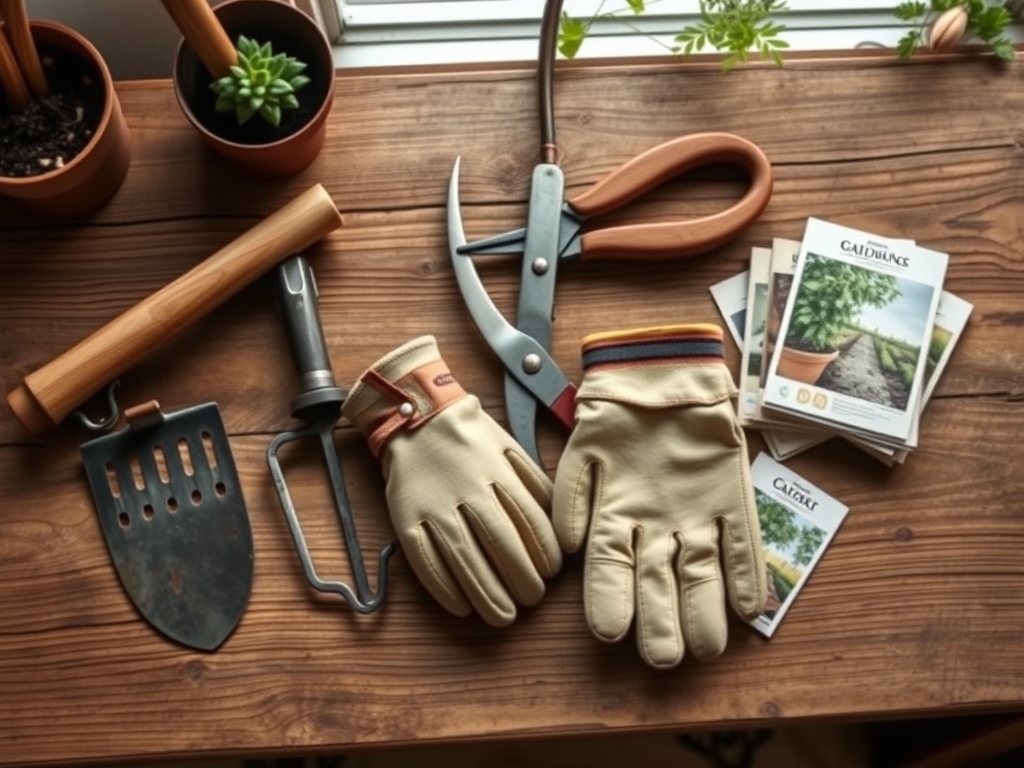
Cleaning tiller claws is a prerequisite for maintaining a friable loam substrate with a **pH between 6.0 and 7.0**. When the soil structure is ideal, it contains approximately **50 percent pore space** for air and water. To prepare the machine for this environment, you require a wire brush, a high-pressure water source, and a penetrating oil such as WD-40 or a biodegradable alternative. If you are preparing a bed for heavy feeders, ensure your soil profile reflects an NPK ratio of **10-10-10** for general establishment or **5-10-10** for root development. The Cation Exchange Capacity (CEC) of your soil determines how well it holds these nutrients. Claws encrusted with old, acidic soil can contaminate new beds, shifting the localized pH and locking out essential micronutrients like manganese or iron. Use a **hori-hori knife** to scrape away stubborn root masses that have wrapped around the axle.
Timing:
The maintenance cycle follows the biological clock of your garden. In Hardiness Zones 4 through 7, tiller maintenance should occur before the first hard frost and immediately after the final spring thaw. Tilling saturated soil with a temperature below 45 degrees Fahrenheit destroys soil structure and leads to compaction. You must clean the claws during the transition from the vegetative stage of early spring weeds to the reproductive stages of your desired crops. This prevents the mechanical transport of weed seeds or rhizomes across different zones of your property. Cleaning should be performed during the "dormant" window of the machine, typically in the late afternoon after the day's cultivation is complete. This allows the metal to dry thoroughly overnight, preventing the oxidation that occurs when moisture is trapped against the steel by organic matter.
Phases:

Sowing
Before the first seed hits the furrow, the tiller claws must be free of all previous biological residue. Use a stiff brush to remove dried earth from the tines. This ensures that the soil tilth remains consistent, providing the ideal seed-to-soil contact necessary for imbibition.
Pro-Tip: Clean claws prevent the transfer of soil-borne fungi that cause "damping off." This is critical because mycorrhizal symbiosis requires a clean environment to establish a beneficial relationship with the emerging radicle.
Transplanting
When moving starts from a greenhouse to the field, the tiller is often used to incorporate compost. Clean the claws between different compost piles to avoid cross-contamination of unfinished organic matter.
Pro-Tip: Maintaining sharp, clean claws reduces the physical impact on the soil. This preserves the existing capillary action of the soil, allowing transplants to maintain turgor pressure through immediate water uptake.
Establishing
As the crop enters its rapid growth phase, the tiller may be used for inter-row cultivation to suppress weeds. During this phase, clean the claws after every row to ensure no pathogens are moved from older plants to younger ones.
Pro-Tip: Removing debris from the axle prevents heat buildup. Excessive heat can damage the seals of the transmission; this protects the auxin suppression mechanisms in the plants by ensuring the soil is moved precisely without damaging the main stem.
The Clinic:
A tiller that is not properly cleaned can lead to several physiological disorders in the garden. Observe the root structure in the step-by-step photos below to identify potential issues.
- Symptom: Stunted growth and yellowing of lower leaves (Nitrogen chlorosis).
- Solution: Dirty claws may have introduced high-carbon woody debris that ties up available nitrogen. Increase nitrogen application to a 20-10-10 ratio to compensate for the temporary lockout.
- Symptom: Root rot or "black leg" in brassicas.
- Solution: This is often caused by pathogens like Rhizoctonia carried on uncleaned tiller tines. Sterilize claws with a 10 percent bleach solution before tilling susceptible areas.
- Symptom: Uneven germination across a row.
- Solution: Clogged claws create "clods" rather than a fine tilth. Use a soil moisture meter to ensure the uneven soil isn't creating dry pockets that halt the germination process.
Maintenance:
Post-cleaning maintenance is as vital as the cleaning itself. Once the claws are free of debris, inspect the leading edges for burrs. Use a flat file to restore the angle of the blade. Apply a light coat of machine oil to all metal surfaces to prevent rust. In the field, ensure your plants receive 1.5 inches of water per week at the drip line to maintain the soil consistency that is easiest on your equipment. Use bypass pruners to cut away any thick, woody vines that become entangled in the tines during operation rather than forcing the machine to tear them. Check the gear case oil level every 25 hours of operation to ensure the internal components are lubricated.
The Yield:
A well-maintained tiller produces a superior seedbed, which directly correlates to harvest quality. For root crops like carrots or parsnips, a deep, clean tilling ensures the taproot can extend without bifurcation. Harvest during the cool of the morning when turgor pressure is at its highest. This ensures the produce remains crisp. For leafy greens, harvest before the photoperiod exceeds 14 hours to prevent bolting and bitterness. After harvest, immediately clean the tiller claws again to remove the remnants of the crop, as decaying vegetable matter is highly acidic and will etch the metal surfaces of the tines over time.
FAQ:
How often should I follow the steps to clean tiller claws?
Clean the claws after every use. For heavy clay soils, stop every 30 minutes to remove buildup. This prevents mechanical strain and stops the spread of soil-borne pathogens across different garden beds.
What is the best tool for removing wrapped roots?
A hori-hori knife or a heavy-duty linoleum cutter is most effective. These tools allow you to reach behind the tine shield and slice through tough, fibrous roots that have tightly wound around the tiller axle.
Can I use a pressure washer on my tiller?
Yes, but avoid direct spray on the engine, air filter, or transmission seals. Use the high-pressure stream specifically on the steel tines and claws to blast away compacted soil and organic residues.
Does cleaning the claws affect soil health?
Absolutely. Clean claws ensure a consistent soil tilth, which promotes better aeration and water infiltration. It also prevents the accidental introduction of invasive weed seeds and harmful fungi into the sensitive rhizosphere of your crops.