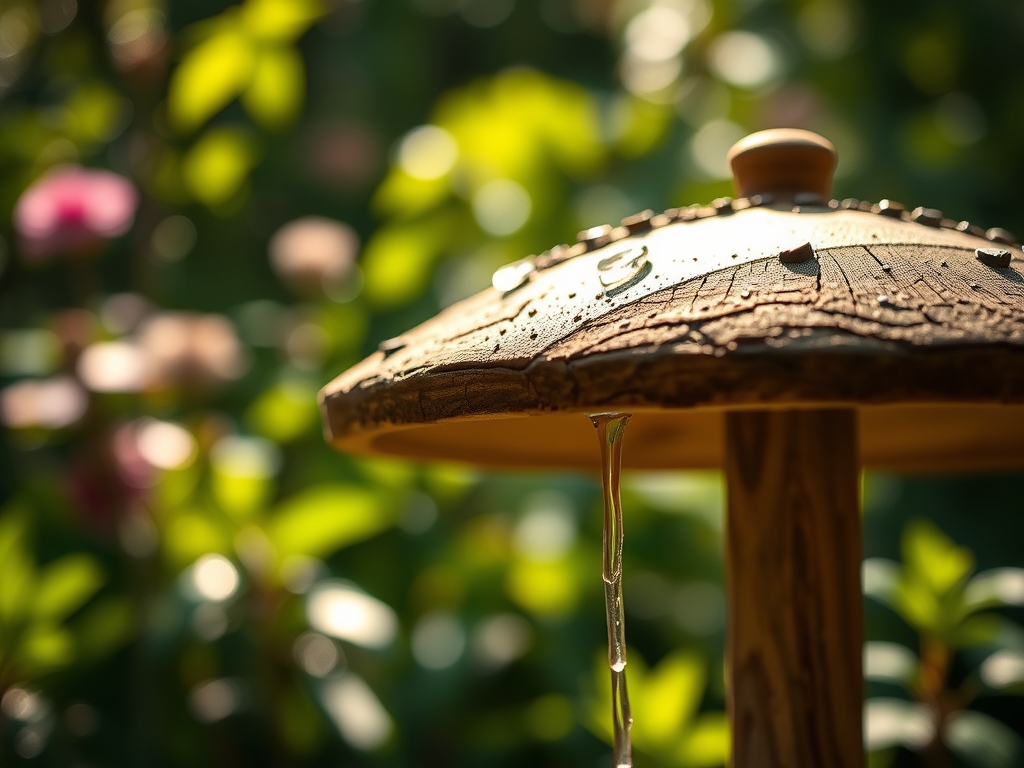
9 Accurate Ways How to Maintain Rain Gauges
The smell of damp earth after a saturation event signals a shift in turgor pressure within the plant cell walls. For a horticulturalist, this moisture is the lifeblood of the rhizosphere; however, precision is impossible without calibrated data. Knowing how to maintain rain gauges ensures that your irrigation schedule aligns with actual environmental inputs rather than guesswork. A fouled gauge leads to over-saturation, which triggers root hypoxia and invites anaerobic pathogens. Accurate precipitation data allows for the precise calculation of leaching fractions and nutrient delivery. Proper maintenance prevents the accumulation of debris that skews readings, ensuring your soil moisture levels remain within the optimal range for plant health.
Materials:
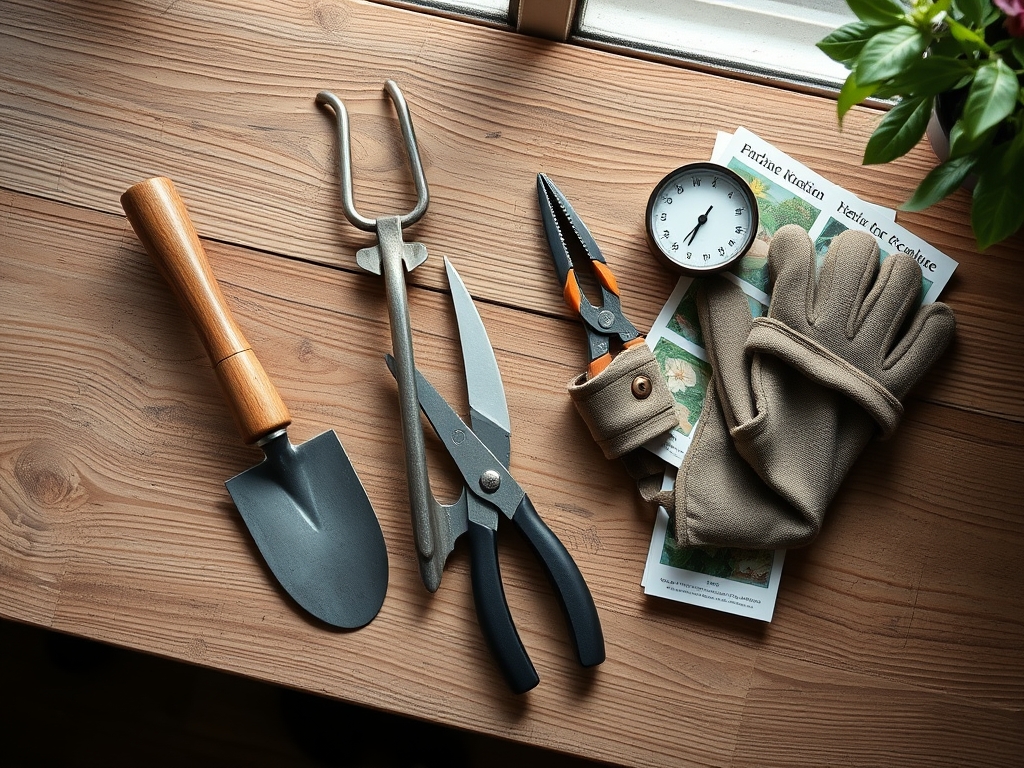
Maintaining a rain gauge requires a clean workspace and specific tools to ensure the integrity of the collection vessel. While the gauge itself does not interact directly with soil, the data it provides dictates your management of a **friable loam** with a **pH of 6.5**. To support the surrounding landscape, keep a supply of high-quality fertilizers with NPK ratios such as **10-10-10** for general maintenance or **5-10-10** for root development. The ideal substrate for the area surrounding your gauge installation should have a high Cation Exchange Capacity (CEC) to prevent runoff from splashing into the collector. Use a soft-bristled brush, mild detergent, and a microfiber cloth to prevent abrasions on the inner surface of the cylinder, which can cause water droplets to cling to the sides via capillary action.
Timing:
Rain gauge maintenance is a year-round requirement, particularly in Hardiness Zones 4 through 8 where freeze-thaw cycles are prevalent. Perform a deep clean during the transition from the vegetative to the reproductive stage of your primary crops. This "Biological Clock" shift often occurs when day lengths shorten, signaling the plant to divert energy from leaf production to fruit or seed development. In these windows, precise water monitoring is critical to prevent blossom end rot or fruit splitting. Ensure the gauge is winterized before the first frost date; typically October or November in northern latitudes; to prevent the expansion of freezing water from cracking the housing.
Phases:

Sowing the Installation
Position the gauge in an open area where the distance from the nearest obstruction is at least twice the height of that obstruction. This prevents "rain shadowing" and ensures a representative sample of the localized microclimate. Level the mounting bracket using a spirit level to ensure the orifice is perfectly horizontal.
Pro-Tip: Proper leveling prevents a slanted collection surface from catching wind-driven rain at an angle, which would artificially inflate your data. This ensures the photoperiodic response of your plants is matched by accurate hydration.
Transplanting Data to Logs
Record measurements daily at the same hour, preferably 08:00, to minimize evaporation loss. Empty the gauge immediately after recording to reset the meniscus to zero. Use a dedicated logbook or digital spreadsheet to track weekly totals against the baseline requirement of 1.5 inches of water per week.
Pro-Tip: Consistent recording allows you to track the evapotranspiration rate of your garden. Understanding the rate at which water leaves the soil helps you manage the turgor pressure of your crops during heat spikes.
Establishing a Cleaning Routine
Debris such as bird droppings, pine needles, and dust can create a film that alters the surface tension of the water. Every two weeks, scrub the interior with a solution of white vinegar and distilled water. Rinse thoroughly to ensure no chemical residue affects the surrounding soil if the water is discarded nearby.
Pro-Tip: Removing organic films prevents the growth of algae. Algal blooms in a gauge can lead to the introduction of fungal spores into the rhizosphere if the gauge overflows or is emptied near plant bases.
The Clinic:
When your rain gauge or the plants it monitors show signs of distress, immediate intervention is required.
- Symptom: Algal growth or "green film" inside the collector.
- Solution: Scrub with a 10 percent bleach solution and rinse. This eliminates spores that could skew the weight of the water or clog the funnel.
- Symptom: Nitrogen chlorosis (yellowing of older leaves) despite recorded rainfall.
- Solution: High rainfall can leach nitrogen from the soil. If the gauge shows over 3 inches of rain in a week, apply a quick-release 20-0-0 fertilizer to replenish the root zone.
- Symptom: Cracked housing or clouded plastic.
- Solution: UV degradation is common in high-altitude zones. Replace the cylinder every two years to maintain clarity and structural integrity.
Fix-It: For nutrient deficiencies caused by excessive rain, use a soil moisture meter to confirm saturation levels before adding amendments. If the soil is waterlogged, wait for the top 2 inches to dry before applying water-soluble nutrients.
Maintenance:
A master gardener utilizes a hori-hori knife to clear vegetation around the gauge base, ensuring no tall weeds interfere with the collection orifice. Use bypass pruners to trim overhanging limbs that might drip "secondary" rain into the gauge, which provides a false high reading. Check the mounting post for stability every month; a wobbling post leads to inaccurate measurements during high-wind events. If using an automated tipping-bucket gauge, inspect the internal mechanism for spider webs or insect nests that can jam the pivot point. Ensure the gauge is calibrated by pouring a measured amount of water (e.g., 16.4 ml for a standard 1-inch diameter gauge) to verify the reading.
The Yield:
While a rain gauge does not produce a crop, the "yield" is the data that secures a successful harvest. For fruiting crops like tomatoes or peppers, maintaining a consistent moisture profile prevents physiological disorders like catfacing or skin cracking. Harvest your crops when the turgor pressure is highest, usually in the early morning. Use a sharp knife to clean-cut the peduncle, then immediately move the produce to a cool, shaded area. This preserves the "day-one" freshness by slowing down the rate of senescence and respiration.
FAQ:
Where is the best place to put a rain gauge?
Place the gauge in an open area away from trees or buildings. The distance from obstacles should be at least twice the height of the obstacle to avoid wind turbulence and rain shadows that skew data.
How do I clean a cloudy plastic rain gauge?
Use a soft cloth and a mixture of warm water and mild dish soap. For stubborn mineral deposits, soak the cylinder in a 50/50 solution of white vinegar and water for 30 minutes before rinsing.
Should I leave my rain gauge out in winter?
No. In zones where temperatures drop below 32 degrees Fahrenheit, liquid in the gauge will freeze and expand. This pressure can crack glass or plastic cylinders. Store the gauge indoors until the final spring frost.
How often should I check my rain gauge?
Check and empty the gauge every 24 hours, ideally at the same time each morning. This reduces evaporation errors and provides a consistent data set for calculating the weekly 1.5-inch moisture requirement for your plants.