6 Technical Steps to Mount a Weather Station
The smell of damp earth after a saturation event signals more than just a passing storm; it indicates the precise moment when turgor pressure within the plant cells reaches its peak. For the serious horticulturalist, guessing at precipitation or wind speed is an invitation to crop failure. Precision in the garden begins with localized data, and understanding the steps to mount a weather station is the first requirement for transitioning from a hobbyist to a data-driven cultivator. Accurate readings allow for the calibration of irrigation schedules and the prediction of fungal outbreaks based on leaf wetness and humidity. A station mounted at the incorrect height or near a heat-sink like a brick wall will provide skewed data, leading to improper nutrient application or late frost protection measures. You must treat the installation of your sensors with the same clinical rigor you apply to soil testing or grafting. By securing your equipment correctly, you gain a microscopic view of the microclimate that dictates the success of your rhizosphere.
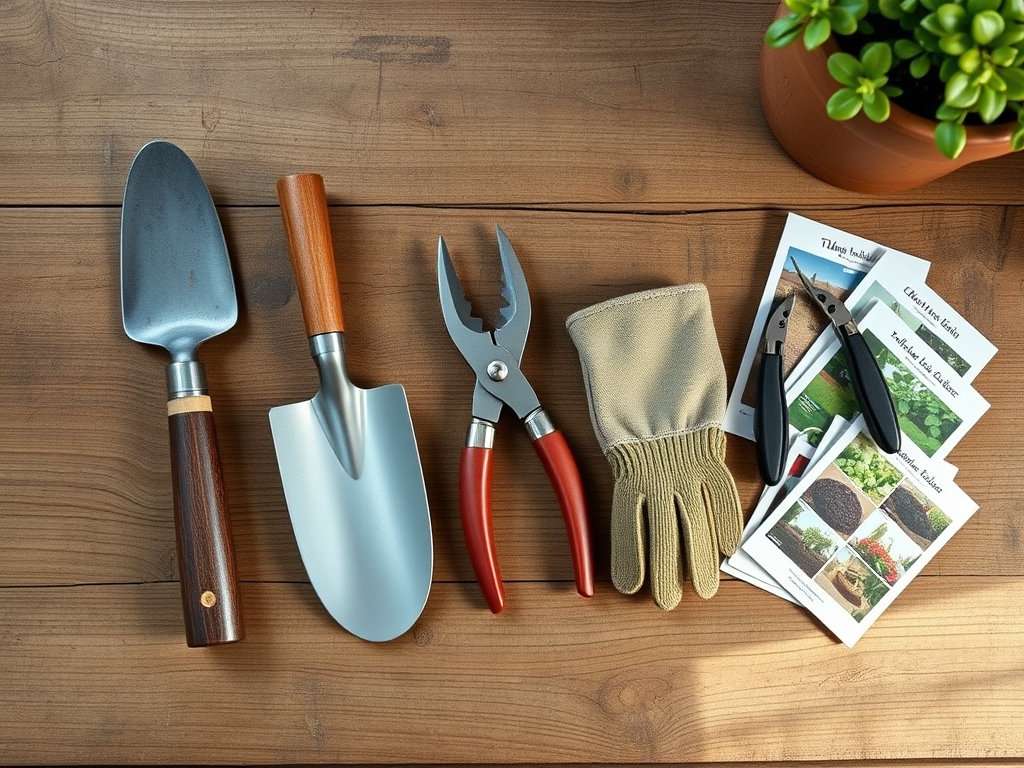
Materials:
The foundation of any mounting project begins with the substrate. For a ground-mounted mast, you require a **friable loam** that allows for easy excavation while maintaining enough structural integrity to hold a post level. If your soil has a high sand content, the Cation Exchange Capacity (CEC) will be low, but more importantly, the lack of cohesion may cause the mast to lean during high wind events.
Ensure your site has a soil pH between 6.0 and 7.0 to prevent the corrosion of galvanized steel mounting poles. If the soil is overly acidic, apply a localized treatment of pelletized lime. For the installation area, maintain a balanced NPK ratio of 10-10-10 in the surrounding turf to ensure root density is sufficient to prevent soil erosion around the base of the mount. You will need a 4×4 pressure-treated timber or a 1.25-inch diameter galvanized steel pipe, high-strength concrete mix, and a level.
Timing:
Installation should occur during the dormant season or early spring, specifically between Hardiness Zones 4 and 8 when the ground is workable but before the spring flush. Avoid installation during the "Biological Clock" transition from vegetative to reproductive stages in your surrounding perennial crops, as heavy foot traffic near the root zones can cause soil compaction. Compaction reduces pore space, limiting the oxygen available to the rhizosphere.
Aim for a window at least 14 days before the average last frost date. This timing ensures that the ground has settled and any disturbed turf has time to recover before the peak growing season begins. Monitoring the photoperiod through your new station will allow you to track the exact moment your plants shift from leaf production to flower initiation.
Phases:

Sowing the Foundation
Excavate a hole 24 inches deep and 12 inches wide. This depth ensures the mount sits below the frost line in most temperate regions, preventing "frost heave" from displacing the sensors. Place 3 inches of gravel at the base for drainage to prevent anaerobic conditions at the bottom of the post.
Pro-Tip: Proper drainage at the base prevents the accumulation of stagnant water, which can lead to fungal pathogens. By maintaining an aerobic environment, you protect the structural integrity of the wood or metal against premature senescence caused by rot.
Transplanting the Mast
Insert the mast and use a level to ensure it is perfectly vertical on both the X and Y axes. Pour the concrete mix, stopping 2 inches below the soil surface. Fill the remaining space with the original friable loam to allow for gas exchange in the soil.
Pro-Tip: Ensuring the mast is level is critical for the rain gauge bucket mechanism. If the station is tilted, the internal tipping spoons will not trigger correctly, leading to a false report of drought stress or over-saturation. This is a matter of mechanical physics impacting horticultural data.
Establishing the Sensors
Mount the sensor suite facing True North. The anemometer should be the highest point, ideally 33 feet (10 meters) above the ground for professional standards, though 6 to 10 feet is acceptable for garden microclimates. Ensure the thermometer is shielded from direct solar radiation.
Pro-Tip: Place the temperature sensor away from dark surfaces to avoid the "Heat Island Effect." This prevents inaccurate Growing Degree Day (GDD) calculations, which are essential for predicting the emergence of specific pests or the timing of fruit ripening.
The Clinic:
Even with a perfect mount, environmental factors can interfere with your data and your plants.
- Symptom: Rain gauge reporting zero during a storm.
- Solution: Check for debris or spider webs in the funnel. Clear the blockage to restore accurate precipitation tracking.
- Symptom: Anemometer cups not spinning in light wind.
- Solution: Inspect the bearings for grit or salt spray accumulation. Lubricate with a dry silicone spray to reduce friction.
- Symptom: Temperature spikes in the afternoon.
- Solution: Check the solar radiation shield. If it is dirty, it will absorb heat. Clean the fins to ensure proper aspiration.
Fix-It: Nutrient Deficiencies
If your weather data shows high rainfall and your plants exhibit Nitrogen chlorosis (yellowing of older leaves), the rain has likely leached nitrates from the soil. Use a soil moisture meter to confirm saturation levels and apply a water-soluble fertilizer with a high first number (N) to restore leaf turgor and chlorophyll production.
Maintenance:
A weather station is a laboratory instrument. Every six months, use a hori-hori knife to clear encroaching vegetation from the base of the mount to prevent insects from climbing into the electronics. Check the battery voltage to ensure the wireless signal remains strong.
In terms of the surrounding landscape, ensure your plants receive 1.5 inches of water per week at the drip line, adjusted based on the "Evapotranspiration" (ET) data provided by your station. Use bypass pruners to maintain a clear line of sight for the anemometer, removing any branches that grow within a 10-foot radius of the sensors.
The Yield:
While a weather station does not produce a fruit harvest, the "yield" is the data that prevents crop loss. By tracking the chilling hours (the number of hours between 32 and 45 degrees Fahrenheit), you can accurately predict when fruit trees will break dormancy. This allows you to time your dormant oil sprays or protective coverings with surgical precision. Post-harvest, use the humidity data to manage the curing process for onions or garlic, ensuring they reach the proper state of desiccation for long-term storage without the risk of neck rot.
FAQ:
How high should I mount my weather station?
Mount the anemometer at 10 to 33 feet for wind speed accuracy. The temperature and humidity sensors should be at eye level (5 to 6 feet) to reflect the actual conditions within the plant canopy and rhizosphere.
Can I mount the station on my roof?
Roof mounts are acceptable for wind data but poor for temperature. Asphalt shingles radiate heat, which will artificially inflate your temperature readings and skew your Growing Degree Day calculations. Ground mounting is preferred for horticultural accuracy.
What is the best way to level the station?
Use a bubble level on the mounting pole before the concrete sets. After installation, verify the levelness of the rain gauge specifically, as even a 2-degree tilt can result in a 10% error in rainfall data.
How often should I clean the sensors?
Inspect the suite every six months. Remove bird droppings, dust, and spider webs from the radiation shield and rain collector. Clean solar panels with a damp cloth to maintain the charging capacity for the internal battery.