5 Best Clips for Garden Netting
The smell of damp earth after a morning irrigation cycle signals a high rate of microbial activity within the rhizosphere. When turgor pressure is optimal, a healthy leaf feels rigid and cool to the touch; this is the physical manifestation of a plant successfully transporting water through its xylem. Maintaining this physiological state requires protecting the crop from external stressors. Selecting the best clips for garden netting is a fundamental step in securing the physical barriers that prevent mechanical damage to the foliage. Without high quality fasteners, netting sags, allowing pests to breach the perimeter or heavy winds to cause leaf desiccation. A secure clip ensures the microclimate beneath the netting remains stable, protecting the delicate balance of transpiration and nutrient uptake.
Materials:
The success of any netted enclosure depends on the substrate supporting the structure. For most heavy feeding crops, a **friable loam** with a **Cation Exchange Capacity (CEC) above 15** is required to facilitate nutrient mobility. The soil pH should be maintained between **6.2 and 6.8** to ensure that micronutrients like iron and manganese remain bioavailable. Before installing your netting and clips, incorporate a balanced organic fertilizer with an **NPK ratio of 5-5-5** into the top four inches of the soil profile. For nitrogen-demanding leafy greens, a ratio of **10-5-5** is more appropriate to support rapid vegetative expansion. The physical texture of the soil must allow for rapid drainage while retaining enough moisture to prevent the root hairs from drying out. If the soil is too compacted, the structural anchors for your netting frames will lack the necessary friction to hold under tension.
Timing:
Agricultural success is dictated by the Hardiness Zone and the local frost-date window. In Zones 5 through 7, the transition from vegetative to reproductive stages often occurs as the photoperiod shifts in mid-summer. Netting must be deployed before the "Biological Clock" triggers the flowering response, as this is when many plants are most vulnerable to environmental interference. For cool-season crops, netting should be secured as soon as the soil temperature reaches 50 degrees Fahrenheit. Monitoring the Growing Degree Days (GDD) allows a grower to predict exactly when a crop will move from the seedling stage to the establishment phase. Proper timing ensures the netting clips are not being adjusted during the critical period of root expansion, which could lead to soil compaction near the crown of the plant.
Phases:

Sowing
Direct sow seeds at a depth exactly three times the diameter of the seed. Ensure the soil is moist but not saturated to avoid anaerobic conditions that lead to damping off. The netting should be placed over the bed immediately to prevent avian interference.
Pro-Tip: Maintaining high humidity during germination prevents the seed coat from hardening. This supports turgor-driven emergence, where the hypocotyl uses internal fluid pressure to break through the soil surface.
Transplanting
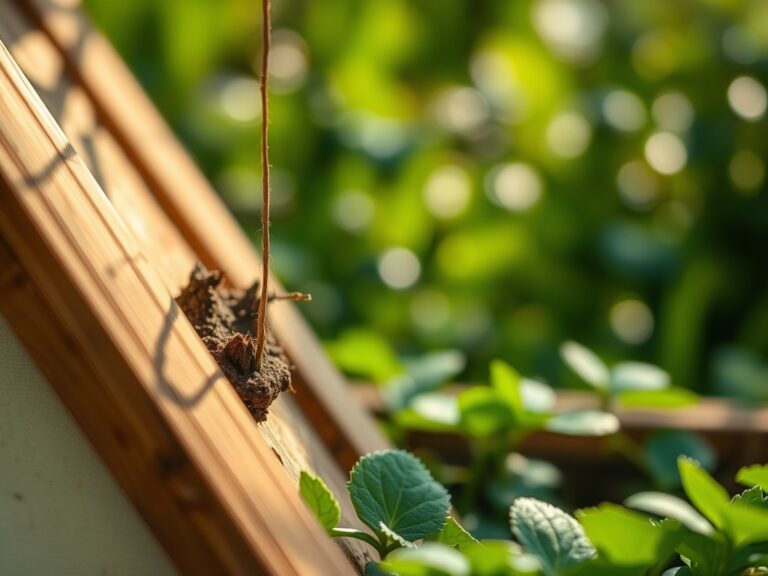
When moving starts from the greenhouse to the field, ensure they have at least two sets of true leaves. Dig a hole twice as wide as the root ball and set the plant at the same depth it was growing in its container. Use stainless steel spring clips to secure the netting tightly against the support hoops to prevent the mesh from flapping against the tender new growth.
Pro-Tip: Applying a kelp-based solution during transplanting reduces shock by providing cytokinins. These hormones promote cell division in the root tips, accelerating the establishment of the rhizosphere in the new site.
Establishing
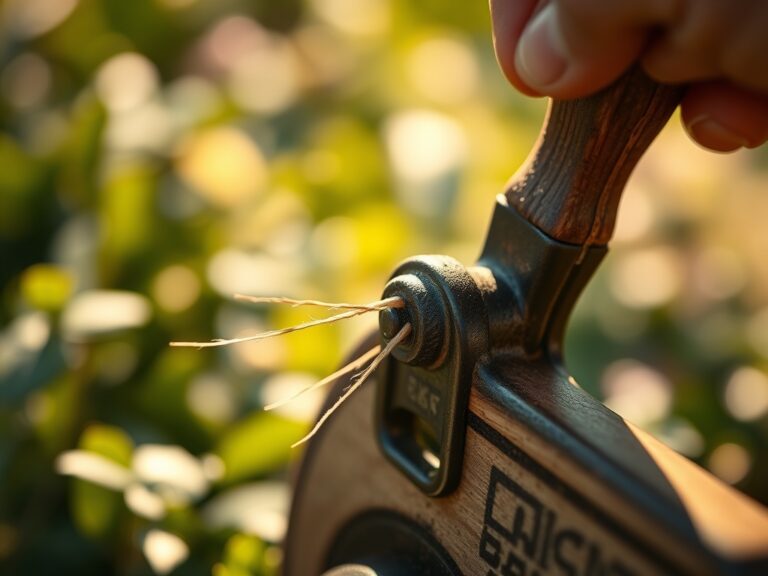
As the plant enters its rapid growth phase, it requires consistent structural support. Check the tension of your netting clips weekly. The best clips for garden netting will feature UV-stabilized plastic or rust-resistant metal to withstand high solar radiation and moisture.
Pro-Tip: Proper netting tension prevents auxin suppression caused by physical trauma. If a plant is constantly hit by loose netting, it redirects energy toward thickening cell walls rather than vertical and lateral expansion.
The Clinic:
Physiological disorders often mimic pathogen attacks but are frequently rooted in environmental stress or nutrient imbalances.
- Symptom: Interveinal chlorosis on young leaves.
- Solution: This indicates an Iron deficiency, often caused by a pH above 7.0.
- Fix-It: Lower the pH using elemental sulfur or apply chelated iron as a foliar spray for immediate uptake.
- Symptom: Blossom end rot in solanaceous crops.
- Solution: This is a Calcium transport issue, usually resulting from inconsistent irrigation.
- Fix-It: Ensure even soil moisture and maintain a Calcium-to-Magnesium ratio of 5:1 in the soil.
- Symptom: Marginal leaf burn on older foliage.
- Solution: Potassium deficiency or salt accumulation.
- Fix-It: Flush the soil with 2 inches of water and apply a high-potash fertilizer with an NPK of 0-0-20.
- Symptom: Spindly, pale growth (Etiolation).
- Solution: Insufficient light penetration through heavy netting.
- Fix-It: Swap for a netting with a 90 percent light transmission rating and secure with low-profile clips.
Maintenance:
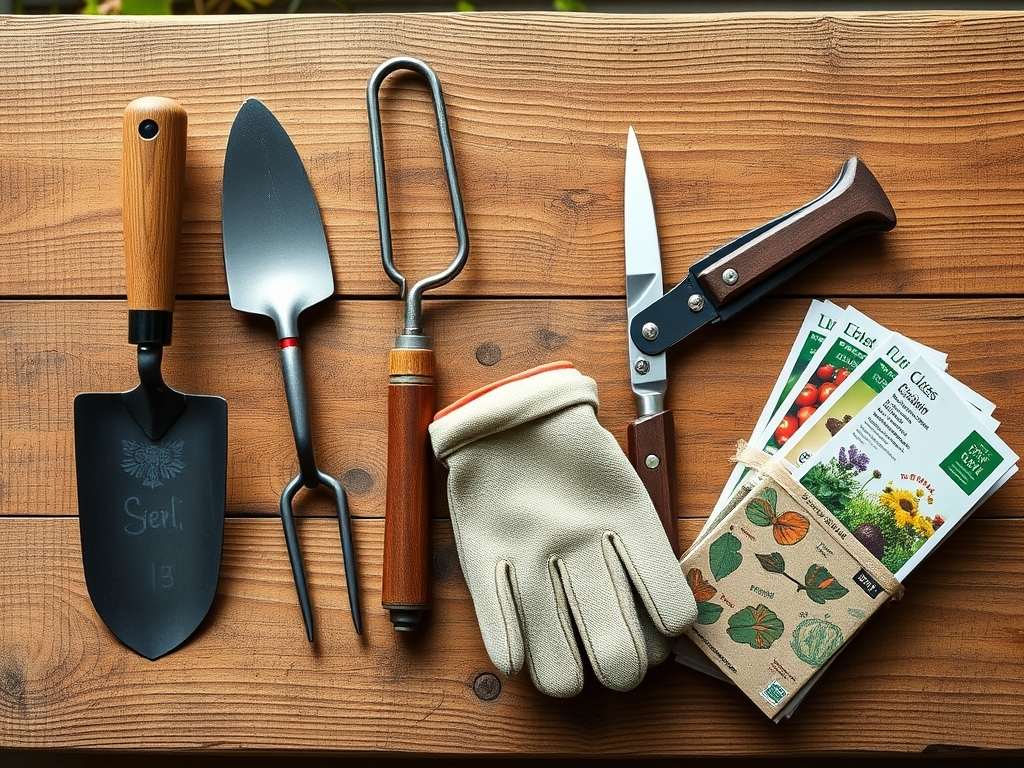
Precision is the difference between a surviving crop and a thriving one. Deliver 1.5 inches of water per week at the drip line using a soaker hose to keep the foliage dry and reduce fungal pressure. Use a soil moisture meter daily to ensure the root zone stays between 60 and 80 percent of field capacity. When pruning, use sharp bypass pruners to make clean cuts at a 45-degree angle just above a node; this facilitates rapid callousing and prevents pathogen entry. For weeding near the base of the plant, a hori-hori knife allows you to extract taproots without disturbing the lateral roots of your primary crop. Inspect the netting clips for signs of fatigue or "creep" where the material has stretched; re-tensioning ensures the barrier remains effective against the smallest of intruders.
The Yield:
Harvesting is a race against senescence, the biological aging process of the plant. For most vegetables, harvest during the cool of the morning when turgor pressure is at its peak. This ensures the cells are fully hydrated, leading to a crisper texture and longer shelf life. Use a sharp knife to sever the stem, leaving a small portion attached to prevent moisture loss from the fruit. Immediately move the harvest to a shaded area and reduce the core temperature to 40 degrees Fahrenheit as quickly as possible. This rapid cooling slows the respiration rate, preserving the sugars and volatile compounds that define flavor. For herbs, harvest before the plant reaches the anthesis stage (flowering) to ensure the highest concentration of essential oils in the leaves.
FAQ:
What are the best clips for garden netting on PVC pipes?
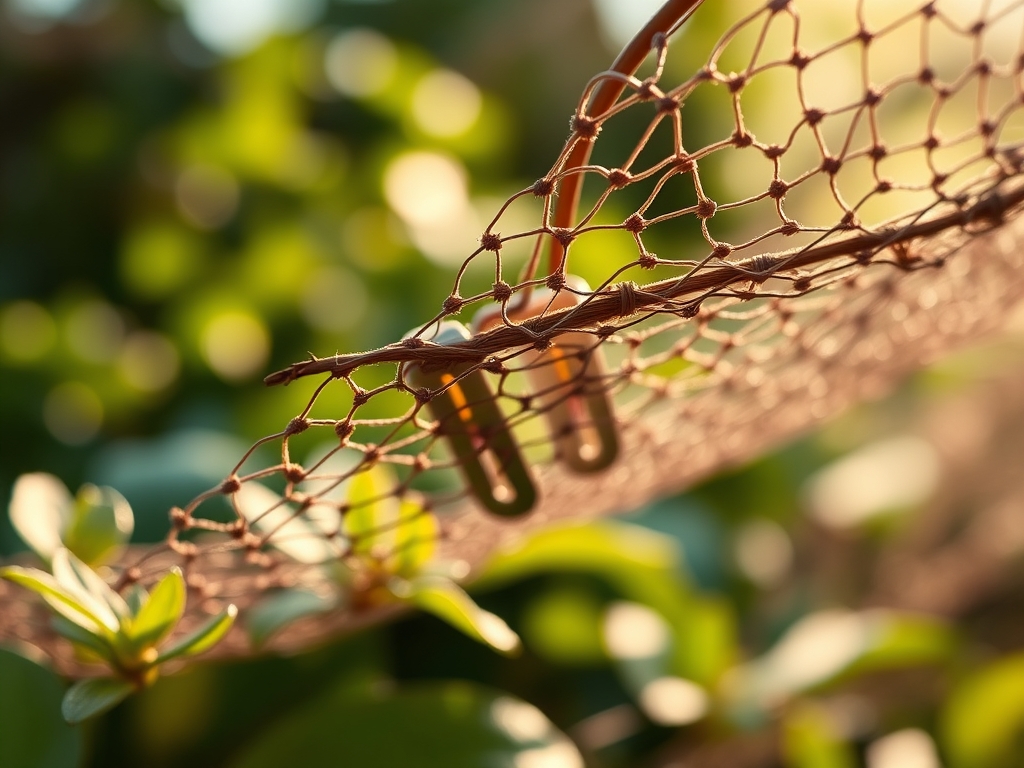
Snap clamps are the most effective. These C-shaped clips provide a high-friction grip on smooth PVC surfaces, preventing the netting from sliding during high winds. Ensure the clamp size matches the pipe diameter for a 360-degree seal.
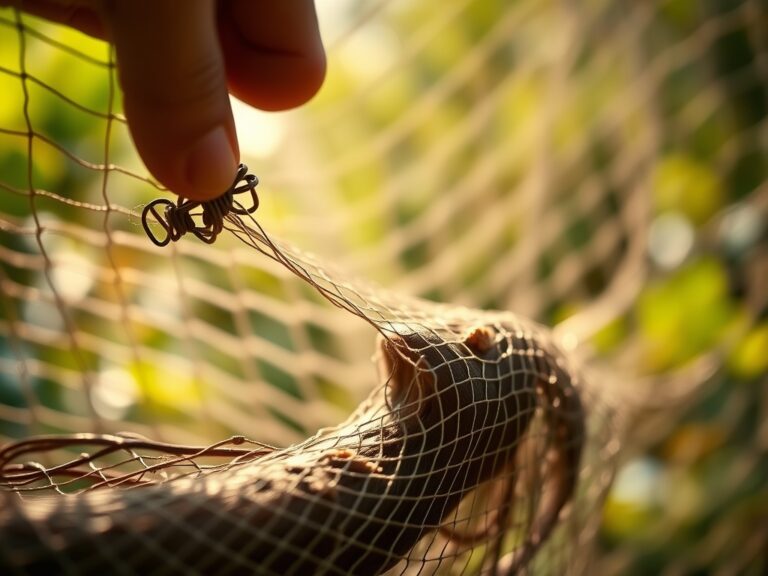
How do I prevent clips from tearing thin insect netting?
Use butterfly-style clips with rounded edges. These distribute the mechanical pressure over a larger surface area of the mesh. This prevents localized stress points that lead to material fatigue and tearing under tension.
Can I use metal binder clips for garden netting?
Industrial binder clips are functional but prone to oxidation. If used, select stainless steel or galvanized versions to prevent rust from staining the netting and leaching heavy metals into the soil at the base of your plants.
How many clips do I need per linear foot of netting?
Space clips every 12 to 18 inches along the support structure. This interval prevents sagging and ensures the netting remains taut, which is critical for maintaining a consistent physical barrier against pests and environmental debris.