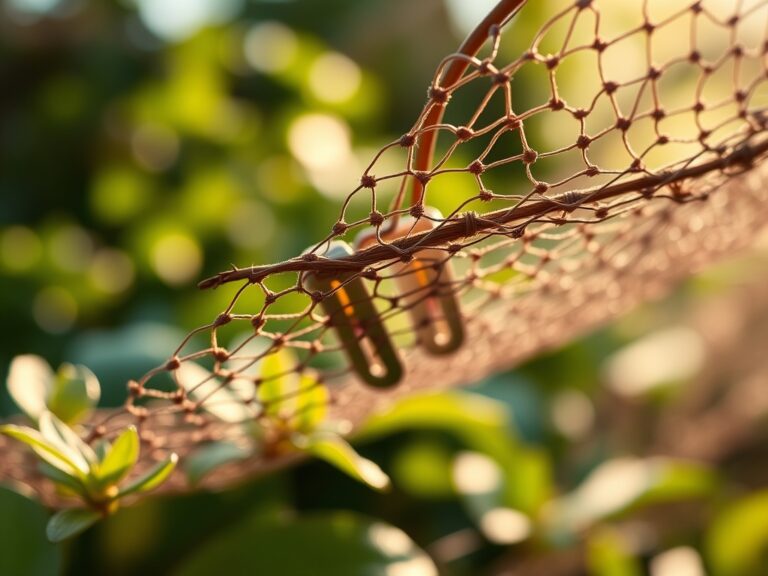
8 Effective Steps to Install Bird Netting
The smell of damp earth and the crisp turgor of a healthy leaf signify a crop nearing its peak. As fruit sugars rise and anthocyanins deepen in color, the risk of avian predation increases. Protecting this investment requires a technical approach to physical barriers. Following the correct steps to install bird netting ensures that the structural integrity of the plant remains uncompromised while preventing crop loss. Proper installation prevents the entanglement of beneficial species and maintains airflow within the canopy.
Materials:
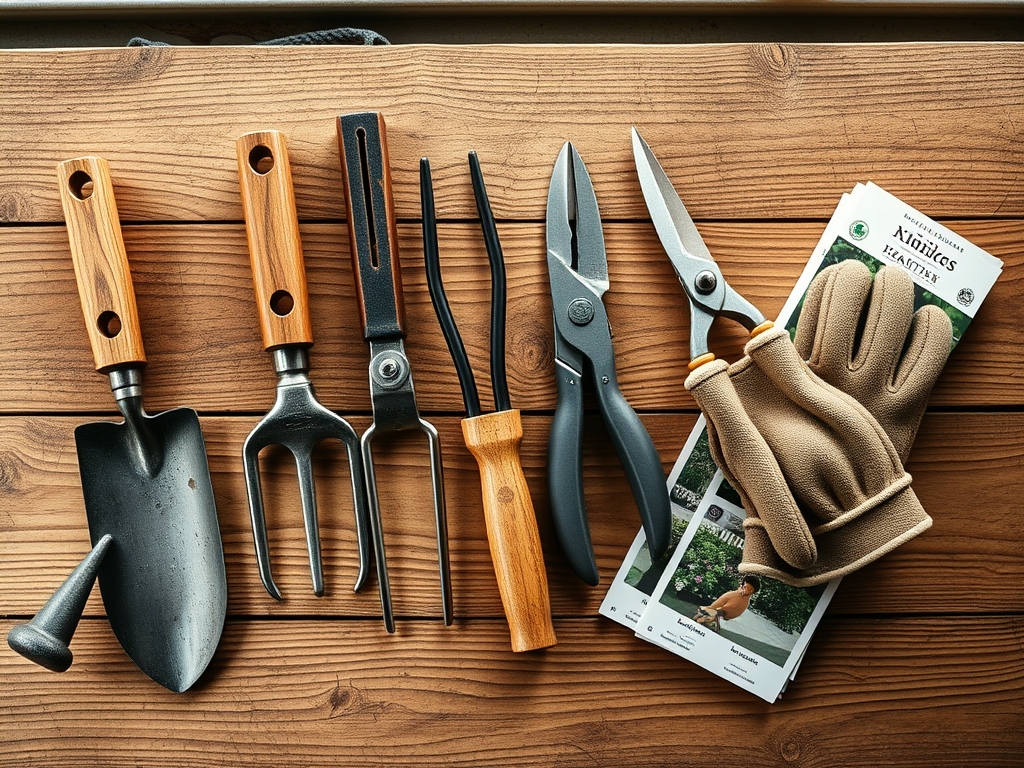
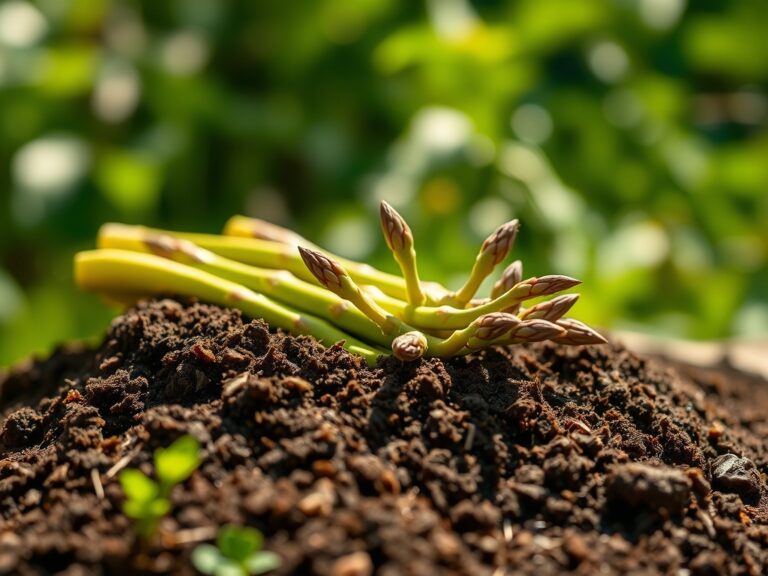
The foundation of any successful enclosure begins in the rhizosphere. A **friable loam** with a **pH between 6.2 and 6.8** provides the necessary structural support for anchoring netting poles. High **Cation Exchange Capacity (CEC)** ensures the soil can hold the nutrients required for the final push of fruit production. Prior to installation, verify that the soil profile contains an **NPK ratio of 5-10-10** for fruiting crops or **10-10-10** for general ornamentals. You will need UV-stabilized polyethylene netting with a **mesh size of 0.5 to 0.75 inches**, PVC or galvanized steel support hoops, and heavy-duty landscape staples.
Timing:
Installation must align with the biological clock of the specimen. In Hardiness Zones 5 through 8, this window typically opens after the final frost but before the transition from the vegetative to the reproductive stage. For stone fruits and berries, install the netting immediately after pollination is complete and the "fruit set" is visible. Early installation can interfere with pollinator access, leading to poor yields. Monitor the photoperiod; as days lengthen, the plant's metabolic rate increases, requiring the netting to be positioned far enough from the foliage to allow for rapid expansion without constriction.
Phases:
Sowing the Framework
Begin by driving support stakes at least 12 inches into the substrate to resist wind shear. The framework must be taller than the projected height of the plant at maturity. Use a soil moisture meter to ensure the ground is sufficiently pliable for stake insertion without causing excessive compaction.
Pro-Tip: Maintaining a 6-inch gap between the netting and the foliage prevents birds from pecking through the mesh. This gap also prevents auxin suppression; if the terminal buds touch the netting, physical friction can disrupt the hormonal flow that dictates upward growth.
Transplanting and Stretching
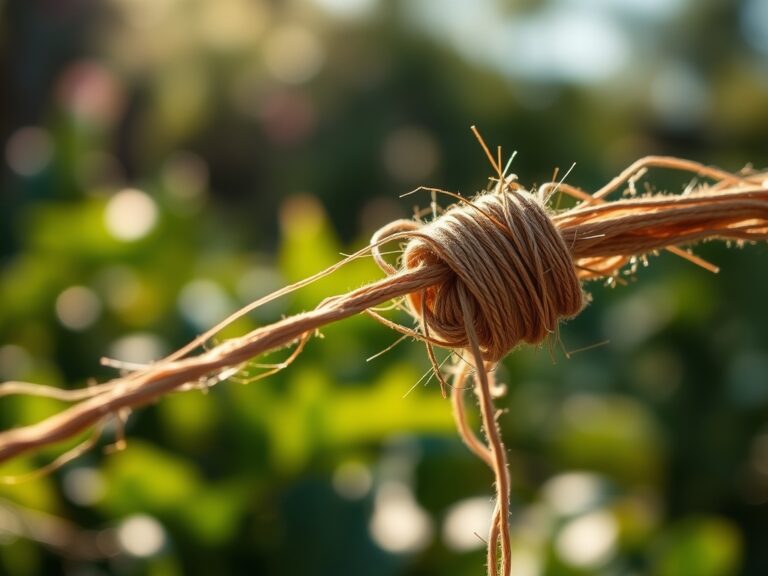
Drape the netting over the framework, ensuring even tension across all axes. Use zip ties to secure the mesh to the poles. The netting should be taut but not under extreme stress, as thermal expansion during peak daylight can cause cheaper plastics to degrade or snap.
Pro-Tip: High tension prevents sagging, which is critical for phototropism. If netting sags and shades the lower leaves, the plant will waste energy redirecting its growth toward uneven light sources, reducing overall photosynthetic efficiency.
Establishing the Perimeter
Secure the bottom of the netting to the ground using landscape staples every 18 inches. There must be no gaps larger than one inch. If the netting is loose at the base, rodents and small birds will enter and become trapped, creating a biohazard and damaging the crop.
Pro-Tip: Proper grounding of the net encourages mycorrhizal symbiosis by keeping the soil surface undisturbed. A secure perimeter prevents animals from digging near the root zone, which protects the delicate fungal networks that assist in phosphorus uptake.
The Clinic:
Physiological disorders can occur if netting is improperly managed. Monitor for these specific symptoms:
- Powdery Mildew (Symptom): White, talc-like spots on leaves. Solution: Increase airflow by using a larger mesh size or thinning the interior canopy with bypass pruners.
- Etiolation (Symptom): Pale, leggy growth. Solution: The netting may be too thick, blocking more than 15 percent of PAR (Photosynthetically Active Radiation). Switch to a monofilament net.
- Mechanical Scaring (Symptom): Abrasions on fruit skins. Solution: Adjust the framework to ensure the net does not contact the fruit during high winds.
Fix-It for Nutrient Deficiencies:
If you observe Nitrogen chlorosis (yellowing of older leaves), the plant may be stressed by the enclosure. Apply a water-soluble fertilizer with a high Nitrogen (N) value directly to the drip line to restore chlorophyll production.
Maintenance:
Active management is required throughout the growing season. Use a soil moisture meter to ensure the plant receives exactly 1.5 inches of water per week at the drip line. Use a hori-hori knife to remove any weeds that grow through the bottom of the mesh, as these can provide a ladder for crawling insects. Inspect the net weekly for tears. If the plant outgrows the enclosure, use bypass pruners for a strategic heading cut to maintain a 2-inch clearance from the top of the mesh. This prevents the "tenting" effect that traps heat and increases humidity.
The Yield:
Harvesting within a netted environment requires precision. For berries, harvest when the Brix level (sugar content) reaches its species-specific peak, usually indicated by full color saturation and a slight softening of the fruit wall. Carefully unclip the bottom staples to gain access. Use sharp shears to snip the pedicel; do not pull the fruit, as this can cause senescence in the remaining cluster. To maintain "day-one" freshness, move harvested produce to a cool, shaded area immediately to reduce the rate of respiration and preserve turgor pressure.
FAQ:
When is the best time to install bird netting?
Install netting immediately after the fruit has set and pollination is complete. This usually occurs in late spring or early summer, depending on your Hardiness Zone. Ensure the "shuck split" or initial swelling of the ovary is visible before enclosing.
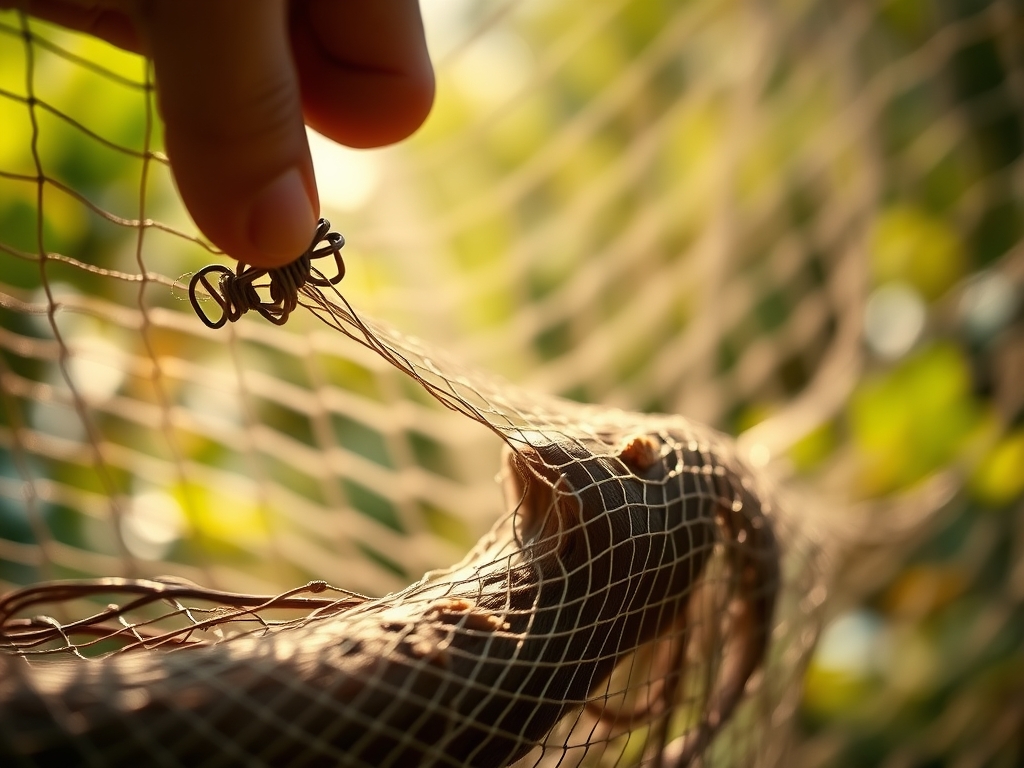
How do I prevent birds from getting tangled?
Use a high-visibility, rigid monofilament netting with a mesh size no larger than 0.75 inches. Keep the net taut across a professional frame. Loose, sagging netting is the primary cause of wildlife entanglement and should be avoided.
Can I leave the netting on all year?
No. Remove netting after harvest to prevent damage from snow loads and to allow birds to forage for overwintering insect larvae. Permanent netting can also interfere with the plant's natural dormancy cycle and winter pruning requirements.
What is the best way to secure the bottom?
Use 6-inch galvanized landscape staples to pin the netting directly to the soil every 18 inches. For raised beds, use a heavy-duty staple gun to attach the mesh to the wooden frame, ensuring a 100 percent seal against ground-level intruders.